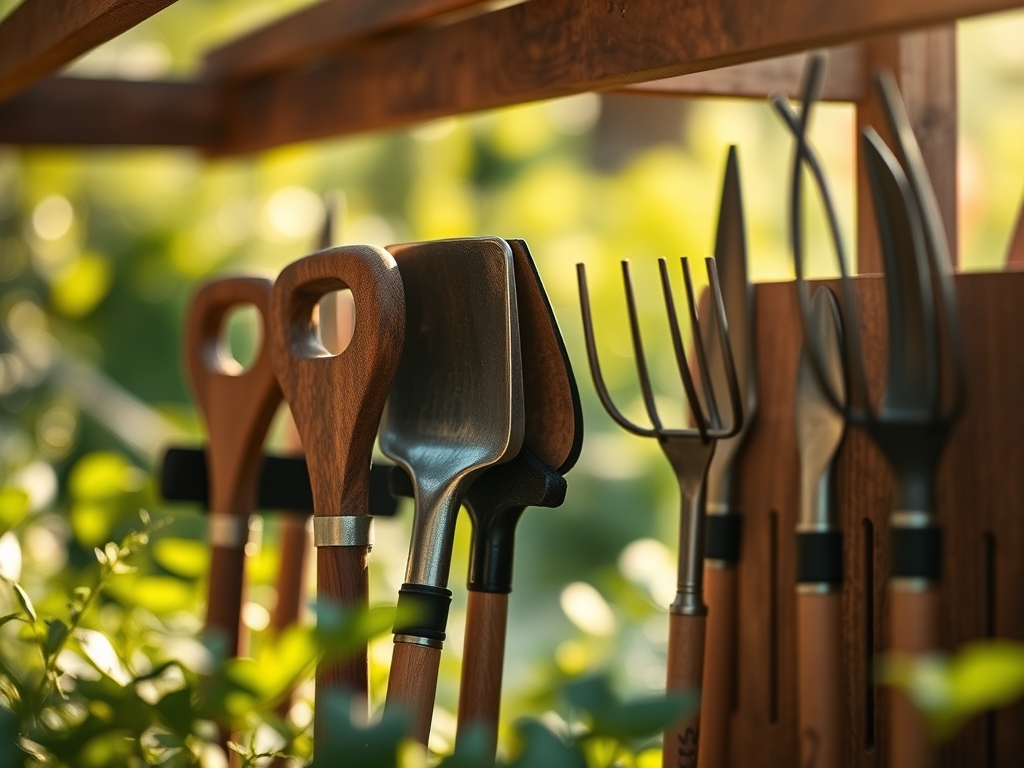
6 Best Racks for Organizing Long-Handled Tools
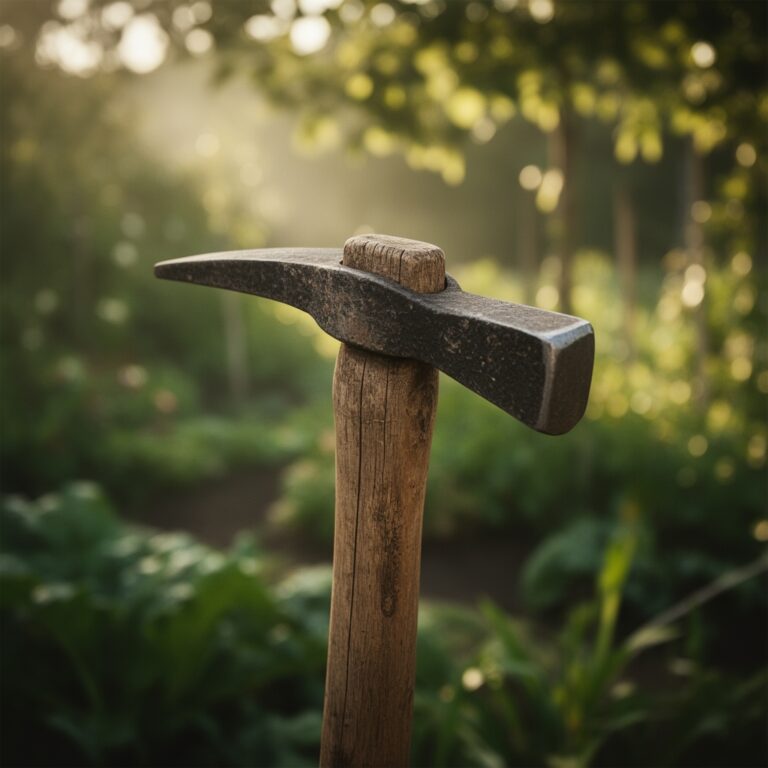
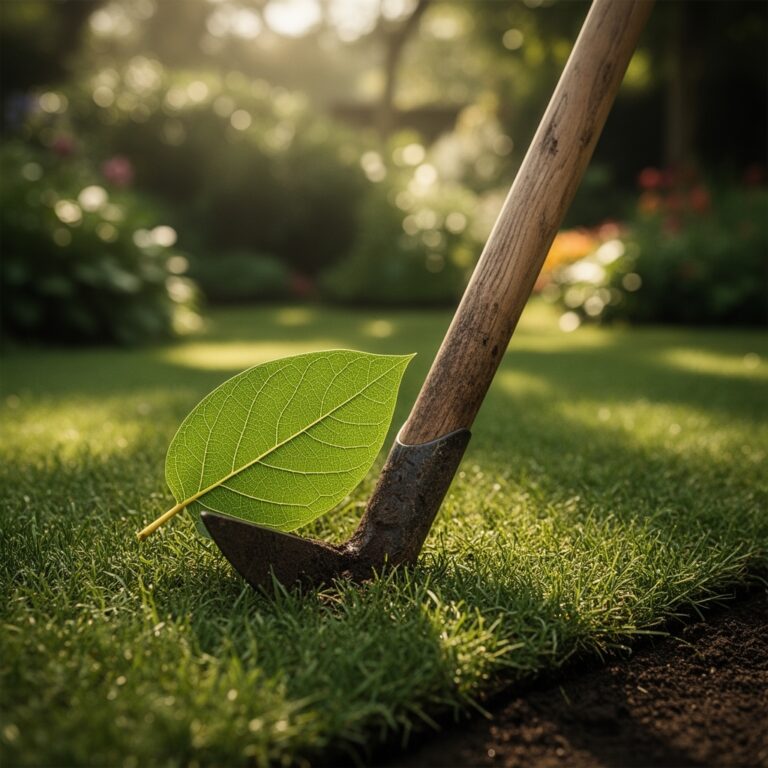
The smell of damp earth and the cellular turgor of a healthy leaf define the success of a productive season. When you step into the garden, efficiency is the difference between precision cultivation and wasted effort. Searching for the best vegetable garden tool storage racks is not merely an exercise in organization; it is a fundamental requirement for maintaining the structural integrity of your equipment. A dull hoe or a rusted spade increases physical resistance against the soil, leading to uneven seed beds and damaged root systems. Proper storage ensures that carbon steel blades remain sharp and wooden handles do not succumb to fungal decay. By elevating tools off the ground, you prevent moisture accumulation that accelerates oxidation. An organized workspace allows for the rapid deployment of specialized implements during narrow planting windows. High-performance gardening requires a systematic approach to tool management. This ensures that every shovel, rake, and broadfork is accessible and maintained at peak operational capacity for the rigors of intensive vegetable production.
Materials:
Productivity begins with the substrate. A **friable loam** with a **Cation Exchange Capacity (CEC) above 15** provides the optimal environment for nutrient retention. For high-demand vegetable crops, the soil pH must be maintained between **6.2 and 6.8** to ensure the bioavailability of phosphorus and micronutrients. Before organizing your tools, assess your soil composition. Sandy soils require organic matter to increase water holding capacity; conversely, clay-heavy soils need aeration to prevent anaerobic conditions in the **rhizosphere**.
Standard NPK ratios for early-season growth should focus on a 10-10-10 balanced fertilizer to establish root architecture. As plants transition, a shift to 5-10-10 or 5-15-15 supports reproductive development without over-stimulating vegetative growth. Use a soil moisture meter to verify that the top 6 inches of the profile remain consistently hydrated but not saturated. The physical texture of your soil dictates which tools you will store on your racks. Heavy clay requires high-tensile steel digging forks; light silty soils are best managed with oscillating hoes and precision hand weeders.
Timing:
Success in the garden is governed by the Hardiness Zone and the local frost-date window. In Zones 5 through 7, the transition from vegetative to reproductive stages is often compressed by rapid temperature shifts. Monitoring the Biological Clock of your cultivars is essential. Most warm-season vegetables require a soil temperature of at least 65 degrees Fahrenheit for optimal germination.
The photoperiod also dictates plant behavior. Long-day plants like onions respond to increasing daylight hours by initiating bulb formation. Conversely, short-day varieties require specific light cycles to trigger flowering. You must align your tool accessibility with these phases. During the "spring rush," your primary digging and soil-turning tools must be at the front of your storage rack. As the season progresses into the maintenance phase, weeding and pruning tools take priority. Understanding the senescence of early crops allows you to time your succession plantings with surgical precision.
Phases:

Sowing
Direct seeding requires a finely tilth seedbed. Use a rake to break down clods until the soil particles are less than 0.5 inches in diameter. Ensure consistent depth for uniform emergence.
Pro-Tip: Proper seed-to-soil contact facilitates imbibition, the process where the seed absorbs water to activate metabolic enzymes. This is the first step in breaking dormancy.
Transplanting
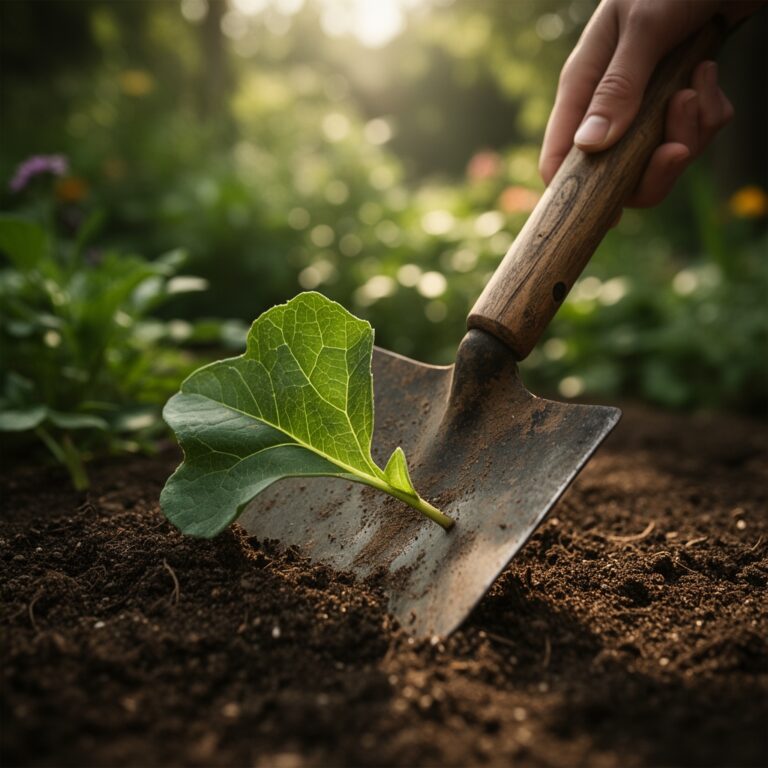
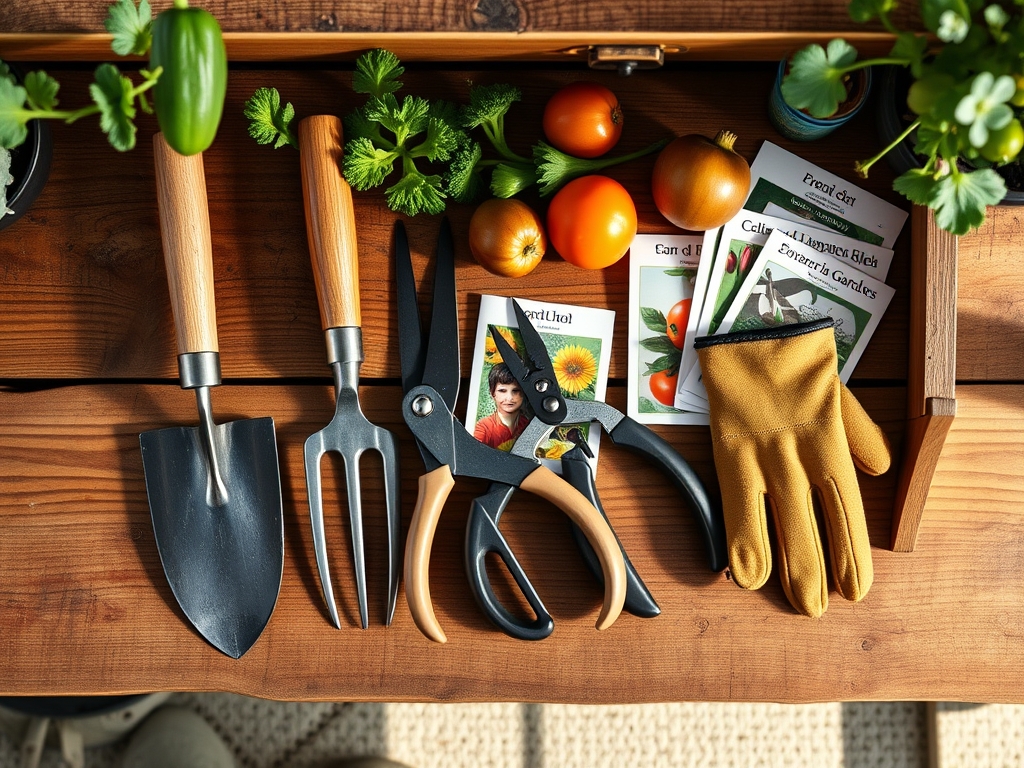
When moving seedlings from the greenhouse to the field, minimize root disturbance to prevent transplant shock. Use a hori-hori knife to create a clean planting hole that accommodates the entire root ball without "J-rooting."
Pro-Tip: Maintaining turgor pressure during this phase is critical. Water the seedlings two hours before transplanting to ensure the cells are fully hydrated, reducing the rate of transpiration during the move.
Establishing
Once the plants are in the ground, focus on root expansion. Mulch the base to regulate soil temperature and suppress weed competition. Monitor for signs of auxin dominance, which drives vertical growth.
Pro-Tip: Targeted irrigation at the drip line encourages roots to grow outward and downward. This deep root architecture increases the plant's resilience against drought and improves nutrient uptake through mycorrhizal symbiosis.
The Clinic:
Physiological disorders often mimic disease but are usually rooted in environmental or nutritional imbalances.
Symptom: Interveinal chlorosis on young leaves.
Solution: This is typically a sign of Iron deficiency, often caused by a pH that is too high. Lower the pH using elemental sulfur to make iron soluble again.
Symptom: Blossom end rot in tomatoes or peppers.
Solution: This is a Calcium transport issue. It is rarely a lack of calcium in the soil but rather inconsistent moisture. Maintain 1.5 inches of water per week to ensure steady calcium uptake through the xylem.
Symptom: Spindly, "leggy" growth with pale foliage.
Solution: This indicates Nitrogen chlorosis or insufficient light. Apply a high-nitrogen liquid feed (like fish emulsion) and ensure the plant receives at least 8 hours of direct solar radiation.
Fix-It Section:
If you notice purple tinting on the underside of leaves, the plant is likely suffering from Phosphorus deficiency. This often occurs in cold soils where microbial activity is low. Use a phosphate-rich starter fertilizer to bridge the gap until soil temperatures rise above 60 degrees Fahrenheit.
Maintenance:
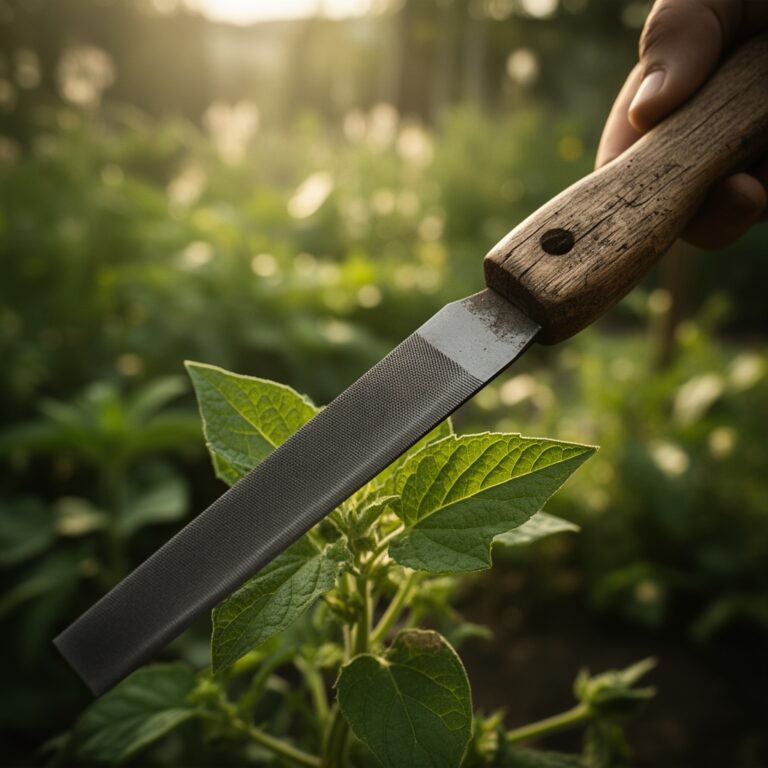
Precision maintenance is the hallmark of a professional horticulturist. Deliver exactly 1.5 inches of water per week at the drip line to avoid wetting the foliage, which can invite fungal pathogens. Use bypass pruners for clean cuts that heal quickly; anvil pruners can crush vascular tissue and lead to necrosis.
Clean your tools after every use. A mixture of 10 percent bleach and water prevents the cross-contamination of soil-borne pathogens like Fusarium or Verticillium wilt. Store your hori-hori knife and other hand tools in a bucket of sand mixed with mineral oil to prevent rust. Regularly calibrate your soil moisture meter to ensure your data remains accurate throughout the heat of the summer.
The Yield:
Harvesting is the final stage of the physiological cycle. For leafy greens, harvest in the early morning when turgor pressure is at its peak. This ensures the leaves are crisp and have the highest nutrient density. For fruiting crops like tomatoes, harvest at the "breaker stage" when the fruit is 50 percent colored to avoid splitting and pest damage.
Post-harvest handling is critical for "day-one" freshness. Immediately remove field heat by placing produce in a cool, shaded area or using a hydro-cooling method. For root crops, remove the green tops to prevent them from drawing moisture out of the root during storage. Proper storage on your organized racks ensures that your harvesting knives and crates are ready the moment the crop reaches peak maturity.
FAQ:
How do I prevent rust on garden tools?
Clean tools after each use to remove soil and moisture. Wipe metal surfaces with a thin layer of mineral oil. Store them in a dry, elevated rack to prevent contact with damp floors and promote airflow around the blades.
What is the best height for a tool rack?
Mount the primary support bar at 72 inches from the floor. This allows long-handled tools like rakes and hoes to hang vertically without touching the ground, protecting the tines and maintaining the straightness of the wooden or fiberglass shafts.
Can I store power tools on the same rack?
Yes, provided the rack is rated for the additional weight. Ensure that motorized equipment is stored with the engine or battery housing upright. Always remove lithium-ion batteries and store them in a temperature-controlled environment to prevent cell degradation.
Why should I hang tools instead of leaning them?
Leaning tools causes unnecessary stress on the handles and can lead to warping over time. Vertical hanging ensures the weight is distributed evenly through the mounting point, preventing structural failure and making it easier to identify the specific tool needed.