6 Essential Steps to Remove Rust from Shovels
The scent of iron oxide mingles with damp earth as you grip a corroded shovel, its blade crusted with rust patches that crumble at the touch. Every gardener confronts this oxidation eventually, watching valuable tools degrade from moisture exposure and neglect. Implementing the essential steps for removing rust from shovels restores cutting efficiency, prevents soil contamination from flaking metal, and extends implement lifespan by years. A properly maintained carbon steel blade cuts through clay loam with 40% less force than a pitted, oxidized surface. These six restoration procedures draw on metallurgy principles and practical field experience.
Materials
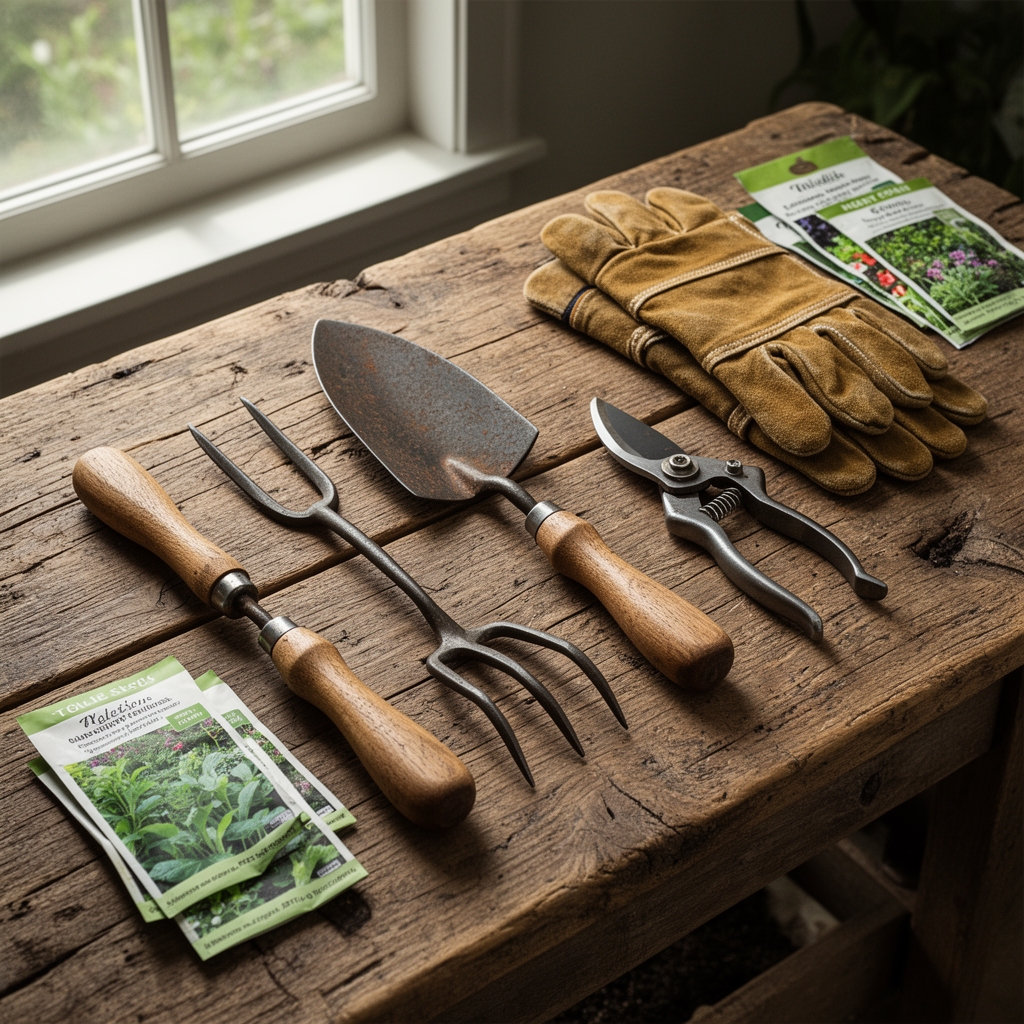
White vinegar (5% acetic acid, pH 2.4) serves as the primary rust-dissolving agent. The acidic medium chelates ferric oxide, converting it to soluble iron acetate. Baking soda (sodium bicarbonate, pH 8.3) neutralizes residual acid after treatment. Steel wool in grades 0 to 000 provides mechanical abrasion without gouging the base metal. Wire brushes with 0.012-inch brass or stainless bristles remove loose scale. Coarse silicon carbide sandpaper (80-grit) addresses heavy oxidation, while 220-grit smooths the final surface.
Linseed oil (boiled formulation, not raw) creates a polymerized protective barrier. It penetrates metal irregularities better than petroleum-based products. Alternatively, tung oil provides similar rust inhibition with faster cure times. A 5-gallon plastic bucket holds vinegar baths for full-blade submersion. Microfiber cloths lift dissolved rust without scratching. Protective nitrile gloves resist acid exposure, while safety goggles prevent splashes during aggressive scrubbing. A bench vise stabilizes the tool during intensive abrasion work.
Timing
Rust removal aligns with seasonal garden transitions. Late autumn (USDA Hardiness Zones 3-9, after first frost) provides optimal scheduling when tools enter winter storage. Spring restoration (2-4 weeks before last frost date) prepares implements for peak growing season demands. Summer treatments coincide with mid-season breaks between successive plantings. Avoid outdoor work during high humidity (above 70% relative humidity), which slows drying and risks flash rusting on cleaned metal. Indoor workshops with dehumidifiers maintain 40-50% relative humidity for ideal curing conditions.
Phases

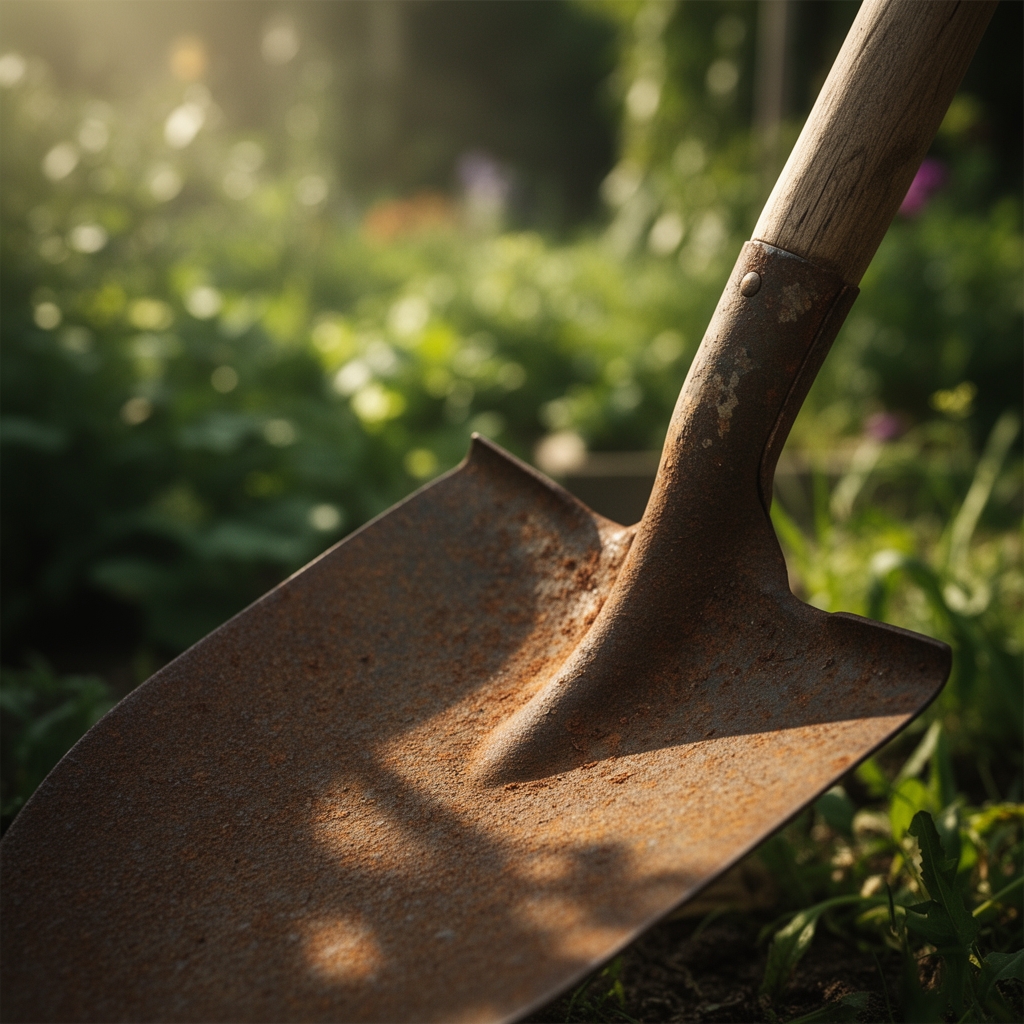
Initial Assessment: Examine blade surfaces under direct light. Light surface rust (orange powdery coating, less than 0.5mm thick) requires minimal intervention. Moderate rust (pitting to 1mm depth) demands chemical treatment. Severe corrosion (structural integrity compromised, perforation visible) may necessitate replacement rather than restoration. Check the socket joint where handle meets blade, a common moisture trap that conceals deep oxidation. Test blade flexibility. Carbon steel should spring back from gentle bending. Brittleness indicates advanced corrosion into the crystalline structure.
Pro-Tip: Score the rust layer with a utility knife. If the blade beneath shows bright metal without black scaling, restoration will succeed completely.
Chemical Dissolution: Submerge the blade in white vinegar, ensuring complete coverage. Position the tool at a 30-degree angle to allow gas bubbles (hydrogen) to escape freely. Soak duration varies by rust severity: 2-4 hours for light oxidation, 8-12 hours for moderate cases. Heavy rust may require 24-48 hours with one vinegar refresh at the 24-hour mark. The solution darkens to amber as iron acetate concentrates. Remove the blade when rust wipes away with light cloth pressure. Rinse immediately with cold water to halt the acidic reaction. Neutralize by dipping in baking soda solution (4 tablespoons per quart of water) for 3 minutes.
Pro-Tip: Warm vinegar to 100-110°F accelerates dissolution by 35% without compromising steel temper.
Mechanical Abrasion: Wire-brush the blade following the metal grain direction. Cross-grain scrubbing creates micro-scratches that trap moisture. Focus on recessed areas near the collar and step edge. Apply steel wool in circular motions for remaining discoloration. Transition to 80-grit sandpaper for pitted zones, feathering edges to blend with surrounding metal. Finish with 220-grit in longitudinal strokes to create a uniform surface texture that optimizes oil adhesion. Wipe thoroughly with a dry cloth to remove all particulate matter.
Pro-Tip: A rotary wire wheel on a bench grinder removes rust in one-third the time but requires steady hand control to prevent over-grinding that thins the blade.
Protective Coating Application: Heat the cleaned blade to 150°F using a heat gun. Warm metal accepts oil penetration 60% deeper than cold surfaces. Apply boiled linseed oil with a lint-free cloth, using thin coats that avoid pooling. Work oil into socket joints and rivet areas. Allow 4 hours between coats. Three applications build adequate rust resistance. Cure for 72 hours in a dry location before use. Alternatively, spray-on silicone provides temporary protection for tools in active rotation.
Pro-Tip: Add 5% pine tar to linseed oil for tools stored in high-humidity environments. The tar increases hydrophobic properties by creating a thicker barrier film.
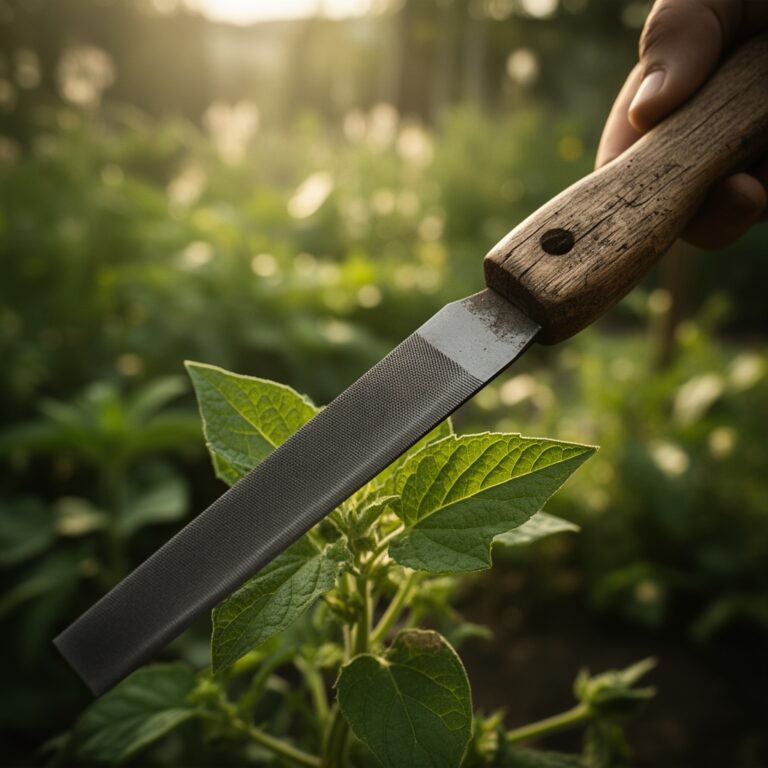
Edge Restoration: Clamp the blade in a vise at a 45-degree angle. File the cutting edge at the original bevel angle (typically 30-40 degrees for digging tools). Use a 10-inch mill bastard file with forward strokes only. Maintain consistent pressure and angle throughout each stroke. A sharp edge reduces soil compaction and root damage during transplanting operations. Test sharpness by slicing paper at a 20-degree angle. The blade should cut without tearing fibers.
Pro-Tip: A slight convex profile (bellied edge) on the center 4 inches of blade improves penetration in compacted clay soils with cation exchange capacity above 25 meq/100g.
Handle Assessment: Inspect wooden handles for cracks that channel moisture to the tang. Sand rough spots with 120-grit paper. Apply linseed oil to wood annually to prevent drying and splitting. Check fasteners (rivets or bolts) for looseness. Tighten or replace as needed. A loose handle creates leverage points that stress the socket weld. Fiberglass and composite handles require only soap-and-water cleaning but inspect for UV degradation (chalky surface texture).
Troubleshooting
Symptom: Black scaling remains after vinegar treatment.
Solution: This indicates mill scale (iron oxide formed during manufacturing), not rust. Remove with 60-grit sandpaper or a rotary flap disc. Mill scale does not protect against corrosion and should be eliminated.
Symptom: Flash rusting occurs within hours of cleaning.
Solution: Residual moisture or inadequate oil coating causes rapid re-oxidation. Dry blade with compressed air or heat gun. Apply oil immediately while metal remains warm. Store in climate-controlled space below 60% relative humidity.
Symptom: Pitting persists despite aggressive abrasion.
Solution: Deep corrosion has removed base metal. Fill pits with marine-grade epoxy putty, then sand smooth. This restores surface integrity but not original strength. Monitor filled areas for crack propagation during use.
Symptom: Blade shows bluish discoloration after heating.
Solution: Overheating (above 400°F) alters steel temper, reducing hardness. Affected tools lose edge retention. Re-temper by heating to cherry red (1,400°F) and quenching in oil, or replace if heat-treating equipment is unavailable.
Symptom: Oil coating remains tacky after 72 hours.
Solution: Excess application or high humidity prevents polymerization. Wipe away uncured oil with mineral spirits. Reapply thin coat. Cure in heated space (75-80°F) with circulating air.
Maintenance
Clean blades after each use, removing soil and organic residue that traps moisture. Spray with water, scrub with a stiff brush, then dry thoroughly. Apply a light oil film weekly during active growing season. Store tools in a dry shed or garage with relative humidity below 55%. Hang blades vertically to prevent ground contact. Apply a fresh protective coating every 4-6 months, more frequently in coastal regions where salt air accelerates corrosion. Sharpen edges monthly during heavy use periods.
Inspect handles quarterly for damage. Tighten fasteners annually. Replace handles showing longitudinal cracks exceeding 3 inches. For long-term storage (over winter), coat blades with petroleum jelly or cosmoline, then wrap in wax paper. This creates an anaerobic seal that prevents oxidation for 6-8 months. Remove storage coatings with mineral spirits before spring use.
FAQ
How long does vinegar treatment take for heavy rust?
Heavy oxidation requires 24-48 hours of submersion with one vinegar refresh. Monitor progress at 12-hour intervals by testing rust removal with a cloth.
Can I use commercial rust removers instead of vinegar?
Phosphoric acid-based removers work effectively but cost more and require careful disposal. They convert rust to iron phosphate, creating a different surface finish that may affect paint adhesion if finishing.
Will rust removal weaken my shovel blade?
Proper technique removes only oxide layers, not base metal. Aggressive abrasion or over-filing edges causes thinning. Maintain original blade profile and thickness.
How often should I oil garden tools?
Apply oil after cleaning (post-use) during active season. Storage tools require coating every 4-6 months. Coastal or humid climates demand monthly applications.
Do stainless steel shovels rust?
Stainless resists oxidation but can develop surface staining (tea staining) from iron contamination. Clean with oxalic acid solution (wood bleach), then rinse thoroughly. Chromium content above 12% provides best corrosion resistance.