6 Production Steps to Prepare a Market Vegetable Garden
The smell of turned earth signals profit potential. Commercial-scale vegetable production begins months before transplant day, when soil structure, nutrient availability, and microbial populations align with crop succession schedules. Learning how to prepare a garden for a market vegetable garden separates hobbyists from growers who harvest 40 pounds of marketable produce per 100 square feet. The foundation rests in systematic soil amendment, strategic timing, and understanding the cation exchange capacity of your native mineral base.
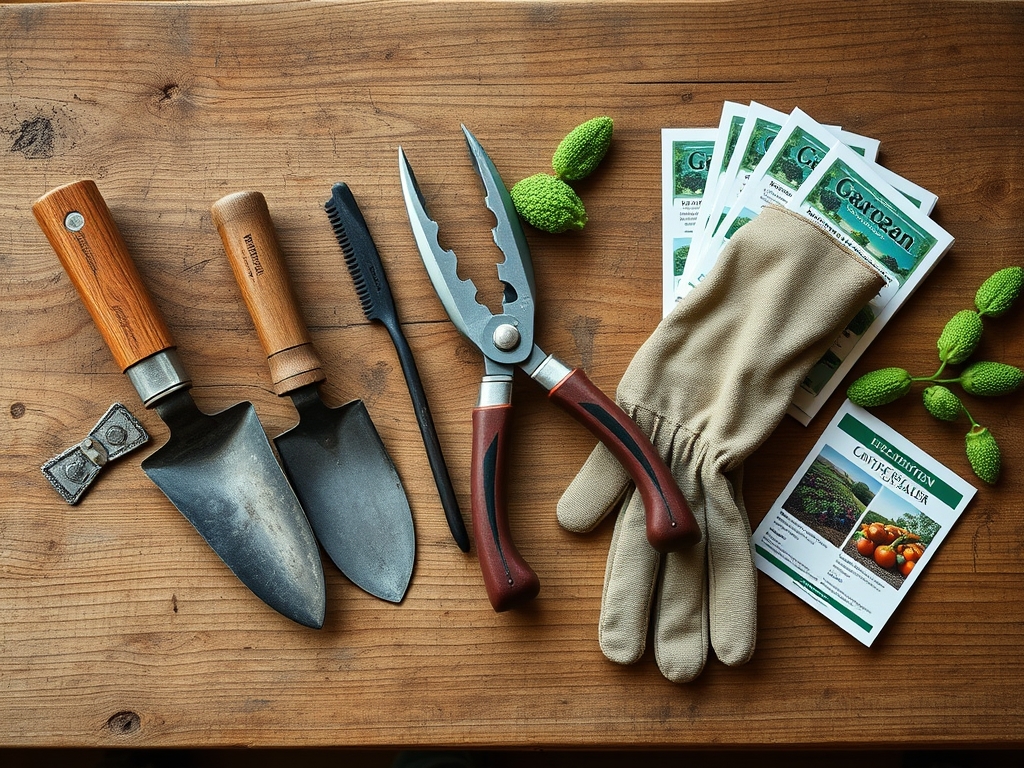
Materials
Start with a baseline soil test targeting pH, phosphorus (P), potassium (K), calcium (Ca), magnesium (Mg), and organic matter percentage. Most market vegetables thrive at pH 6.2-6.8. Acidic soils below 6.0 require dolomitic limestone at 50 pounds per 1,000 square feet for each 0.5 pH unit adjustment. Alkaline soils above 7.2 need elemental sulfur at 10-20 pounds per 1,000 square feet.
For nitrogen (N), phosphorus (P), and potassium (K), apply a balanced organic fertilizer such as 4-4-4 feather meal blend at 20 pounds per 1,000 square feet. Phosphorus-deficient soils benefit from bone meal (3-15-0) at 10 pounds per 1,000 square feet, applied two months before planting to allow microbial breakdown. Potassium shortfalls respond to greensand (0-0-3) at 30 pounds per 1,000 square feet or kelp meal (1-0-2) at 5 pounds per 1,000 square feet.
Incorporate 2-4 inches of finished compost with a carbon-to-nitrogen ratio (C:N) between 20:1 and 30:1. Compost boosts cation exchange capacity, improving nutrient retention in sandy soils and aeration in clay substrates. Add mycorrhizal inoculant at 1 ounce per 10 transplants; arbuscular mycorrhizae extend root surface area by 100-1,000 times, enhancing phosphorus uptake.
Timing
Match soil preparation to USDA Hardiness Zones and local frost-date windows. In Zones 5-6, begin soil amendment 6-8 weeks before the last spring frost (typically April 15-May 15). Zones 7-8 allow February-March prep for early spring crops. Zones 9-10 require fall preparation (October-November) for winter production cycles.
Cool-season crops (lettuce, kale, peas) transplant 4 weeks before the last frost when soil temperature reaches 40°F. Warm-season crops (tomatoes, peppers, squash) demand soil temperatures above 60°F, usually 2 weeks after the last frost. Use a soil thermometer at 4-inch depth to confirm. Late-summer sowings for fall harvests begin 10-12 weeks before the first fall frost, extending the market season by 8-10 weeks.
Phases

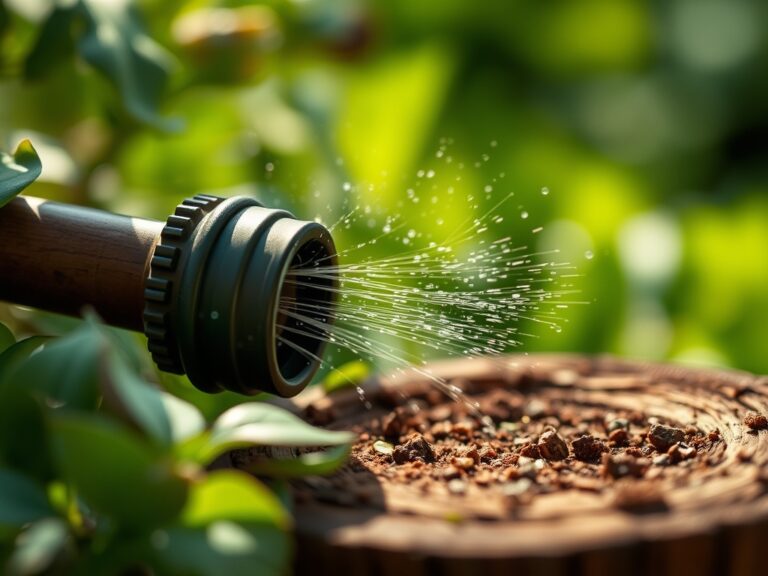
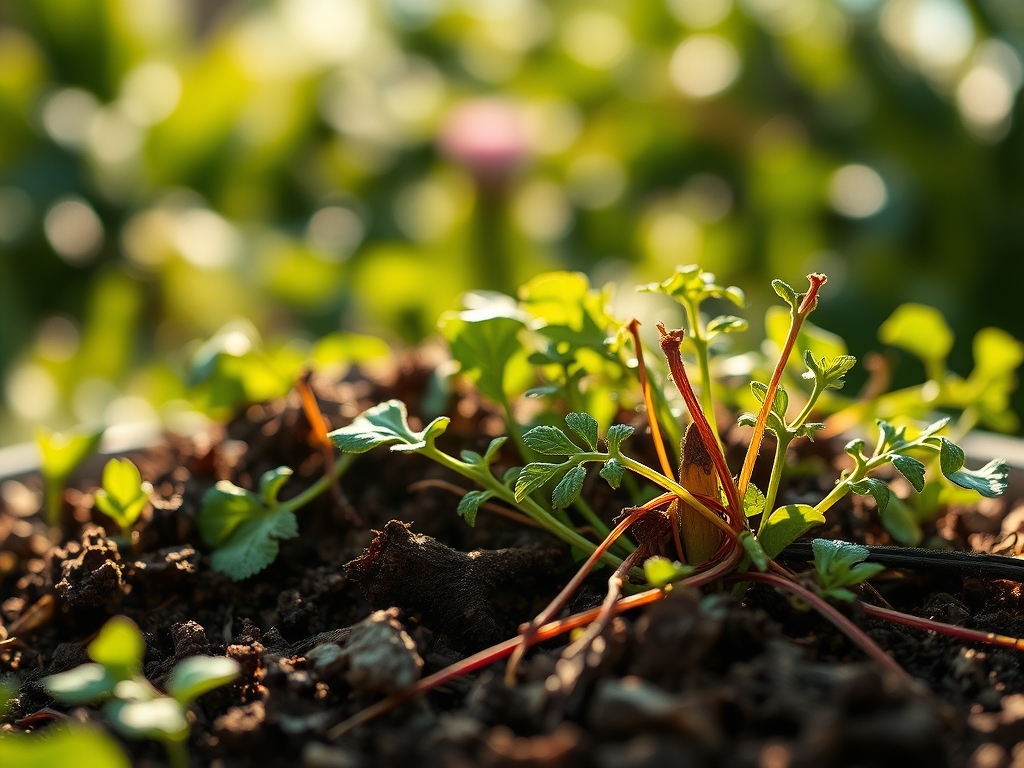
Sowing Phase: Direct-seed root vegetables (carrots, beets, radishes) at 1/4-inch depth in loose, stone-free beds. Create furrows with a collinear hoe, spacing rows 4 inches apart for efficient hand harvesting. Lettuce and spinach seeds require light for germination; press seeds onto the soil surface without covering. Apply row cover (0.55 oz/sq yd weight) immediately to exclude flea beetles and maintain 5°F warmer soil temperature.
Pro-Tip: Pre-irrigate beds 24 hours before sowing to ensure uniform moisture 1 inch below the surface. Seeds germinate 30-50 percent faster in pre-moistened soil.
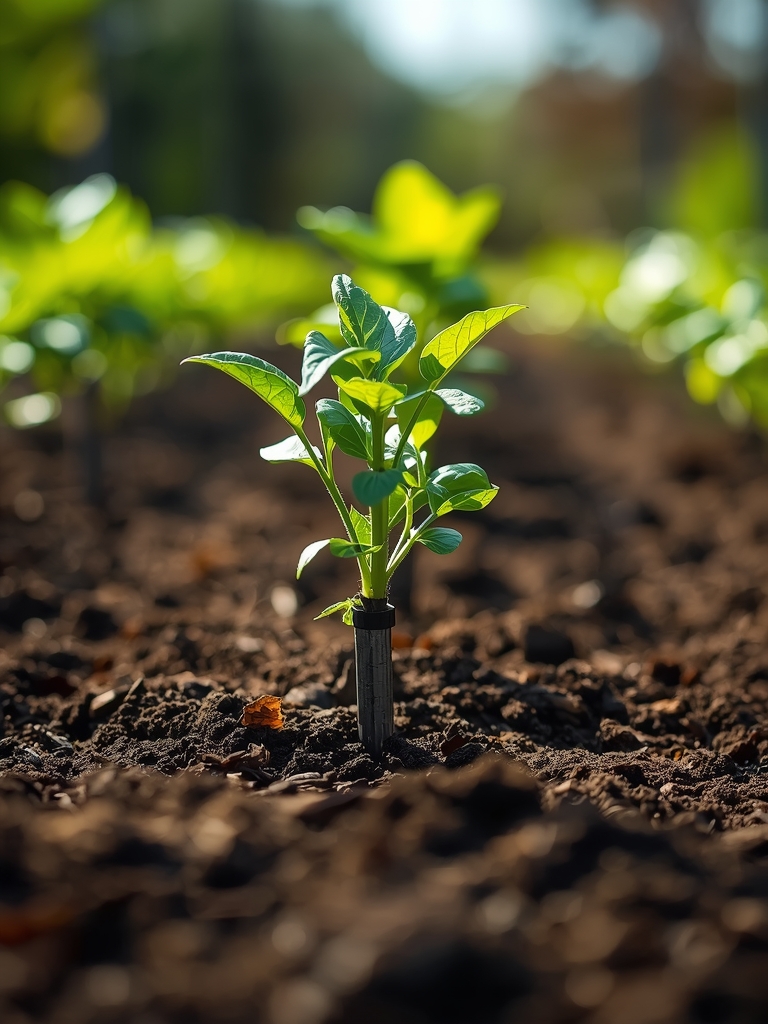
Transplanting Phase: Harden off seedlings by reducing water 20 percent and exposing plants to outdoor conditions 2 hours daily for 7 days. Transplant on overcast days or in early evening to minimize transplant shock. Dig holes 1 inch deeper than root ball depth. Position transplants so the soil line matches the nursery container level, except for tomatoes, which tolerate burial up to the first true leaves to encourage adventitious root formation.
Pro-Tip: Apply soluble kelp solution (1 tablespoon per gallon) at transplanting to stimulate auxin distribution and root growth. Kelp contains natural cytokinins that reduce transplant shock by 40 percent.
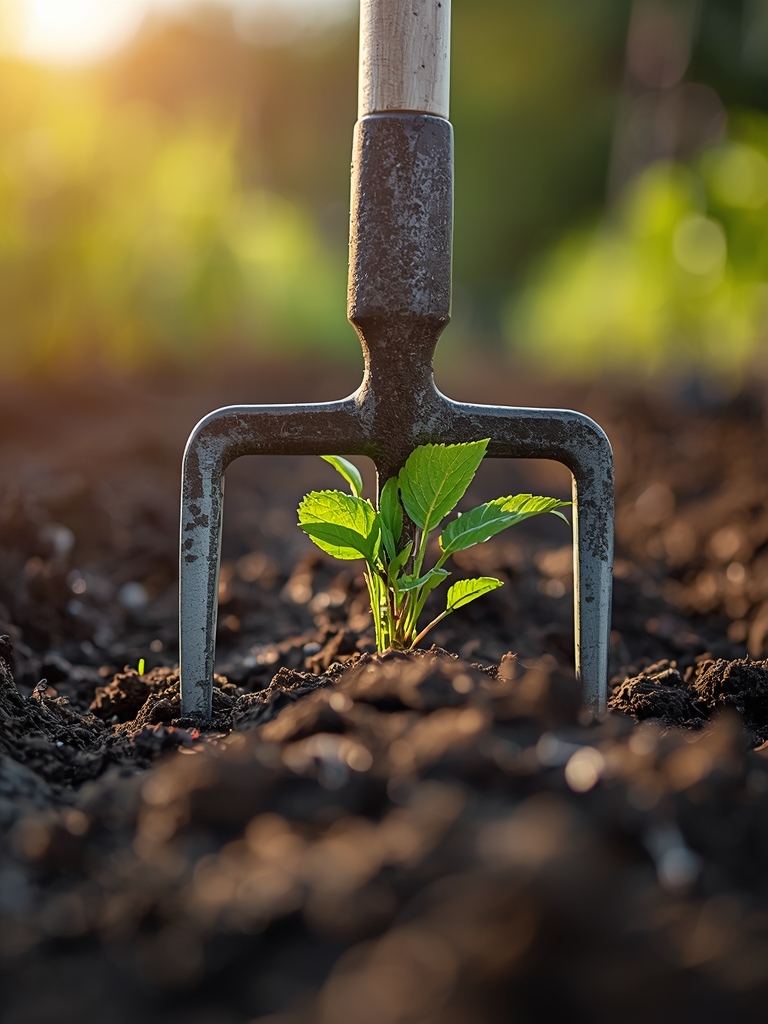
Establishing Phase: Maintain consistent soil moisture at 1 inch per week for 3 weeks post-transplant. Install drip irrigation with emitters spaced 12 inches apart, delivering 0.6 gallons per hour. Mulch with 2 inches of straw or shredded leaves 7-10 days after transplanting, once soil has warmed. Mulch suppresses weeds, conserves moisture, and moderates soil temperature fluctuations by 10-15°F.
Pro-Tip: Side-dress with blood meal (12-0-0) at 2 pounds per 100 feet of row 3 weeks after transplanting. Blood meal releases nitrogen over 4-6 weeks, matching peak vegetative growth.
Troubleshooting
Symptom: Yellowing lower leaves with green veins. Solution: Nitrogen deficiency. Apply fish emulsion (5-1-1) at 2 tablespoons per gallon weekly for 3 weeks.
Symptom: Purple leaf undersides and stunted growth. Solution: Phosphorus deficiency from cold soil (below 55°F) or high pH. Warm soil with black plastic mulch and apply bone meal.
Symptom: Wilting despite adequate moisture, dark root discoloration. Solution: Pythium root rot. Improve drainage by adding perlite (10 percent by volume) and reduce irrigation frequency by 30 percent.
Symptom: Circular holes in leaves, metallic green beetles. Solution: Cucumber beetle pressure. Apply spinosad (organic pesticide) at 4 tablespoons per gallon, spraying undersides of leaves every 7 days.
Symptom: Blossom-end rot on tomatoes and peppers (dark, sunken fruit base). Solution: Calcium deficiency from irregular watering. Maintain even moisture and apply calcium chloride foliar spray (1 tablespoon per gallon) every 10 days.
Maintenance
Water 1-1.5 inches per week through drip irrigation or soaker hoses, adjusted for rainfall. Sandy soils require 0.75 inches every 3 days; clay soils need 1.5 inches every 7 days. Monitor soil moisture with a tensiometer; irrigate when readings reach 30-40 centibars.
Weed weekly with a stirrup hoe, cutting weeds at the soil surface before they reach 2 inches tall. Weeding after rain or irrigation when soil is moist reduces effort by 50 percent. Succession plant every 2-3 weeks to maintain continuous harvests. Remove spent plants immediately to prevent disease reservoirs.
Foliar-feed with compost tea (aerated 24 hours) every 14 days to suppress foliar pathogens and deliver soluble nutrients. Prune indeterminate tomatoes to 1-2 main stems, removing suckers at 45-degree angles when they reach 2 inches.
FAQ
When should I start preparing soil for spring planting?
Begin 6-8 weeks before your last frost date. This allows lime or sulfur to adjust pH and compost to integrate into the soil structure.
How much compost does a market garden need?
Apply 2-4 inches (approximately 10 cubic yards per 1,000 square feet) annually to maintain 5-8 percent organic matter.
Can I plant immediately after tilling?
Wait 7-10 days after tilling to allow soil aggregates to reform and microbial populations to stabilize. Immediate planting increases compaction risk.
What is the best crop rotation for disease prevention?
Follow a 3-year rotation: fruiting crops (tomatoes, peppers), then root crops (carrots, beets), then legumes (peas, beans). Avoid planting family members (Solanaceae, Brassicaceae) in the same bed within 3 years.
How do I extend my harvest season?
Use row covers for 4-week earlier spring harvests and 4-week later fall harvests. Cold frames extend production 6-8 weeks in shoulder seasons.