6 Replenishment Steps for Treating Soil Salt Buildup
Healthy leaf tissue maintains high turgor pressure; it feels cool and firm to the touch while emitting a sharp, metallic scent of chlorophyll. When salt ions accumulate in the rhizosphere, they create an osmotic imbalance that pulls water out of the roots, leading to physiological drought and marginal necrosis. Implementing specific steps for treating salt buildup with fresh soil restores the cation exchange capacity of your growing medium. This process requires a systematic replacement of degraded substrate to lower the electrical conductivity (EC) of the root zone. High salinity levels, often exceeding 4.0 dS/m, inhibit the plant's ability to absorb essential macronutrients. By physically removing the crust of accumulated sodium and calcium carbonates, you reset the chemical baseline of the soil. This intervention prevents vascular collapse and ensures the cellular membranes remain permeable for nutrient transport. Precision in soil replacement dictates the long-term success of the recovery phase.
Materials:
The restoration of saline soil requires a substrate with a high Cation Exchange Capacity (CEC) and a stable pH. Select a **friable loam** consisting of 40 percent sand, 40 percent silt, and 20 percent clay. This texture ensures adequate macropores for oxygen diffusion and micropores for water retention. The fresh soil must have a **pH between 6.2 and 6.8** to maximize the bioavailability of phosphorus and micronutrients.
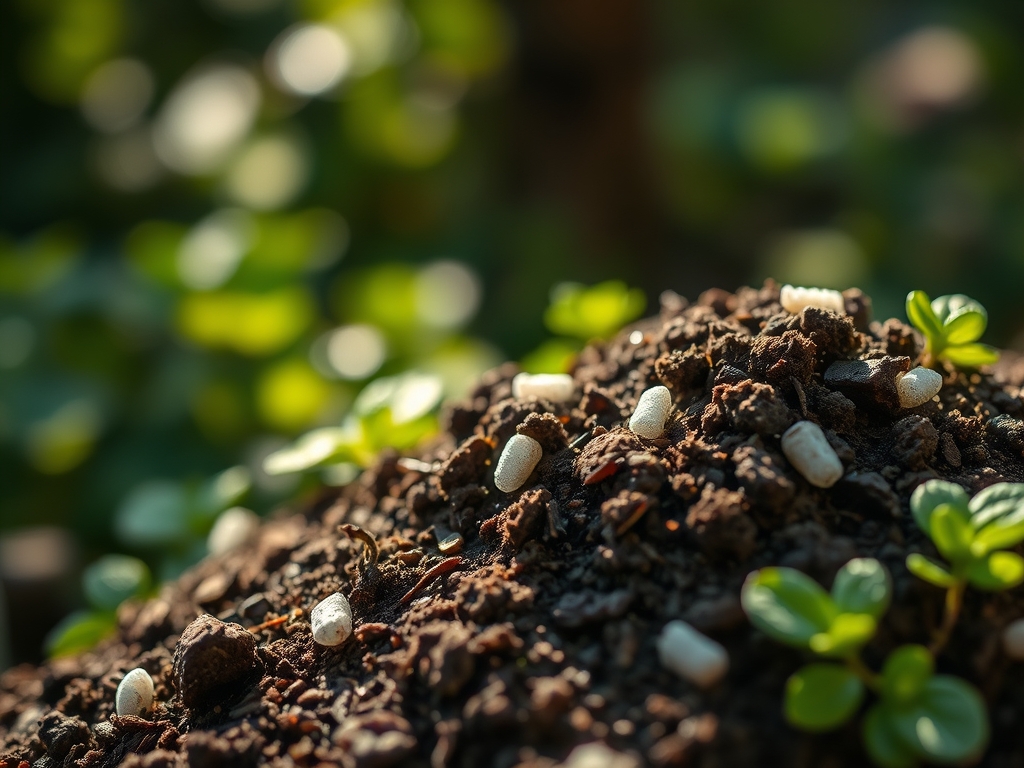
For the initial replenishment, use a low-impact NPK ratio such as 5-10-5. High nitrogen concentrations can exacerbate salt stress by forcing rapid vegetative growth before the root system has recovered. Incorporate organic matter with a high humic acid content to help buffer remaining salts. Avoid using "hot" composts or unaged manures, as these often contain high levels of potassium and sodium salts that will negate the remediation efforts. Ensure the new medium has an Electrical Conductivity (EC) of less than 1.5 dS/m.
Timing:
Timing the replenishment depends on the specific Hardiness Zone and the plant's metabolic state. In Zones 5 through 7, perform the soil exchange in early spring, at least three weeks before the last frost date. This allows the plant to establish new root hairs during the cool, moist period of the spring equinox. In warmer Zones 8 through 10, late autumn is preferable to avoid the thermal stress of peak summer.
The biological clock of the plant is a critical factor. You must intervene during the vegetative stage rather than the reproductive stage. Attempting a major soil overhaul during flowering or fruiting triggers ethylene production, which accelerates senescence and may cause the plant to drop its reproductive organs. Aim for the window when the plant is actively producing new apical meristems but has not yet initiated bud set. This ensures the auxin flow remains directed toward root regeneration.
Phases:

Sowing and Preparation
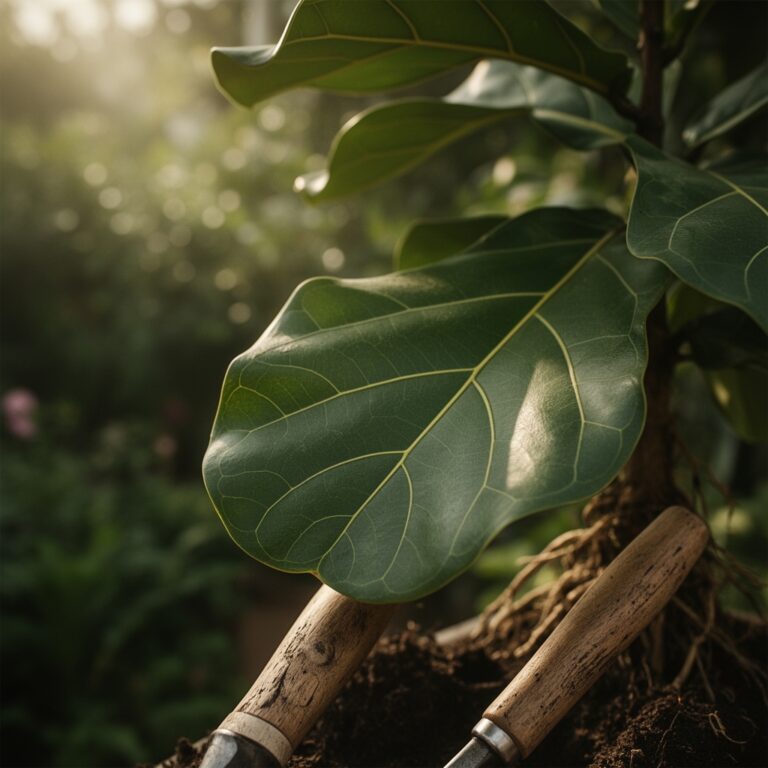
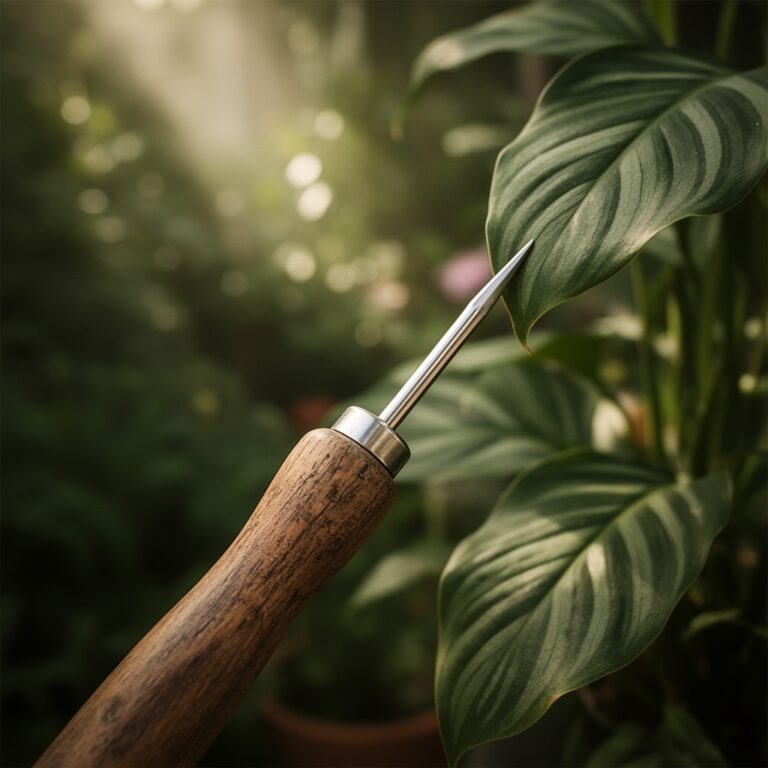
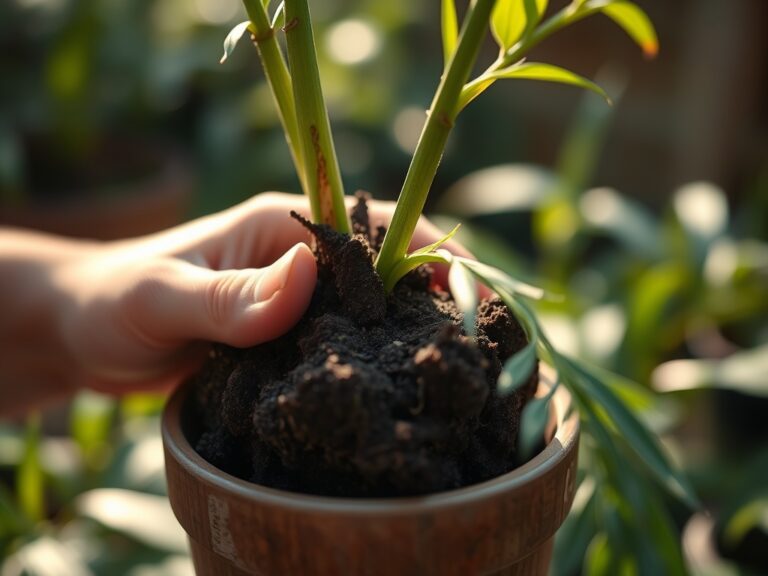
Before introducing fresh soil, you must remove the top 2 to 3 inches of the existing substrate where salt crusts typically form. Use a hori-hori knife to carefully excise the top layer without damaging the crown of the plant. If you are sowing seeds into a remediated area, ensure the seedbed is pre-hydrated to a depth of 6 inches.
Pro-Tip: Pre-hydrating the site triggers imbibition, the process where the seed coat swells and activates metabolic enzymes. Providing a low-salt environment at this exact moment prevents "osmotic shock," which can kill the embryo before the radicle emerges.
Transplanting into Fresh Soil
When moving a salt-stressed plant into new medium, prune away any necrotic or "mushy" roots using sterilized bypass pruners. Position the root ball so the top of the flare is level with the new soil surface. Fill the void with your prepared friable loam, tamping down lightly to remove large air pockets while maintaining a bulk density of approximately 1.3 g/cm3.
Pro-Tip: Maintaining proper bulk density is essential for capillary action. If the soil is too loose, water will bypass the roots; if it is too compacted, the lack of oxygen leads to anaerobic conditions and root rot.
Establishing the Root Zone
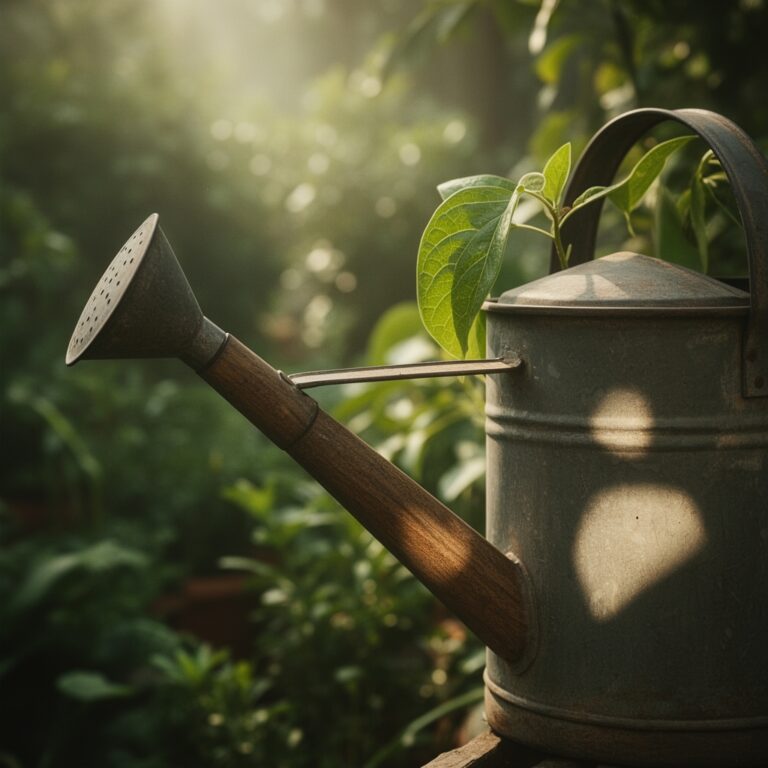
Once the fresh soil is in place, apply a deep drench of distilled or rainwater to settle the particles. Monitor the turgor pressure of the leaves daily. The plant will focus its energy on subterranean growth for the first 14 to 21 days. Avoid all synthetic fertilizers during this period to prevent a secondary salt spike.
Pro-Tip: This establishment phase relies on auxin suppression in the shoot tips. By keeping the plant in a low-stress, low-salt environment, the plant naturally shifts its hormonal balance to favor root elongation over leaf expansion.
The Clinic:
Saline environments manifest through specific physiological disorders. Identifying these early allows for targeted intervention.
- Symptom: Marginal Leaf Burn. The edges of older leaves turn brown and brittle while the center remains green.
- Solution: This is a classic sign of sodium toxicity. Flush the soil with three times the volume of the pot or planting area with low-mineral water to leach the ions.
- Symptom: Nitrogen Chlorosis. New growth is pale yellow or white, indicating a lack of chlorophyll.
- Fix-It: Salt buildup often "locks out" nitrogen. After replacing the soil, apply a foliar spray of urea (46-0-0) at a 0.5 percent concentration to bypass the damaged root system.
- Symptom: Blossom End Rot. Sunken, leathery spots on the bottom of fruit (common in tomatoes and peppers).
- Solution: High salt levels inhibit calcium uptake. Supplement the fresh soil with gypsum (calcium sulfate), which provides calcium without altering the pH.
Maintenance:
Post-remediation maintenance requires precision tools and consistent data. Use a soil moisture meter to ensure the root zone stays between 40 percent and 60 percent field capacity. Over-watering can lead to leaching of beneficial nutrients, while under-watering allows salts to re-concentrate.
Apply exactly 1.5 inches of water per week at the drip line. This measurement should be adjusted based on evapotranspiration rates in your specific climate. Use a hori-hori knife to check for soil compaction once a month; if the blade cannot easily penetrate 4 inches, the soil needs light aeration. Every six months, test the drainage water (leachate) with an EC meter. If the reading exceeds 2.5 dS/m, repeat a light leaching process to prevent the return of salt crusts.
The Yield:
For edible crops, the timing of the harvest is dictated by the sugar-to-acid ratio. Harvest leafy greens in the early morning when turgor pressure is at its peak; this ensures the leaves are crisp and have a longer shelf life. Use sharp bypass pruners to make clean cuts, which reduces the surface area for moisture loss.
For fruiting plants, wait until the fruit reaches its "ripe" color stage, indicating that the ethylene gas production has peaked. After harvesting, immediately move the produce to a cool, shaded area to slow down the metabolic rate. For long-term freshness, maintain a storage temperature of 45 to 55 degrees Fahrenheit with high humidity to prevent cellular desiccation.
FAQ:
How do I know if my soil has salt buildup?
Look for a white, crusty film on the soil surface. Plants will show stunted growth and "burned" leaf edges. Use an EC meter; a reading above 4.0 dS/m indicates high salinity.
Can I just wash the salt away with water?
Leaching works, but only if you have excellent drainage. In heavy clay, water pools and concentrates the salts. Replacing the top layer with fresh, friable loam is more effective for long-term recovery.
What is the best soil for salt-stressed plants?
Use a well-draining loam with a pH of 6.5. Ensure it has high organic matter to improve the Cation Exchange Capacity, which helps buffer the roots against any remaining salt ions.
How often should I replace the soil?
In containers, replace the top third of the soil annually. In ground beds, perform a deep replenishment every two to three years if you use mineral-heavy tap water or synthetic fertilizers.