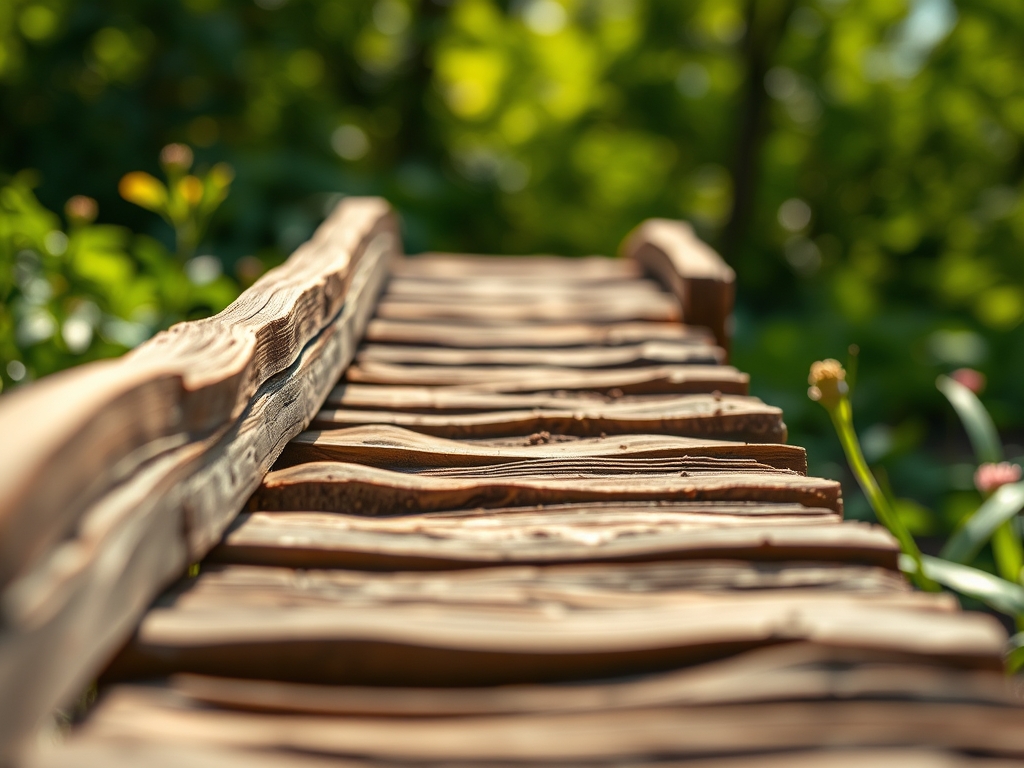
6 Steps to Build an Artistic Garden Bridge
The smell of damp humus and the sound of high turgor pressure snapping a crisp stem define the peak of a growing season. Integrating a structural element like a bridge requires more than carpentry; it demands an understanding of how weight distribution affects the rhizosphere and soil compaction. To master the steps for building a garden bridge, you must first assess the topography and the hydraulic flow of your landscape. A bridge is not merely a path. It is a transition point between distinct microclimates. Whether crossing a dry creek bed or a bio-swale, the installation must respect the biological integrity of the surrounding flora. Proper execution ensures that the structure does not impede the natural drainage or the gas exchange within the soil profile. This guide provides the technical framework to install a bridge that functions as a botanical anchor while preserving the health of your substrate and the vascular systems of nearby plantings.
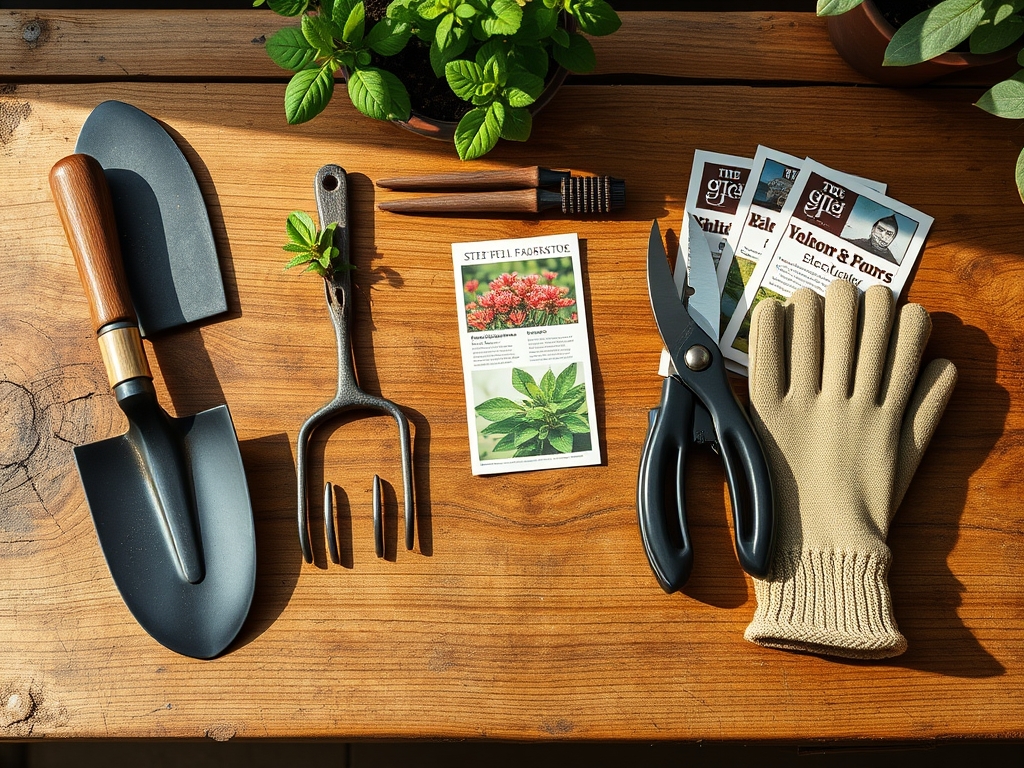
Materials:
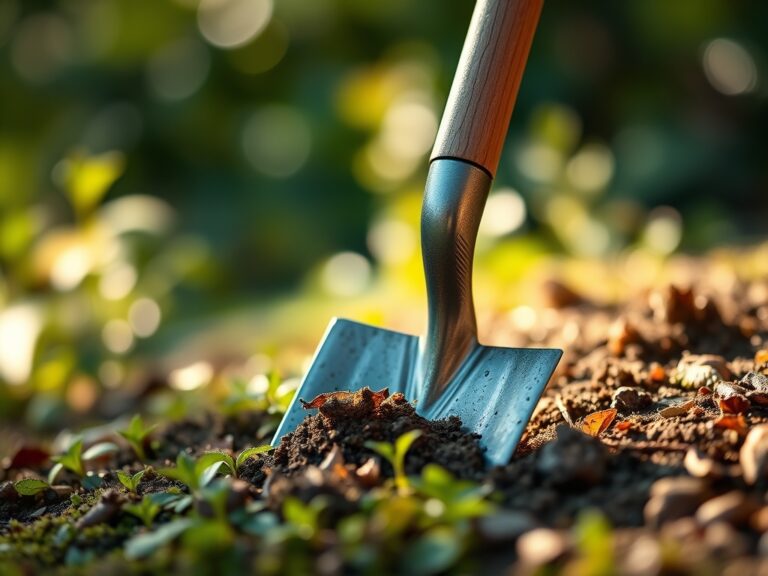
The foundation of any garden structure depends on the substrate stability. For bridge footings, you require a **friable loam** with a **Soil Cation Exchange Capacity (CEC)** between **15 and 25 milliequivalents per 100 grams**. This indicates a high capacity for nutrient retention, which is vital for the ornamental plants flanking the bridge. The soil pH should be maintained between **6.2 and 6.8** to ensure maximum bioavailability of micronutrients.
Before construction, amend the surrounding planting beds with a balanced organic fertilizer. A ratio of 10-10-10 NPK provides the necessary nitrogen for vegetative growth, phosphorus for root establishment, and potassium for cellular wall strength. The physical texture of the soil must be granular enough to prevent anaerobic conditions. If the clay content is too high, incorporate expanded shale or coarse sand to increase the macropore space. This allows for oxygen diffusion to the roots of specimen plants located at the bridge abutments.
Timing:
Timing the installation is critical to minimize root zone disturbance. In Hardiness Zones 5 through 8, the ideal window for construction is late autumn or early spring when plants are in a state of senescence or just breaking dormancy. During these periods, the metabolic rate of the vegetation is low. This reduces the risk of transplant shock or mechanical damage to the vascular tissues.
The biological clock of the garden dictates that structural work should avoid the peak reproductive stages of nearby perennials. Excavating for footings during the high-growth phase of late spring can disrupt auxin distribution and lead to stunted development. Aim for a period when the soil temperature is between 45 and 55 degrees Fahrenheit. This temperature range allows for minimal soil compaction while ensuring that any necessary replanting occurs before the high-transpiration demands of the summer solstice.
Phases:

Sowing the Surroundings
Once the structural footprint is cleared, prepare the seedbed for groundcovers that will stabilize the bridge edges. Use a seed mix tailored to your light levels. For shaded areas under the bridge span, select species with a low light compensation point. Ensure the soil is tilled to a depth of 4 inches to promote rapid radicle penetration.
Pro-Tip: Mycorrhizal fungi inoculation during sowing enhances mycorrhizal symbiosis. These fungi extend the root system's reach, increasing water and phosphorus uptake by up to 30 percent.
Transplanting Specimen Plants
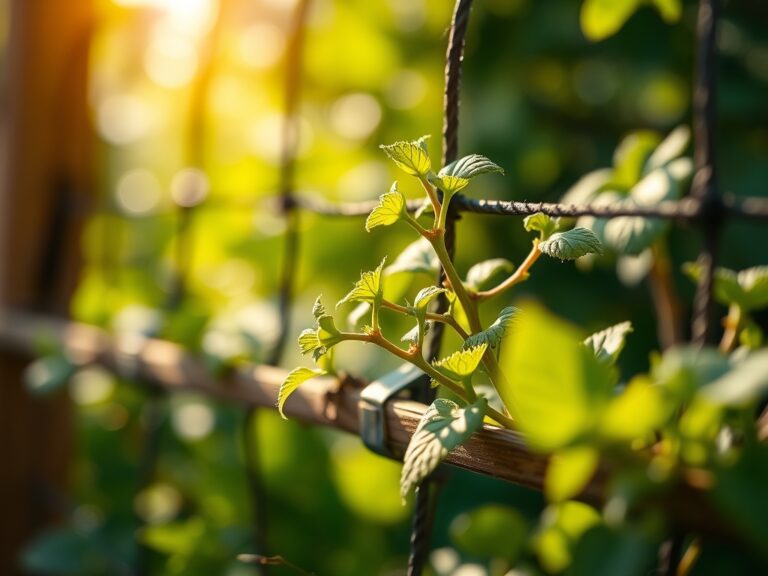
Position larger shrubs or ornamental grasses at the bridge terminals to soften the transition. Dig holes twice the width of the root ball but no deeper than the original container. This prevents the settling of the crown, which can lead to stem rot.
Pro-Tip: Orient the plant so the most developed side faces the sun. This utilizes phototropism to encourage even growth and prevents the plant from leaning into the bridge structure.
Establishing the Microclimate
The area beneath and around the bridge will experience altered airflow and moisture levels. Monitor the water potential of the soil using a tensiometer. The bridge acts as a rain shadow; therefore, supplemental irrigation is often required for plants positioned directly under the span.
Pro-Tip: Avoid heavy pruning immediately after transplanting. Maintaining leaf area preserves auxin suppression of lateral buds, allowing the plant to prioritize root development over canopy expansion.
The Clinic:
Physiological disorders often arise when structural changes alter the environment.
- Symptom: Interveinal chlorosis on new leaves.
- Solution: This indicates Iron deficiency, often caused by high pH levels near concrete footings. Apply chelated iron and sulfur to lower the pH to 6.5.
- Symptom: Marginal leaf scorch on nearby shrubs.
- Solution: This is a sign of drought stress or high salinity. Increase deep watering to leach salts and maintain turgor pressure.
- Symptom: Yellowing of older leaves (Nitrogen chlorosis).
- Fix-It: Apply a quick-release high-nitrogen fertilizer (20-10-10) to restore chlorophyll production.
- Symptom: Stunted growth and blue-green foliage.
- Fix-It: This suggests Phosphorus deficiency. Incorporate bone meal or triple superphosphate into the top 2 inches of soil.
Maintenance:
A bridge requires rigorous maintenance of the surrounding ecosystem. Provide exactly 1.5 inches of water per week at the drip line of all bridge-side plants. Use a soil moisture meter every three days to verify that the moisture has penetrated 6 inches deep.
Keep a hori-hori knife sharpened for removing invasive taproots that may undermine the bridge footings. Use bypass pruners for clean cuts on ornamental branches; ragged cuts invite pathogens into the xylem. Annually check for soil erosion around the bridge supports. If the soil has washed away, top-dress with a mix of 70 percent compost and 30 percent coarse sand to restore the soil profile and protect the root systems from desiccation.
The Yield:
If your bridge spans a water feature with edible aquatic plants like watercress or lotus, harvest timing is paramount. Harvest watercress before the plant enters its reproductive stage to ensure the highest concentration of phytonutrients. Use sanitized shears to cut the top 3 inches of growth. For flowers like Iris sibirica planted at the bridge edge, harvest when the "falls" are just beginning to unfurl. To maintain "day-one" freshness, immediately plunge the stems into 40-degree Fahrenheit water to slow the rate of respiration and preserve cellular integrity.
FAQ:
How deep should bridge footings be for soil stability?
Footings must reach below the local frost line, typically 12 to 24 inches deep. This prevents frost heave from displacing the structure and damaging the root systems of adjacent botanical specimens during freeze-thaw cycles.
Which wood species is best for botanical longevity?
Select Cedar or Redwood for their natural resistance to decay. These woods contain tannins that inhibit fungal growth. Ensure the wood is untreated with toxic chemicals that could leach into the rhizosphere and disrupt soil microbes.
How do I prevent soil compaction during construction?
Lay down plywood sheets to distribute your weight across a larger surface area. This protects the macropores in the soil, ensuring that oxygen can still reach the roots and that the bulk density remains below 1.6 g/cm3.
What is the best way to monitor plant health post-installation?
Observe the turgor pressure of the leaves during the hottest part of the day. If wilting occurs despite moist soil, the roots may have suffered mechanical damage. Use a soil moisture meter to ensure consistent hydration levels.