6 Steps to Prepare a DIY Humidity Pebble Tray
Growing tropical houseplants in heated homes often leads to crispy leaf margins and stunted growth because indoor air rarely exceeds 30% relative humidity during winter months. Learning how to prepare a pebble tray for humidity solves this problem with minimal cost and no electrical components. This passive system raises ambient moisture around plant foliage by 10 to 20 percentage points through continuous evaporation from a shallow water reservoir beneath your containers.
Materials
Select a waterproof tray or saucer measuring 2 to 4 inches deep and at least 2 inches wider than your pot diameter on all sides. Ceramic, plastic, or powder-coated metal trays work equally well provided they hold water without seeping.
Purchase decorative pebbles, river rocks, or horticultural lava rock sized between 0.5 and 1.5 inches in diameter. Avoid crushed limestone or dolomite, which gradually raise water pH above 7.5 and may alter the cation exchange capacity of your potting medium if splashing occurs during watering. Rinse all stones under running water to remove dust and sediment that clouds the reservoir.
Distilled or reverse-osmosis water prevents mineral buildup and white calcium deposits on both pebbles and tray surfaces. Tap water with total dissolved solids above 200 ppm leaves visible residue within two weeks.
For plants requiring acidic conditions such as orchids, gardenias, or carnivorous species, monitor tray water pH monthly with a digital meter. Neutral pebbles paired with purified water maintain stable pH between 6.0 and 7.0 without intervention.
Timing
Prepare humidity trays four weeks before activating central heating systems in USDA Hardiness Zones 3 through 7, typically between late September and mid-October. In Zones 8 through 10, assemble trays when indoor relative humidity drops below 40%, usually in December or January.
Tropical species native to cloud forests or rainforest understories benefit most from supplemental humidity. Examples include Calathea, Maranta, Fittonia, and epiphytic ferns. These genera evolved in environments where relative humidity remains between 60% and 90% year-round, with consistent auxin distribution promoting symmetrical leaf expansion only under adequate moisture conditions.
Begin using trays immediately after transplanting or root disturbance. Elevated humidity reduces transpiration stress and allows damaged root systems to establish without excessive moisture loss through stomata.
Phases

Sowing Phase (Initial Assembly)
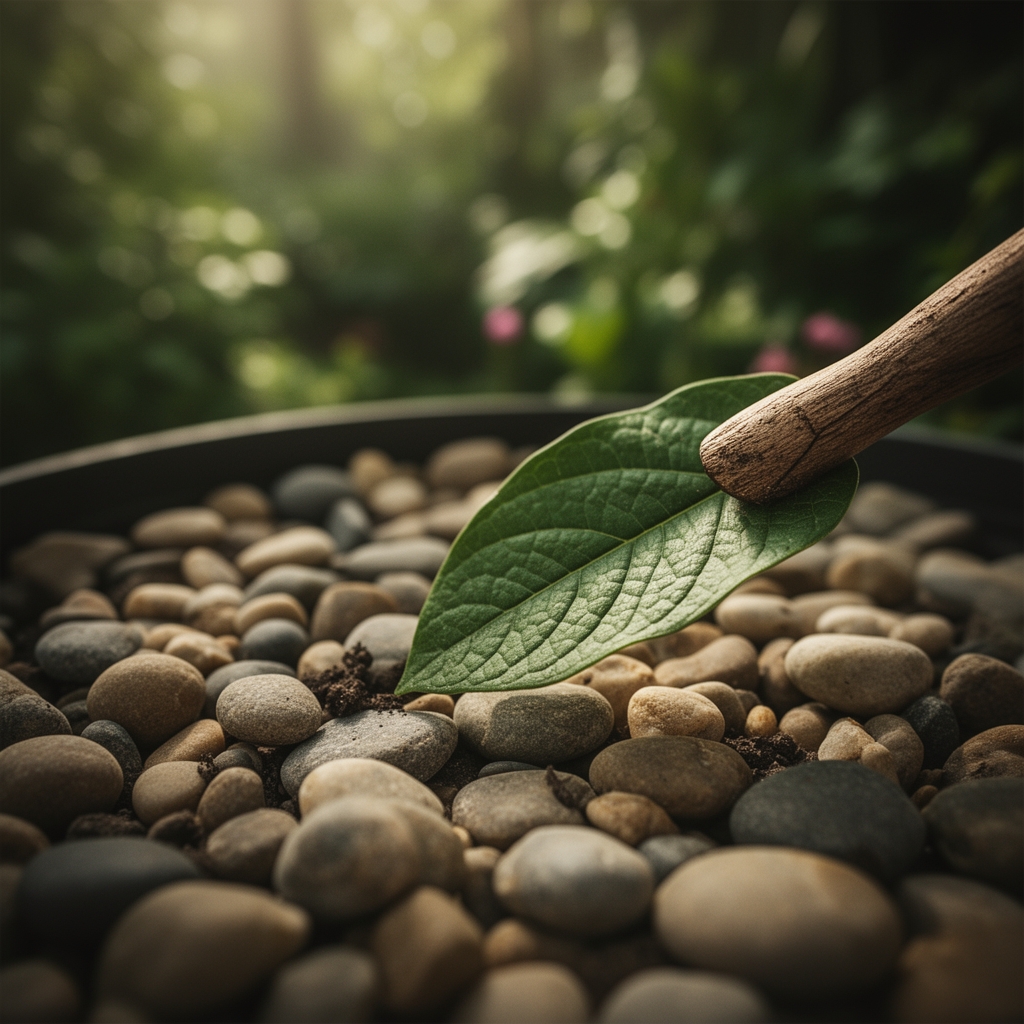
Layer pebbles evenly across the tray bottom to a depth of 1 to 1.5 inches. Avoid piling stones higher on one side, which creates uneven evaporation patterns and concentrates humidity in a single direction.
Pour water into the tray until the surface reaches 0.25 inches below the top of the pebble layer. The stones must remain partially exposed. Submerging them completely reduces evaporative surface area by 40% and negates the system's effectiveness.
Pro-Tip: Add 2 drops of 3% hydrogen peroxide per cup of tray water to suppress algae growth and prevent biofilm formation that clogs pebble interstices.
Transplanting Phase (Plant Placement)
Position the pot directly on top of the pebbles, ensuring the container base does not contact standing water. Any direct contact allows capillary action to wick moisture into the drainage layer, leading to waterlogged substrate and anaerobic conditions that kill feeder roots within 72 hours.
Use small cork pads or silicone bumpers beneath pots if pebbles shift and allow intermittent water contact. Check pot elevation weekly for the first month.
Pro-Tip: Group multiple plants on a single large tray to create a microclimate with cumulative transpiration. Each additional plant contributes moisture through stomatal release, raising localized humidity by an extra 3 to 5 percentage points.
Establishing Phase (Monitoring and Adjustment)
Measure ambient humidity 6 inches above the tray surface using a digital hygrometer after three days of operation. Expect readings 12 to 18% higher than baseline room levels if water depth and pebble exposure remain optimal.
Refill the reservoir when the waterline drops to 0.5 inches below pebble tops, typically every 4 to 7 days depending on room temperature and air circulation. Faster evaporation rates indicate the system is functioning correctly.
Pro-Tip: Position trays away from forced-air vents and radiators. Direct heat accelerates evaporation but creates unstable humidity fluctuations that stress plants adapted to consistent moisture levels.
Troubleshooting
Symptom: White crust forming on pebbles and tray edges.
Solution: Switch to distilled water and scrub existing mineral deposits with a 1:10 vinegar solution. Rinse thoroughly before refilling.
Symptom: Green algae growth covering water surface and stones.
Solution: Dump tray contents, scrub with 10% bleach solution, rinse completely, and reduce water depth by 0.25 inches to increase light exposure and discourage photosynthetic organisms.
Symptom: Fungus gnats hovering around tray.
Solution: Larvae cannot complete their life cycle in moving water. Install a small aquarium air stone connected to a battery-powered pump to agitate the reservoir gently. Alternatively, replace water every 48 hours.
Symptom: No measurable humidity increase.
Solution: Verify pebbles remain 50% exposed above the waterline. Confirm room temperature stays above 65°F, as evaporation rates drop exponentially below this threshold.
Symptom: Root rot despite proper pot elevation.
Solution: Inspect for hairline cracks in ceramic trays allowing seepage into drip saucers beneath pots. Replace damaged trays immediately.
Maintenance
Refill trays with room-temperature water when levels drop to the halfway mark on pebbles, approximately every 5 days in winter and every 3 days in summer if air conditioning runs continuously.
Remove and rinse pebbles monthly under high-pressure water to dislodge accumulated dust, pollen, and organic debris. Dirty stones reduce evaporative efficiency by up to 30%.
Dump all tray water and scrub surfaces with unscented dish soap every six weeks to prevent bacterial biofilms. Biofilms emit musty odors and may harbor plant pathogens like Pythium or Phytophthora.
Replace decorative pebbles annually if calcium deposits resist cleaning. Heavily encrusted stones lose surface porosity necessary for capillary wicking.
FAQ
Can I use aquarium gravel instead of river rocks?
Yes, provided the gravel is inert and does not contain pH-buffering compounds. Avoid substrates marketed for African cichlid tanks, which often include crushed coral that raises alkalinity.
How many plants fit on one tray?
Calculate total pot diameter including rims, then leave 1 inch of space between containers for air circulation. Overcrowding traps stagnant air and promotes fungal disease.
Do succulents and cacti need humidity trays?
No. Desert-adapted species possess crassulacean acid metabolism and specialized cuticles that minimize water loss. Excess humidity encourages rot in these genera.
Will humidity trays damage wood furniture?
Use cork mats or silicone trivets under trays to prevent moisture transfer. Condensation forms on tray exteriors in cool rooms.
How long do pebble trays remain effective?
Indefinitely with proper maintenance. The evaporation principle does not degrade over time as long as water and clean stones remain available.