7 Essential Tools for Building a Garden Pergola
The scent of fresh-cut cedar mingles with garden soil as you lay out lumber for a new structure. Building a pergola transforms flat garden space into a three-dimensional framework where vines climb, shade patterns shift hourly, and outdoor rooms take shape. Essential tools for building a garden pergola determine whether construction proceeds smoothly or becomes an exercise in frustration. The right equipment ensures joinery stays square, posts stand plumb, and overhead beams align to support decades of plant growth.
Materials
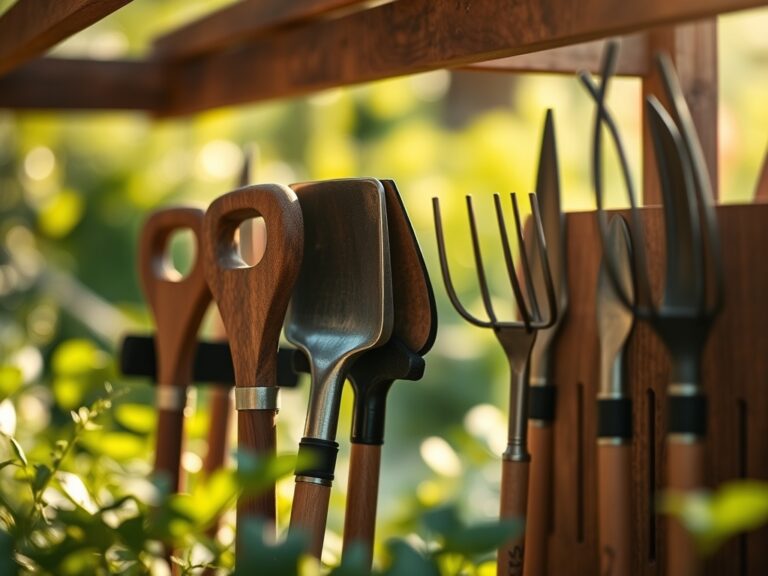
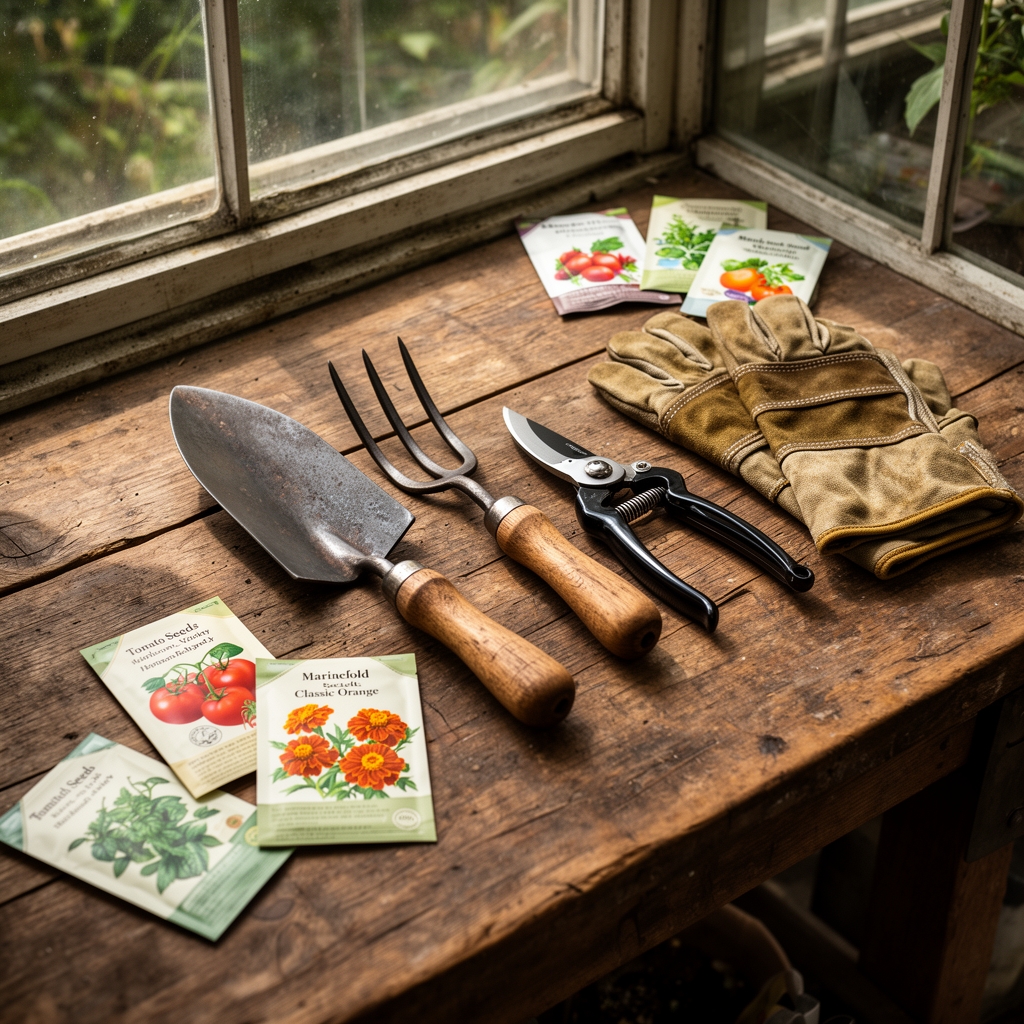
Building a pergola requires tools that cut, measure, fasten, and verify. A circular saw or miter saw handles dimensional lumber cuts through 4×4 posts and 2×6 beams. Carbide-tipped blades maintain edge retention through pressure-treated wood that contains copper azole compounds with a pH near 5.0. For fastening, a cordless drill with 18-volt lithium cells drives 3-inch structural screws through load-bearing joints. Screws offer superior withdrawal resistance compared to nails, critical where lateral wind loads stress connections.
A post-hole digger or auger excavates foundation holes to 24 inches deep, below the frost line in USDA Zones 5 through 7. Soil removed from these excavations reveals tilth quality and cation exchange capacity. Sandy soils drain rapidly but require gravel bases for post stability. Clay soils with CEC values above 20 meq/100g hold moisture against wooden posts, necessitating drainage solutions.
Metal framing hardware includes post bases, joist hangers, and angle brackets rated for outdoor exposure. Galvanized steel resists oxidation in humidity levels common to garden environments. Hurricane ties add shear strength where cross-beams meet support posts. A speed square ensures 90-degree cuts and allows quick marking of rafter tails. This 7-inch triangular guide references both horizontal and vertical planes simultaneously.
Clamps and levels round out the essential roster. Bar clamps hold beams during assembly while pilot holes are drilled. A 4-foot spirit level verifies plumb on vertical posts and level on horizontal members. Digital levels provide readings to 0.1 degrees, useful where even minor deviations compound across 10-foot spans.
Timing
Construction timing aligns with dormant periods for nearby plantings and favorable weather windows. In Zones 6 and 7, late March through May offers ground conditions firm enough for digging yet workable enough for post installation. Frost dates typically pass by mid-April, eliminating freeze-heave concerns for fresh concrete footings.
Summer construction from June through August allows immediate curing of pressure-treated lumber. Wood moisture content drops from 18 percent at purchase to 12 percent within six weeks of outdoor exposure. This seasoning reduces subsequent warping. Fall builds in September and October precede winter dormancy, giving structures time to settle before spring vine planting.
Avoid construction during active growing seasons for established perennials within the build zone. Root systems of nearby shrubs extend 1.5 times their canopy diameter. Excavation severs feeder roots and disrupts mycorrhizal networks that enhance phosphorus uptake.
Phases

Sowing the Foundation: Mark post locations with stakes and mason's twine. Measure diagonals to confirm square layout; equal diagonal measurements indicate 90-degree corners. Dig holes 8 inches wider than post dimensions. Pour 4 inches of gravel for drainage before setting posts. Concrete collars provide lateral stability, mixed to 6-sack consistency (six bags per cubic yard). Pro-Tip: Score concrete surfaces while still plastic to create mechanical keys that resist post rotation under load.
Transplanting Vertical Elements: Set posts in holes with temporary 2×4 bracing on adjacent faces. Check plumb in two directions before backfilling. Posts rise 8 feet above grade for standard pergola clearance. This height accommodates mature climbing roses with 6-foot canes plus 2 feet for air circulation. Tamp soil in 6-inch lifts around post bases, compacting to 95 percent density.
Establishing the Canopy: Install header beams across post tops using carriage bolts or structural screws. Beams overhang posts by 12 inches on each end for visual proportion. Space rafters 16 inches on center across the headers, creating a grid pattern. This spacing supports clematis vines at mature density of one plant per 3 square feet. Pro-Tip: Angle rafter tail cuts at 30 degrees and apply two coats of water-repellent stain to end grain, reducing moisture infiltration by 70 percent where capillary action concentrates water absorption.
Troubleshooting
Symptom: Posts lean within first season. Solution: Excavate around base and install diagonal knee braces at 45-degree angles. Secure braces with 1/2-inch lag screws, three per connection point.
Symptom: Beam sag under vine weight after three years. Solution: Add center support post or install steel cable reinforcement. Cable tensioned to 200 pounds provides supplemental load distribution without additional footings.
Symptom: Wood splits along grain during screw installation. Solution: Drill pilot holes to 75 percent of screw shank diameter. Apply paraffin wax to screw threads before driving to reduce friction coefficient.
Symptom: Green algae growth on shaded lumber surfaces. Solution: Apply oxygen bleach solution (1 cup per gallon water) and scrub with natural-bristle brush. Algae indicate excess moisture retention; improve overhead drainage or apply semi-transparent stain with UV blockers.
Maintenance
Inspect structural connections each spring before new vine growth loads the frame. Tighten bolts and screws to compensate for seasonal wood movement. Apply 1/8 inch of water-repellent penetrating stain every three years to maintain moisture content below 15 percent. This threshold prevents decay fungi colonization.
Remove plant material from joints and post bases monthly during growing season. Organic debris traps moisture and creates anaerobic pockets where sulfate-reducing bacteria accelerate corrosion of metal fasteners. Clear leaf litter within 6 inches of all wood-to-ground transitions.
Prune climbing plants to maintain 40 percent light transmission through the pergola canopy. This ratio balances shade provision with air movement that reduces foliar disease pressure. Cut vines at 30-degree angles 1/4 inch above outward-facing buds to direct auxin distribution toward structural elements.
FAQ
How deep should pergola posts be set? Posts require burial depth of one-third their total length, minimum 24 inches in frost-prone zones to prevent heaving.
What lumber dimensions work for 10-foot spans? Use 2×8 beams for spans up to 10 feet with 16-inch rafter spacing; increase to 2×10 for 12-foot spans or heavier vine loads.
Can pressure-treated wood contact soil directly? Modern copper-based treatments allow ground contact, but gravel drainage extends service life from 15 to 25-plus years.
What fastener spacing prevents splitting? Maintain edge distances of 1.5 inches from board edges and 3 inches from ends; pre-drill within 6 inches of terminations.
How much weight can a standard pergola support? Properly constructed 10×10-foot pergolas handle 50 pounds per square foot live load, adequate for mature wisteria and seasonal snow accumulation in Zone 6.