7 Refreshing Steps for Repotting a Philodendron
The smell of damp peat and the gritty texture of perlite under your fingernails signal the start of a necessary physiological reset for your indoor greenery. When a Philodendron hederaceum reaches its container capacity, the roots begin to circle the interior walls; this creates a physical barrier that prevents efficient nutrient uptake. Turgor pressure begins to drop as the root-to-shoot ratio becomes unbalanced. Mastering the steps for repotting a heartleaf philodendron requires an understanding of the plant's vascular system and its need for a porous, oxygenated rhizosphere. You must act before the plant enters a state of permanent wilting or chlorosis. A successful transplant ensures that the xylem and phloem can continue transporting water and carbohydrates without the constriction of a bound root ball. By following a systematic approach, you maintain the structural integrity of the vines while providing the expanded volume required for the next growth cycle.
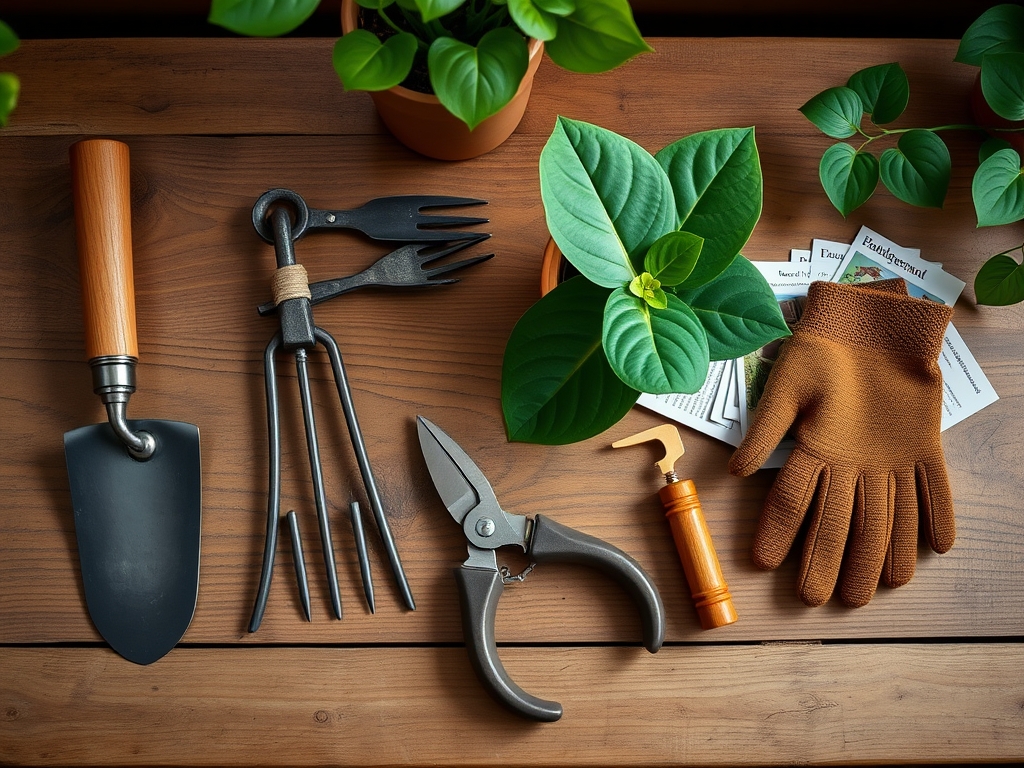
Materials:
Substrate selection is the most critical variable in determining the long-term health of the plant. Heartleaf philodendrons thrive in a pH range of 5.5 to 6.0, which allows for optimal availability of micronutrients like iron and manganese. The ideal medium is a friable loam consisting of 40 percent coco coir, 30 percent orchid bark, 20 percent perlite, and 10 percent worm castings. This mixture ensures high porosity and a high Cation Exchange Capacity (CEC), allowing the soil to hold onto essential ions.
For fertilization, integrate a slow-release granular formula with an NPK ratio of 3-1-2. Nitrogen is the primary driver of vegetative biomass in Araceae. Ensure your new container is only 2 inches wider in diameter than the current pot. Excessive soil volume leads to "perched water tables," where the bottom of the pot remains saturated, depriving the roots of oxygen and inviting anaerobic pathogens.
Timing:
While heartleaf philodendrons are typically kept indoors, their biological clock remains tethered to solar cycles. In Hardiness Zones 9 through 11, these plants can be transitioned outdoors during the humid summer months, but repotting should occur during the spring equinox. This timing aligns with the plant's transition from semi-dormancy to its primary vegetative stage. During this window, the increase in photoperiod triggers the production of auxins, the hormones responsible for root elongation and apical dominance.
Avoid repotting during the winter solstice when light levels drop below 100 foot-candles. At this stage, the plant's metabolic rate slows, and the rate of transpiration decreases. Repotting during dormancy increases the risk of transplant shock because the roots lack the metabolic energy to colonize new substrate. Aim for a window at least four weeks before the first frost date if the plant has been kept in a three-season room or patio.
Phases:

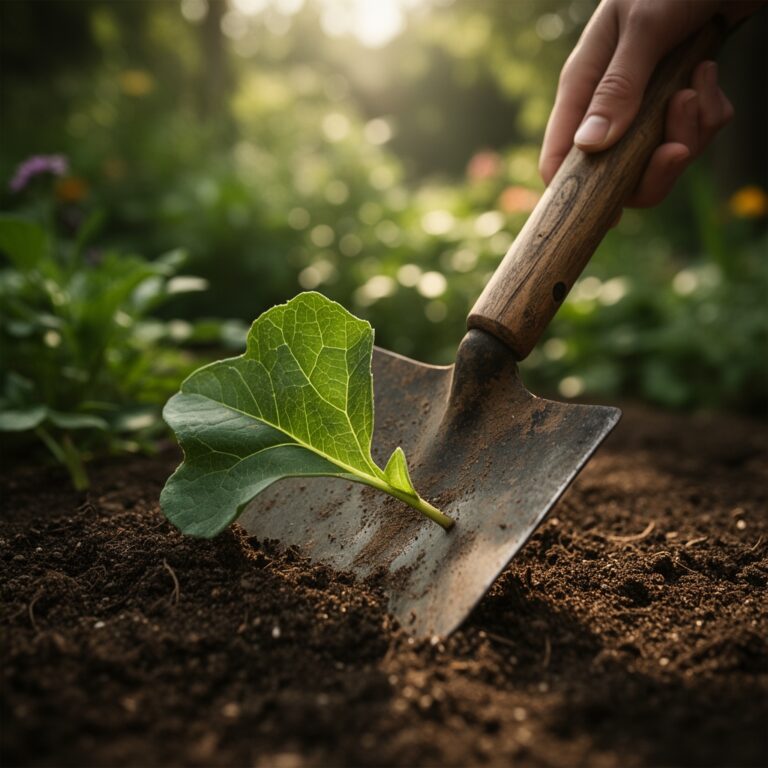
Sowing and Extraction
Begin by hydrating the plant 24 hours prior to the move. This ensures the cells are at full turgor, making the stems less prone to snapping. Invert the pot and support the main stem base with your palm. If the plant is stuck, use a hori-hori knife to slide along the inner circumference of the pot to sever any micro-root attachments. Gently tease the outer roots to break the circular growth pattern.
Pro-Tip: Massaging the root ball breaks apical dominance in the root tips. This mechanical stress stimulates lateral root branching, which increases the total surface area for nutrient absorption once the plant is in its new medium.
Transplanting
Place a base layer of your prepared substrate in the new container. Position the philodendron so the top of the root ball sits 1 inch below the rim of the pot. This headspace is vital for effective irrigation. Fill the lateral gaps with soil, tapping the pot on a hard surface to remove large air pockets without over-compressing the medium. Over-compaction destroys the macropores necessary for gas exchange.
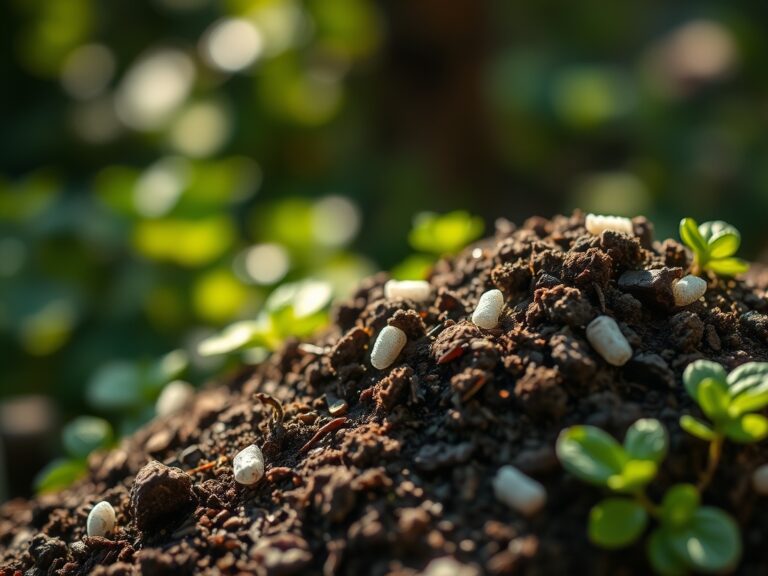
Pro-Tip: Integrating a handful of leaf mold or commercial inoculant introduces mycorrhizal symbiosis. These fungi extend the reach of the root system, significantly improving the plant's ability to uptake phosphorus and water during periods of environmental stress.
Establishing
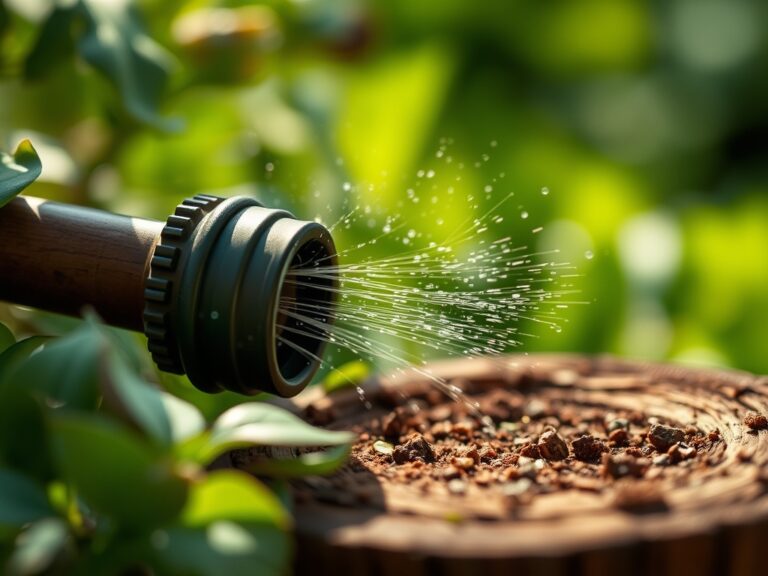
Immediately after transplanting, irrigate until water flows freely from the drainage holes. This "settling" water aligns the soil particles with the root hairs, eliminating lethal air gaps. Place the plant in a location with filtered bright light (approximately 200 to 400 foot-candles). Monitor the plant for the next 14 days, looking for new axillary bud activation as a sign of successful establishment.
Pro-Tip: Avoid heavy fertilization for the first 21 days. The plant needs to focus on root repair rather than forced foliar growth. High salt concentrations from fertilizers can dehydrate new, sensitive root tissues via osmotic pressure.
The Clinic:
Symptom: Interveinal Chlorosis
Solution: This is typically a sign of magnesium deficiency or an improper pH level blocking nutrient uptake. Check the soil pH; if it is above 7.0, flush the soil with distilled water and apply a diluted Epsom salt solution (1 teaspoon per gallon).
Symptom: Leaf Tip Necrosis
Solution: Brown, crispy tips often indicate fluoride toxicity or salt buildup from tap water. Switch to rainwater or filtered water and ensure the pot is being flushed thoroughly during every third watering cycle to leach out accumulated solutes.
Symptom: Epinasty (Downward Curling)
Solution: This is a physiological response to root hypoxia caused by overwatering. If the soil feels muddy, remove the plant and add more perlite or orchid bark to the mix to increase the oxygen diffusion rate within the rhizosphere.
Fix-It: Nitrogen Deficiency
If the oldest leaves are turning a uniform pale yellow, the plant is scavenging nitrogen to support new growth. Apply a liquid fertilizer with a high nitrogen analysis (such as 10-5-5) at half strength to restore the chlorophyll density.
Maintenance:
Precision is the difference between a surviving plant and a thriving one. Use a soil moisture meter to ensure you only irrigate when the top 2 inches of soil have reached a "dry" reading. For a standard 8-inch pot, this usually equates to roughly 12 to 16 ounces of water per week, depending on ambient humidity.
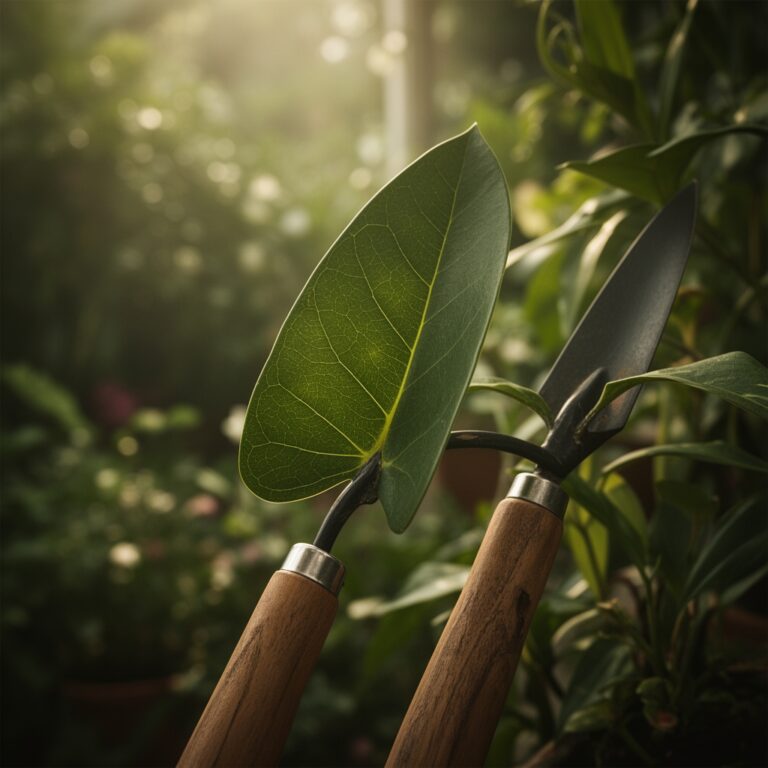
Maintain the foliage using bypass pruners to remove any senescent leaves. Sterilize your tools with 70 percent isopropyl alcohol between cuts to prevent the transmission of systemic pathogens. If the vines become leggy, prune just above a node to stimulate the "sleeping" axillary buds; this results in a bushier growth habit. Keep the leaves free of dust by wiping them with a damp cloth every 30 days to ensure maximum photosynthetic efficiency.
The Yield:
While the heartleaf philodendron is not an edible crop, its "yield" is measured in healthy nodal cuttings for propagation. When a vine exceeds its desired length, use your bypass pruners to take a 6-inch cutting. Ensure the cutting has at least two nodes.
Remove the lower leaf and submerge the node in water or moist sphagnum moss. Maintain a temperature of 70 to 75 degrees Fahrenheit. Within 14 to 21 days, you will observe adventitious root development. Once these roots reach 2 inches in length, they can be transitioned into the same high-CEC soil mix used for the parent plant.
FAQ:
How do I know when to repot?
Look for roots emerging from drainage holes or a significant decrease in growth rate. If the soil dries out within 48 hours of a deep watering, the root mass has likely displaced too much substrate.
What is the best pot material?
Terra cotta is ideal for those prone to overwatering due to its porosity. However, plastic or glazed ceramic is better for retaining moisture in low-humidity environments. Ensure any vessel has at least one half-inch drainage hole.
Can I use garden soil?
No. Garden soil is too dense and contains pathogens. It lacks the porosity and aeration required for indoor containers. Always use a sterilized, peat-based or coco-based "soilless" potting medium to prevent root rot and compaction.
Why are the new leaves smaller?
Small leaves usually indicate insufficient light intensity or a lack of physical support. Providing a moss pole allows the plant to transition from a trailing to a climbing habit, which triggers larger leaf morphogenesis.