7 Steps to Prepare a Custom Garden Shed Foundation
The scent of damp, disturbed earth reveals a complex chemical profile of geosmin and decomposing organic matter. This olfactory feedback indicates the presence of active soil microbes, which are essential for structural integrity. When you learn how to prepare a site for a garden shed, you are not merely clearing space; you are managing the physical mechanics of the rhizosphere. A shed foundation must resist the hydraulic pressure of groundwater while maintaining the turgor of surrounding vegetation. If the site is poorly graded, water accumulates, leading to anaerobic soil conditions and root rot in nearby perennials. Proper preparation ensures that the soil Cation Exchange Capacity (CEC) remains stable around the perimeter, preventing the leaching of essential minerals like magnesium and calcium. A stable foundation requires a deep understanding of soil compaction and drainage. Without a level, well drained base, the structural load of the shed will cause uneven settling. This results in warped frames and compromised door seals. Precision at the sub-grade level is the only way to ensure long term stability.
Materials:
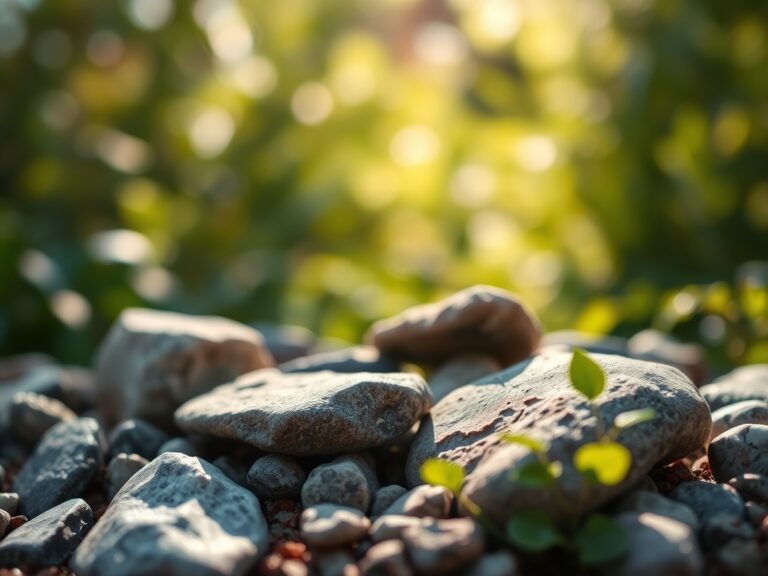
Selecting the correct substrate is a matter of geological and chemical precision. The ideal base layer consists of **3/4-inch crushed angular stone**, which provides superior mechanical interlocking compared to rounded pea gravel. For the surrounding soil, aim for a **friable loam** with a texture that is 40 percent sand, 40 percent silt, and 20 percent clay. This ratio ensures optimal pore space for gas exchange.
The chemical profile of the site must be balanced to prevent the corrosion of anchors and the health of adjacent flora. Maintain a soil pH between 6.0 and 7.0. If the soil is too acidic, apply pelletized lime to raise the pH. For nutrient stability in the perimeter zone, ensure an NPK ratio of 5-10-5. High nitrogen levels (the first digit) should be avoided near the foundation to prevent excessive vegetative growth that could trap moisture against the shed siding. A high phosphorus count (the middle digit) encourages the strong root architecture needed to stabilize the soil edges against erosion.
Timing:
The biological clock for site preparation is dictated by Hardiness Zones and soil moisture levels. In Zones 4 through 7, site preparation should occur at least six weeks before the first hard frost or after the soil has thawed and dried in the spring. Working with saturated soil destroys soil structure through compaction, reducing the air-filled porosity necessary for microbial life.
Monitor the "Biological Clock" of your landscape. Do not excavate during the peak reproductive stage of nearby specimen trees, as root disturbance during flowering or fruit set can trigger premature senescence. The ideal window is during the late vegetative stage when the plant has sufficient carbohydrate reserves to repair root damage. Aim for a soil temperature of at least 55 degrees Fahrenheit to ensure that any restorative seeding around the site can germinate effectively.
Phases:

Sowing the Perimeter
Once the foundation is set, you must stabilize the disturbed earth. Broadcast a heavy-duty fescue or clover mix at a rate of 5 pounds per 1,000 square feet. Use a rake to ensure seed-to-soil contact at a depth of 1/8 inch.
Pro-Tip: Mycorrhizal symbiosis is critical here. Inoculate the seeds with Glomus intraradices fungi to extend the root system's reach, allowing the new growth to pull phosphorus from the soil more efficiently, which anchors the soil against shed runoff.
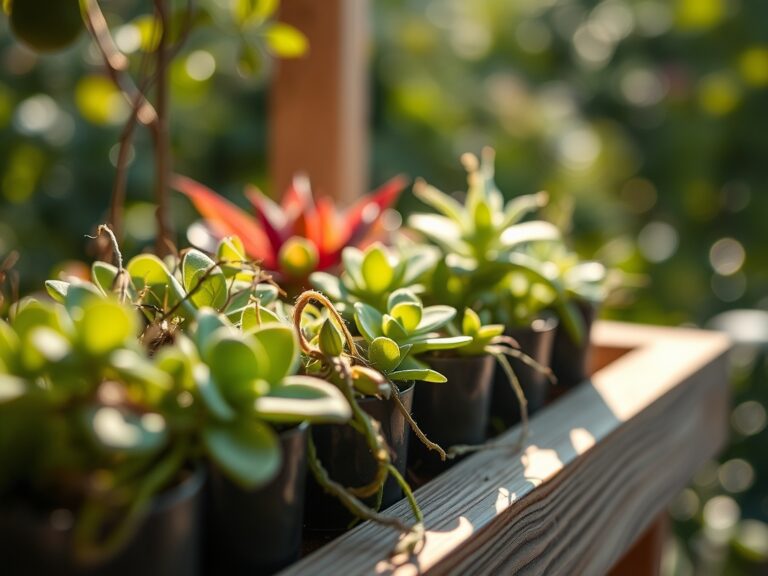
Transplanting Disturbed Flora
If the shed footprint displaces existing plants, they must be moved with a significant root ball. Use a hori-hori knife to clean-cut any lateral roots. This prevents jagged tears that are susceptible to pathogens.
Pro-Tip: Maintain the original orientation of the plant relative to the sun. This respects the plant's established phototropism, preventing the stress of re-orienting its leaf canopy toward the light source, which can lead to a drop in turgor pressure.
Establishing the Base
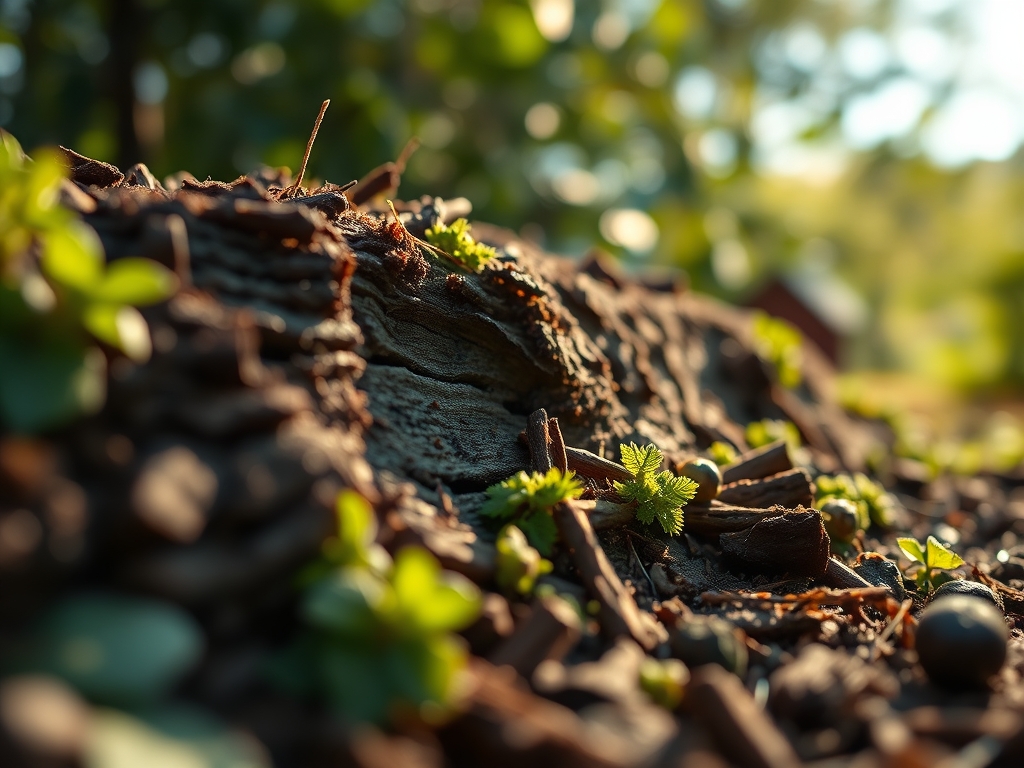
Excavate to a depth of 6 inches. Line the area with a heavy-duty geotextile fabric. This fabric acts as a semi-permeable membrane, allowing water to pass while preventing the migration of soil fines into your gravel base.
Pro-Tip: Suppress auxin production in surrounding weeds by using a physical barrier rather than chemical inhibitors. By blocking light, you prevent the elongation of weed stems, forcing the plant to exhaust its stored energy without the benefit of photosynthesis.
The Clinic:
Physiological disorders in the surrounding landscape often manifest after the soil compaction of a shed build.
- Symptom: Interveinal chlorosis (yellowing leaves with green veins) in nearby shrubs.
- Solution: This indicates a lack of iron or manganese, often caused by a pH spike from concrete runoff. Apply chelated iron to the rhizosphere.
- Symptom: Marginal leaf burn or necrosis.
- Solution: This suggests salt accumulation or drought stress from altered drainage. Flush the area with 2 inches of water to leach excess salts.
- Symptom: Nitrogen Chlorosis (uniform pale green/yellow leaves).
- Fix-It: Apply a quick-release 10-0-0 liquid fertilizer to restore chlorophyll production. Ensure the soil temperature is above 50 degrees Fahrenheit for uptake.
Maintenance:
Post-construction maintenance requires technical monitoring. Use a soil moisture meter to ensure the perimeter receives 1.5 inches of water per week at the drip line. This prevents the soil from shrinking away from the foundation, which creates gaps for pests.
Inspect the shed base for "heaving" after the first freeze-thaw cycle. Use bypass pruners to remove any encroaching woody vegetation within 12 inches of the shed walls. This ensures adequate airflow, preventing the growth of fungi and maintaining the integrity of the wood. Periodically check the soil pH near the foundation to ensure it hasn't drifted due to leaching from building materials.
The Yield:
If your shed site includes an adjacent kitchen garden, the "yield" is the successful harvest of crops unaffected by the construction. For leafy greens, harvest in the early morning when turgor pressure is at its peak. This ensures the cells are fully hydrated. Use a sharp blade to make a clean cut, then immediately submerge the produce in 40-degree Fahrenheit water. This rapid cooling halts the metabolic process of respiration, preserving "day-one" freshness and preventing the wilt associated with moisture loss through the stomata.
FAQ:
How deep should I dig for a shed foundation?
Excavate to a minimum depth of 4 to 6 inches. This allows for a 4-inch layer of compacted stone and a 2-inch leveling layer. Deep excavation prevents frost heave from shifting the structure during winter temperature fluctuations.
What is the best base material for a shed?
Clean, 3/4-inch crushed angular stone is the superior choice. Unlike rounded gravel, angular stone interlocks under pressure, creating a stable, permeable surface that allows for rapid drainage and prevents the pooling of water beneath the floor.
Do I need a weed barrier under my shed?
Yes. A heavy-duty geotextile fabric is essential. It prevents soil from mixing with the gravel base, which maintains drainage efficiency. It also suppresses the growth of opportunistic weeds by blocking the light required for photosynthesis.
How do I prevent water from rotting my shed?
Ensure the site is graded so that water moves away from the foundation at a 2 percent slope. Maintain a 12-inch vegetation-free zone around the perimeter using gravel to promote airflow and prevent moisture wicking into the siding.