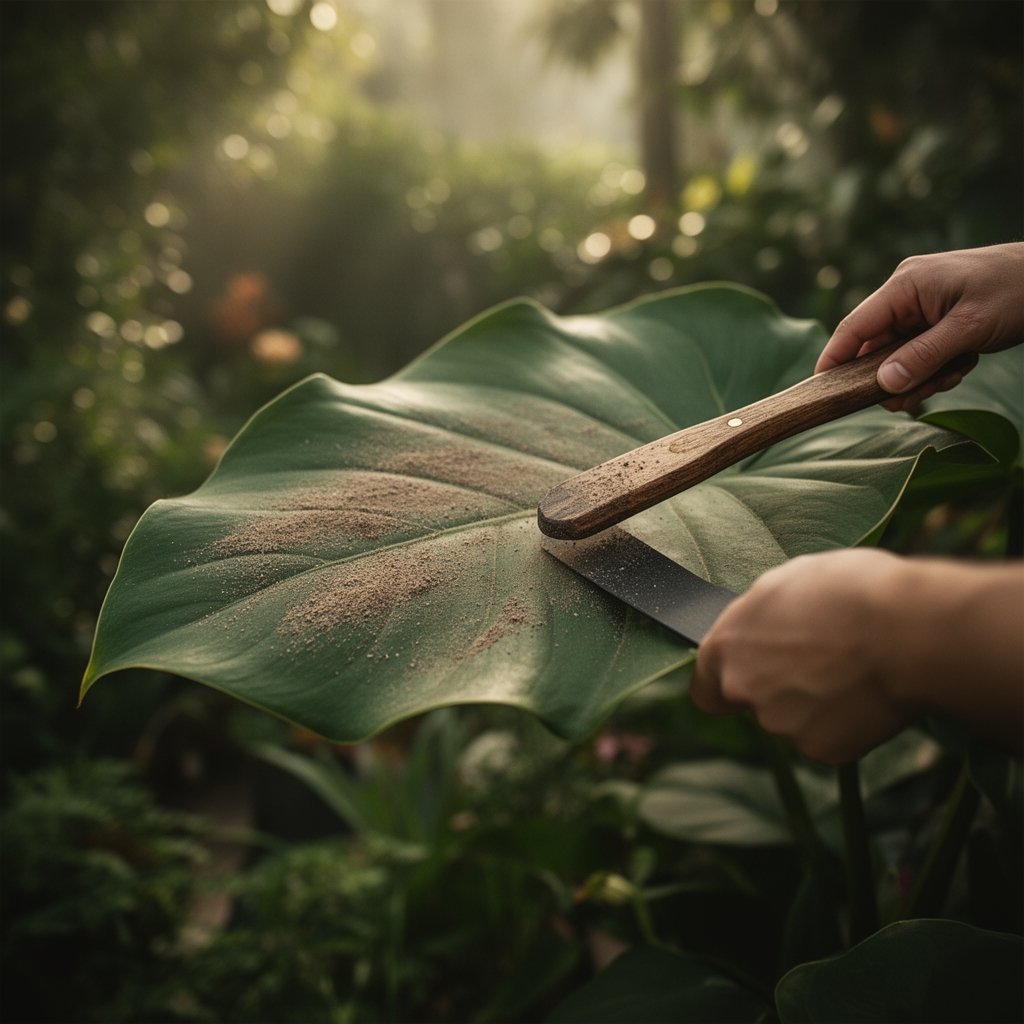
7 Steps to Safely Clean Dust Off Plant Leaves
Dust accumulation on foliage reduces photosynthetic efficiency by up to 50% within three weeks, particularly on species with large leaf surface areas like Ficus lyrata, Monstera deliciosa, and Strelitzia nicolai. The particulate layer blocks stomatal gas exchange and creates microhabitats for spider mites and scale insects. Understanding the proper steps to clean dust off large plant leaves preserves chlorophyll function and maintains optimal auxin distribution throughout the plant canopy.
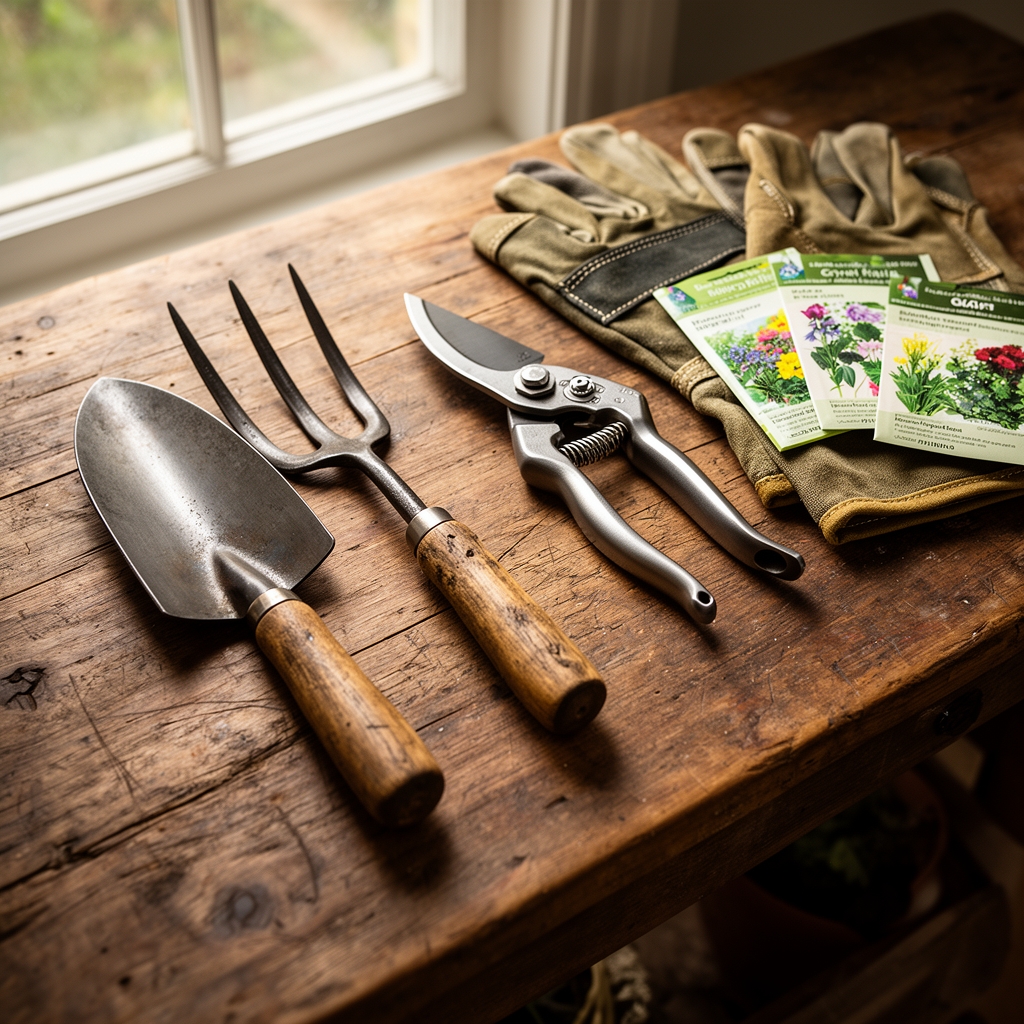
Materials
Select pH-neutral water between 6.0 and 7.0 to avoid disrupting the leaf cuticle’s waxy coating. Distilled or rainwater prevents mineral deposits that tap water leaves behind, particularly in regions with water hardness exceeding 150 ppm calcium carbonate.
Microfiber cloths with a GSM (grams per square meter) rating of 300 or higher provide adequate absorbency without scratching the epidermis. Avoid paper towels, which contain lignin particles that abrade delicate tissues.
For stubborn residues, prepare a solution of 1 teaspoon insecticidal soap (0-0-0 NPK, pH 7.5) per quart of water. Neem oil emulsions at 0.5% concentration work for waxy deposits but require emulsifiers like potassium oleate for proper mixing.
A spray bottle with adjustable nozzle settings allows fine mist application. Basins large enough to submerge entire leaves suit smaller specimens. Soft-bristle brushes with natural fibers work for textured foliage like Begonia species.
Timing
Execute leaf cleaning during the active growing season when stomatal activity peaks. In USDA Hardiness Zones 9-11, this occurs year-round with slight reductions during December and January. For Zones 3-8, schedule cleaning between April and September when indoor heating systems produce less airborne particulate.
Clean leaves in morning hours between 8:00 and 10:00 AM. Stomata open during this window, allowing rapid moisture evaporation and preventing fungal colonization. Avoid cleaning within 48 hours of fertilizer application, as wet foliage increases the risk of foliar burn from concentrated nutrients.
Inspect plants every 14 days. Dust layers exceeding 0.5mm thickness warrant immediate cleaning. Species with pubescent (hairy) leaves like Saintpaulia (African violet) require cleaning every 21-28 days using dry methods only.
Phases

Preparation Phase
Remove the plant from direct sunlight to prevent water droplets from acting as magnifying lenses. Thermal burns appear as bleached spots within 20 minutes of exposure. Test cleaning solution on one leaf, waiting 24 hours to observe phytotoxic reactions like chlorosis or necrotic lesions.
Support each leaf from beneath with your non-dominant hand. This prevents petiole stress and maintains the natural angle of attachment, which typically ranges from 45 to 90 degrees depending on species.
Pro-Tip: Apply mycorrhizal fungi inoculant to the soil surface 48 hours before cleaning. The symbiotic relationship increases the plant’s stress tolerance during handling by improving phosphorus uptake efficiency by 300%.
Execution Phase
For smooth-leaved species, dampen the microfiber cloth with prepared solution. Wipe from the leaf base (proximal end) toward the apex (distal tip) following the midrib direction. This technique follows natural venation patterns and prevents tearing of intercostal tissue.
Apply pressure equivalent to 50-75 grams per square centimeter. Excessive force damages the cuticle’s epicuticular wax layer, which takes 14-21 days to regenerate fully.
Clean both adaxial (upper) and abaxial (lower) surfaces. The lower surface contains 60-80% more stomata in most species and accumulates dust in the venation grooves. Use a fresh cloth section for each leaf to prevent cross-contamination of pests or pathogens.
Pro-Tip: Rotate leaves 15 degrees from their natural position after cleaning. This adjustment optimizes light interception angles and increases photosynthetic efficiency by 8-12% over seven days.
Drying Phase
Allow foliage to air-dry completely within 90 minutes. Poor air circulation extends drying time beyond two hours, creating conditions favorable for Botrytis cinerea and other saprophytic fungi. Position an oscillating fan 6 feet away on low setting if ambient humidity exceeds 70%.
Return plants to their original location only after leaf surfaces feel completely dry to touch. The stomatal aperture remains enlarged for 30-45 minutes post-cleaning, making plants vulnerable to rapid transpirational water loss.
Pro-Tip: Prune any leaves showing more than 40% necrotic tissue at a 45-degree angle, 1/4 inch above the nearest node. Clean cuts reduce pathogen entry points and redirect carbohydrate resources to healthy tissue.
Troubleshooting
Symptom: White crusty deposits reappear within 7 days
Solution: Water hardness exceeds acceptable levels. Install a reverse osmosis system or collect rainwater with pH between 5.5-6.5. Flush soil with three times the pot volume of distilled water to remove salt accumulation affecting cation exchange capacity.
Symptom: Brown spots appear 24-48 hours after cleaning
Solution: Chemical burn from concentrated cleaning solution or exposure to direct sun while wet. Dilute all solutions to half strength. Move affected plants to indirect light with intensity below 200 foot-candles until new growth emerges.
Symptom: Leaf drooping persists 6+ hours post-cleaning
Solution: Excessive handling damaged vascular bundles in the petiole. Stake affected leaves at their natural angle using soft plant ties. Increase ambient humidity to 55-65% and reduce watering by 20% for one week to decrease transpirational demand.
Symptom: Fine webbing appears between veins
Solution: Spider mite infestation activated by cleaning disturbance. Isolate plant immediately. Apply horticultural oil at 2% concentration, ensuring complete coverage of abaxial surfaces where mites aggregate. Repeat treatment every 5 days for three cycles.
Symptom: Leaves develop yellow interveinal chlorosis
Solution: Magnesium deficiency exacerbated by cleaning stress. Apply Epsom salt solution (1 teaspoon per gallon) as a foliar spray. Magnesium activates chlorophyll synthesis and typically restores green coloration within 10-14 days.
Maintenance
Clean leaves every 21 days during dusty seasons or in homes with forced-air heating systems. Increase frequency to every 14 days for plants within 10 feet of kitchens, where grease particles combine with dust to form stubborn films.
Maintain relative humidity between 45-55% to minimize dust adhesion. Dry air creates static charges that attract airborne particles to leaf surfaces. Use a hygrometer to monitor levels and adjust with humidifiers when readings drop below 40%.
Water soil when the top 2 inches feel dry, typically every 7-10 days for most large-leaved tropicals in 10-12 inch containers. Proper hydration maintains turgor pressure, making leaves more resilient to handling stress.
Fertilize with balanced 10-10-10 NPK formula at half strength every 4 weeks during growing season. Adequate nitrogen ensures continuous production of photosynthetic enzymes like RuBisCO, maximizing the benefits of clean leaf surfaces.
Rotate plants 90 degrees every 14 days. Even light exposure prevents phototropic leaning and maintains symmetrical growth patterns, making future cleaning sessions more ergonomic.
FAQ
How often should I clean indoor plant leaves?
Every 14-21 days for most species, or when dust layer reaches 0.5mm thickness. Kitchens and high-traffic areas require more frequent attention due to increased particulate matter.
Can I use leaf shine products?
Avoid commercial leaf shine sprays. They clog stomata and reduce gas exchange by up to 70%. Natural cleaning with water maintains the plant’s own epicuticular wax layer without chemical interference.
What water temperature works best?
Room temperature water between 65-75°F prevents thermal shock to leaf tissues. Cold water below 55°F causes cellular damage, while hot water above 85°F denatures proteins in the cuticle.
Should I clean newly purchased plants immediately?
Wait 7-10 days for acclimation to new light and humidity conditions. Cleaning during the adjustment period compounds transplant shock and may trigger leaf drop in sensitive species like Ficus benjamina.
Do hairy-leaved plants need different techniques?
Yes. Use only dry methods like soft brushes or compressed air at low pressure (below 30 PSI). Water trapped in trichomes (leaf hairs) promotes fungal growth and leaf rot in pubescent species.