8 Best Heavy-Duty Plant Drip Trays for Floors
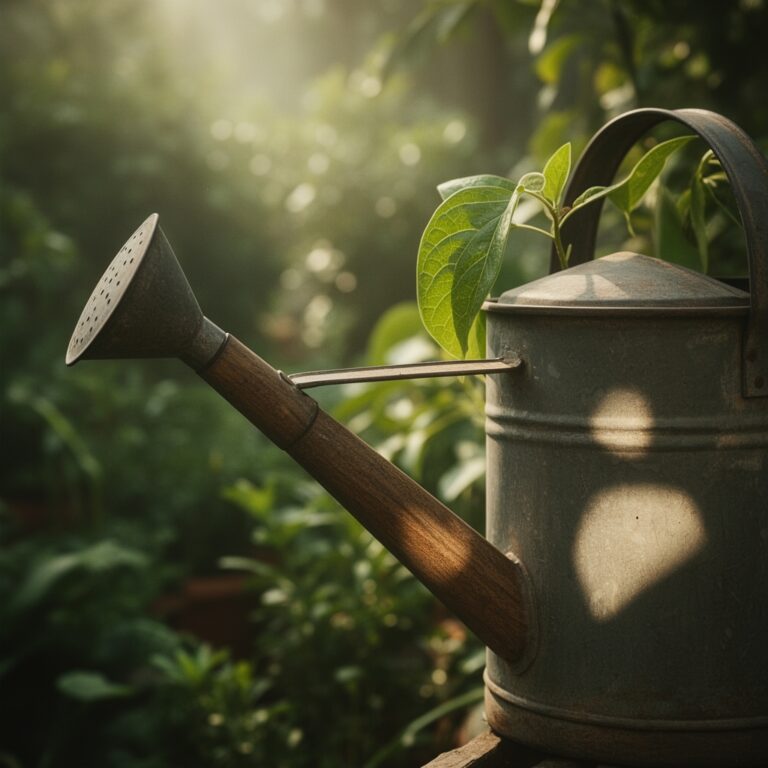
The smell of damp earth after a deep saturation is the scent of a functioning rhizosphere. When a plant reaches peak turgor pressure, its leaves stand rigid; the cellular walls are fully distended by water. This internal hydraulic pressure is the engine of growth. However, managing the inevitable runoff from high-volume irrigation is the difference between a thriving indoor garden and structural floor damage. Using the Best plant drip trays ensures that excess leachate, which often carries dissolved mineral salts and organic acids, does not sit against porous flooring. In a controlled environment, water must move through the profile to flush out accumulated sodium and bicarbonates. Without a heavy-duty tray to catch this effluent, the grower risks both anaerobic conditions at the root zone and the degradation of the cultivation space. A tray must possess a high tensile strength to support the weight of a saturated 15 gallon container, which can exceed 120 pounds. Precision in drainage management is as vital as the light spectrum or the nutrient concentration.
Materials:
Selecting the right tray depends on the substrate chemistry. For a **friable loam** or a peat-based mix, the soil pH typically sits between **5.8 and 6.5**. These substrates require specific NPK ratios to sustain growth. During the vegetative stage, a ratio of **3-1-2** is standard; during the reproductive phase, the plant demands a **1-3-2** ratio to support flower development. The tray must be chemically inert to withstand the acidic nature of the leachate. Polypropylene and heavy-duty galvanized steel are the industry standards. These materials do not react with the Cation Exchange Capacity (CEC) of the runoff. A high CEC, often found in clay-heavy soils or compost-rich mixes, means the water exiting the pot will be dense with ions like calcium, magnesium, and potassium. The tray must be deep enough to prevent these minerals from overflowing and staining the floor surface.
Timing:
In Hardiness Zones 4 through 7, the transition from indoor starts to outdoor placement is dictated by the last frost date, typically occurring between late April and mid-May. The biological clock of the plant is governed by the photoperiod. As day length increases, the plant moves from a vegetative state to a reproductive state. For indoor cultivation, this shift is often forced by changing the light cycle to a 12/12 hour split. Timing your irrigation to coincide with the start of the "day" cycle ensures the plant has maximum turgor during peak transpiration hours. Heavy-duty trays allow for "bottom watering" during dry spells, where the tray is filled with one inch of water, allowing the substrate to pull moisture upward via capillary action. This method is particularly effective during the transition to the reproductive stage when water demand peaks.
Phases:
Sowing
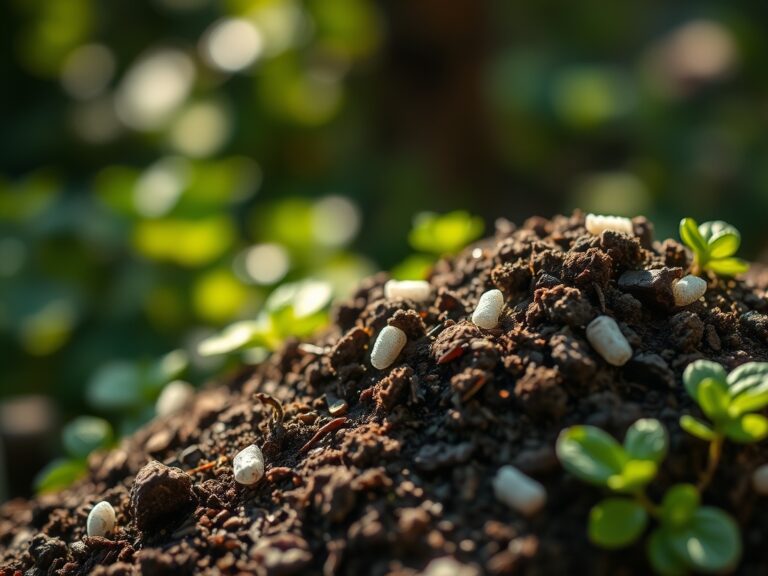
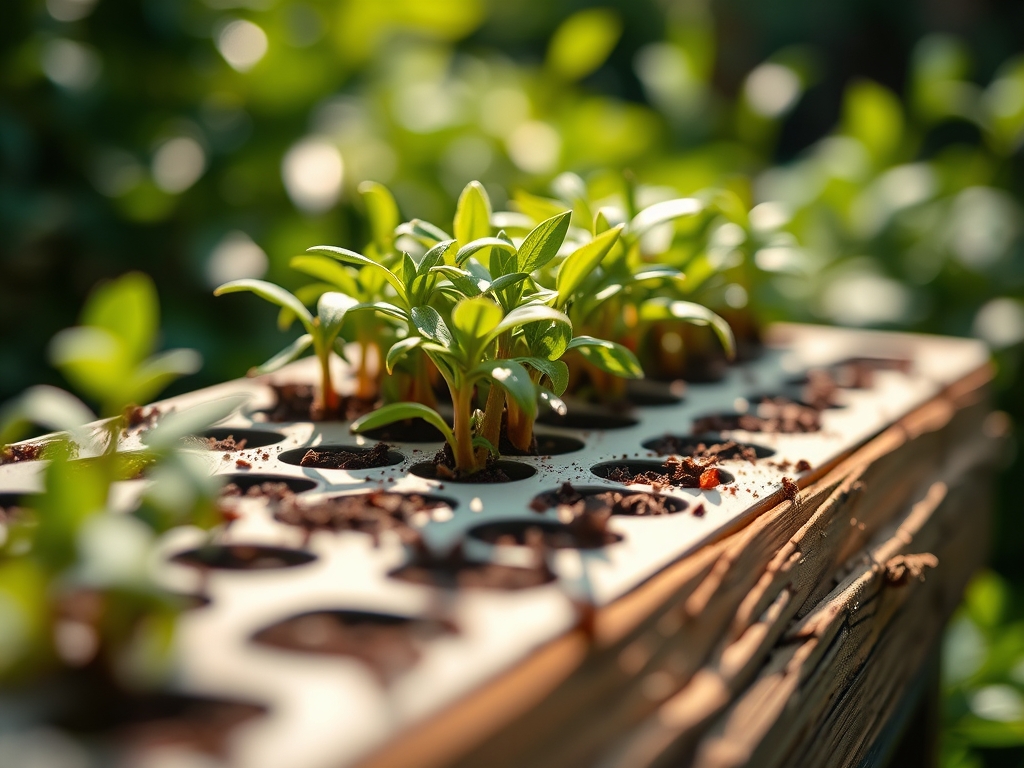
The germination phase requires a consistent temperature of 70 to 75 degrees Fahrenheit. Use a shallow, heavy-duty tray to hold several small starter pots. The substrate should be a fine-textured seed starting mix with low nutrient density to avoid burning the delicate primary roots.
Pro-Tip: Maintaining high humidity at the soil surface prevents the seed coat from hardening. This supports the biological process of epigeal germination, where the hypocotyl elongates and pulls the cotyledons above the soil line.
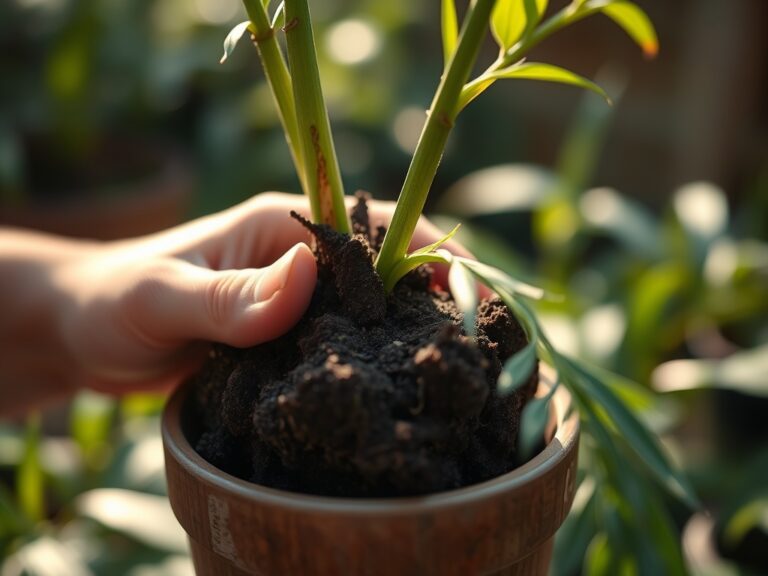
Transplanting
When moving a seedling to a permanent container, ensure the new vessel fits securely within the Best plant drip trays. The new pot should have at least four drainage holes to prevent water logging. The tray must be at least two inches wider than the base of the pot to allow for airflow.
Pro-Tip: Inoculate the root ball with mycorrhizal fungi during this phase. This mycorrhizal symbiosis expands the root system's surface area, significantly increasing the uptake of phosphorus and water.
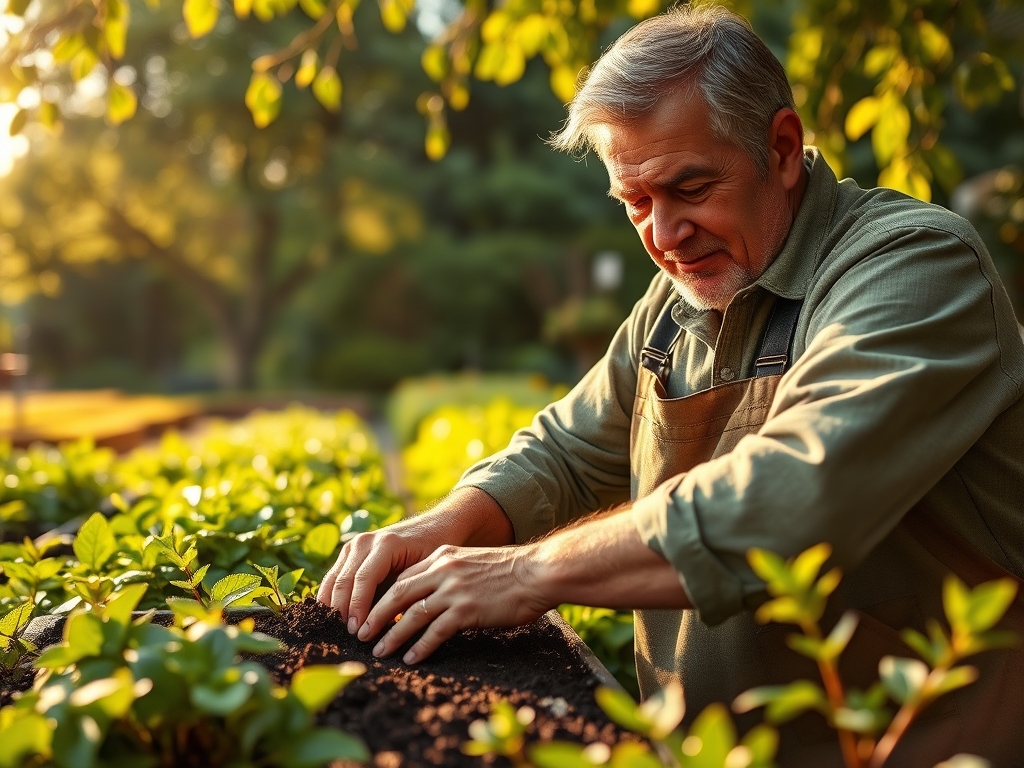
Establishing
Once the plant is established, it begins rapid upward growth. This is the period of highest nitrogen consumption. Monitor the tray for salt buildup, which appears as a white crust. This indicates that the plant is not utilizing all the minerals provided, or the water is evaporating too quickly.
Pro-Tip: Do not remove the lower "sucker" branches too early. These leaves produce auxins, hormones that travel down to the roots to stimulate growth. Excessive pruning can cause auxin suppression, leading to a stunted root system.
The Clinic:
Physiological disorders often manifest in the foliage but originate in the root zone.
- Symptom: Interveinal chlorosis on new growth. Solution: This is likely an Iron deficiency, often caused by a pH above 7.0. Adjust the irrigation water to a pH of 6.0.
- Symptom: Leaf tip burn or "hooking." Solution: This indicates Salt Toxicity. Flush the medium with three times the volume of the pot using distilled water, ensuring the drip tray captures all the effluent.
- Symptom: Edema (small bumps on the underside of leaves). Solution: This occurs when the plant takes up water faster than it can transpire. Improve airflow and ensure the pot is not sitting in standing water in the tray for more than 30 minutes.
Fix-It for Nitrogen Chlorosis: If older leaves turn a uniform pale yellow, the plant is scavenging nitrogen to support new growth. Apply a liquid fertilizer with a 5-1-1 NPK ratio immediately. Nitrogen is mobile within the plant, so recovery should be visible within 48 to 72 hours.
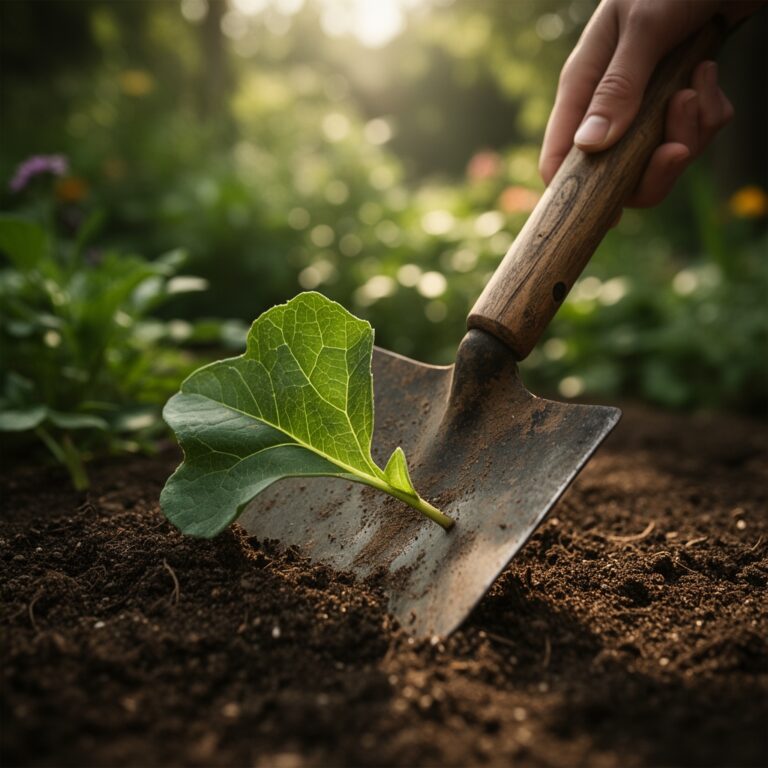
Maintenance:
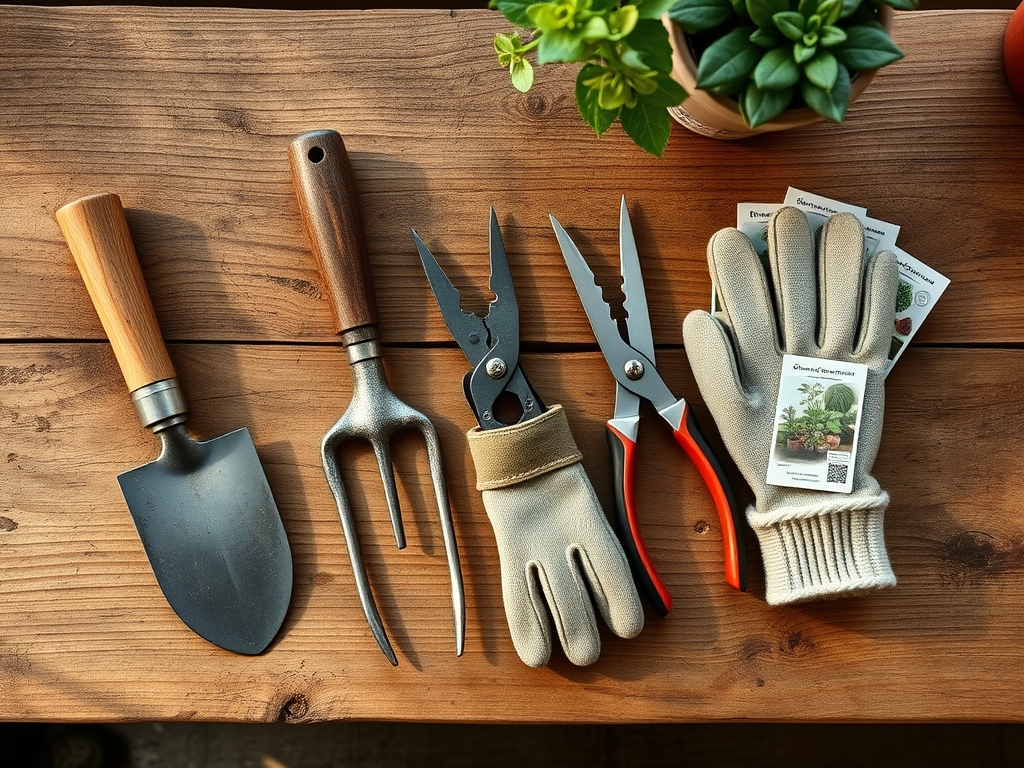
Precision maintenance requires a soil moisture meter to ensure the root zone never drops below 20% moisture content. As a general rule, provide 1.5 inches of water per week at the drip line of the plant. For large indoor specimens, use a hori-hori knife to occasionally probe the soil and check for compaction. If the soil feels like concrete, use the knife to gently aerate the top two inches. Clean your bypass pruners with isopropyl alcohol before every use to prevent the spread of pathogens. The drip trays should be scrubbed once a month with a 10% bleach solution to eliminate algae and fungus gnat larvae that thrive in stagnant runoff.
The Yield:
Harvesting is the culmination of the plant's life cycle. For flowering plants, harvest when 70% of the trichomes have turned from clear to milky white. For leafy greens, harvest in the early morning when turgor pressure is at its maximum. Use sharp shears to make clean cuts, minimizing the surface area of the wound to prevent moisture loss. Post-harvest, keep the produce at 40 degrees Fahrenheit to slow down senescence, the biological aging process. This preserves the cellular integrity and ensures "day-one" freshness for the consumer.
FAQ:
Why do I need a heavy-duty tray instead of a standard saucer?
Standard saucers often crack under the weight of large pots. Heavy-duty trays, made from thick polypropylene, support over 100 pounds and prevent leaks that cause dry rot in subfloors.
How deep should a plant drip tray be?
A depth of 2 to 3 inches is ideal. This allows for sufficient leachate collection during heavy flushing cycles without the risk of overflow onto your flooring or carpets.
Can standing water in the tray harm my plants?
Yes. If roots sit in water for over an hour, they face oxygen deprivation. This leads to root rot (Pythium). Always empty the tray after the soil has finished draining.
How do I clean mineral deposits off my trays?
Use a solution of equal parts white vinegar and water. The acetic acid dissolves calcium and magnesium carbonates that accumulate from hard water and fertilizer runoff, restoring the tray's surface.
Will these trays protect hardwood floors?
Heavy-duty trays act as a non-porous barrier. However, ensure no moisture is trapped under the tray. Use felt pads or a riser to allow airflow between the tray and the hardwood.