8 Light-Maximizing Steps to Install a Garden Mirror
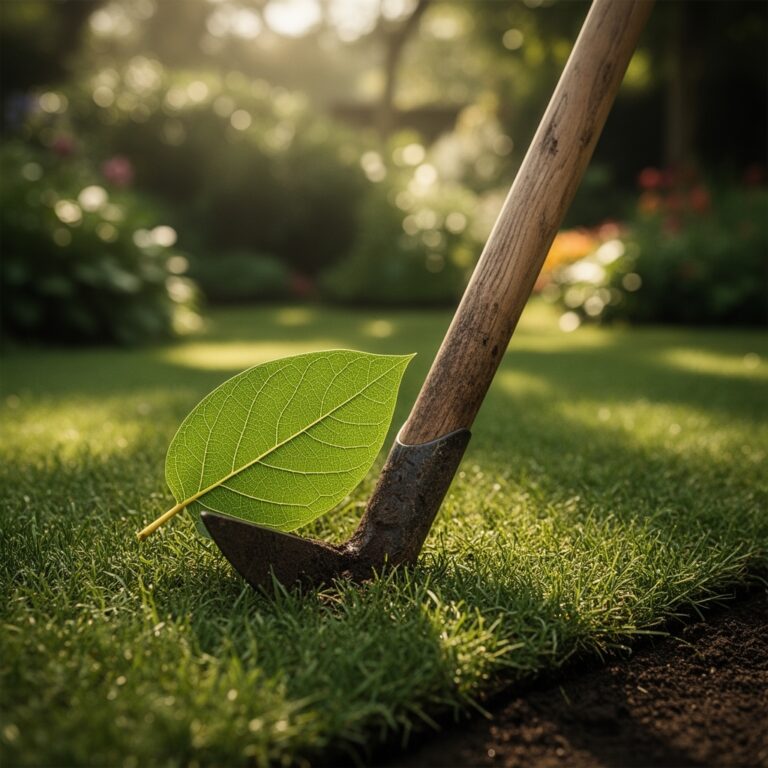
Damp earth releases geosmin as the spade breaks the surface; a scent that signals the biological readiness of a friable loam. Healthy leaves exhibit high turgor pressure; their cells are distended with water to maintain a rigid structure for maximum photosynthesis. In shadowed microclimates where solar radiation falls below the required six-hour minimum for fruiting crops; light management becomes a technical necessity. Following precise steps for installing a vegetable garden mirror allows a grower to redirect photons toward the lower canopy; effectively increasing the photosynthetic photon flux density (PPFD) in restricted spaces. This installation requires more than aesthetic placement; it demands an understanding of light angles and thermal regulation to prevent leaf scorch.
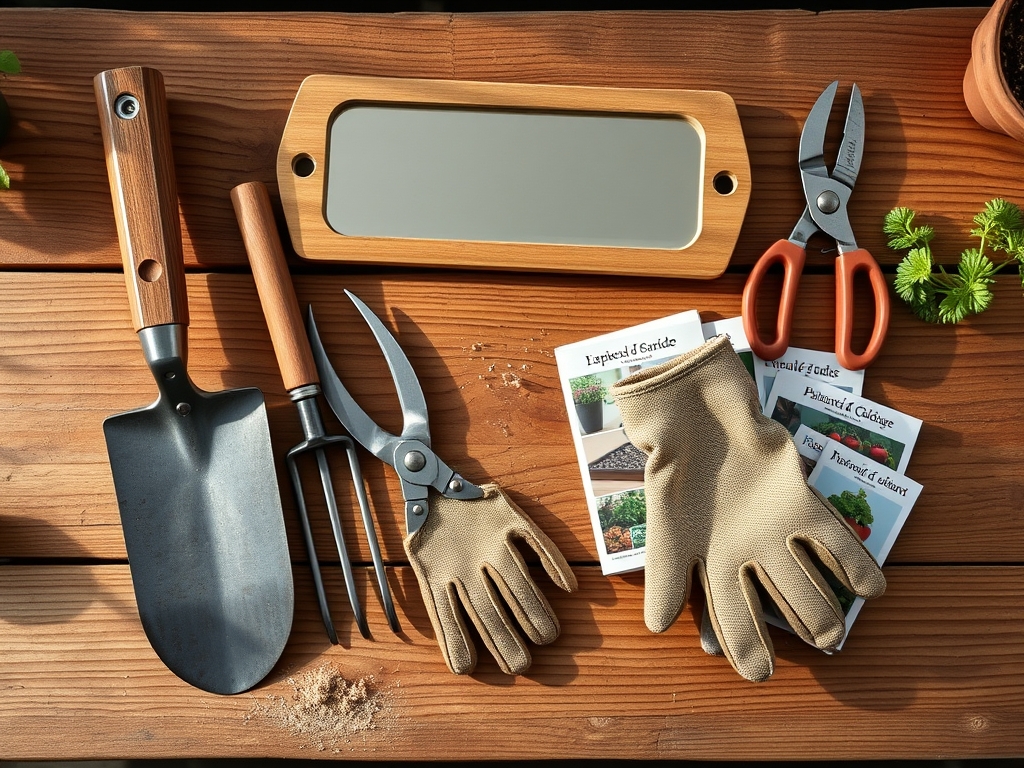
Materials:
The success of any installation begins with the substrate. For a garden mirror to remain stable; the soil must be a **friable loam** with a high Cation Exchange Capacity (CEC). A CEC rating of **15 to 25 milliequivalents per 100g** ensures the soil can hold the nutrients necessary for the intensive growth stimulated by increased light. The soil pH should be maintained between **6.2 and 6.8** to maximize the bioavailability of phosphorus and magnesium.
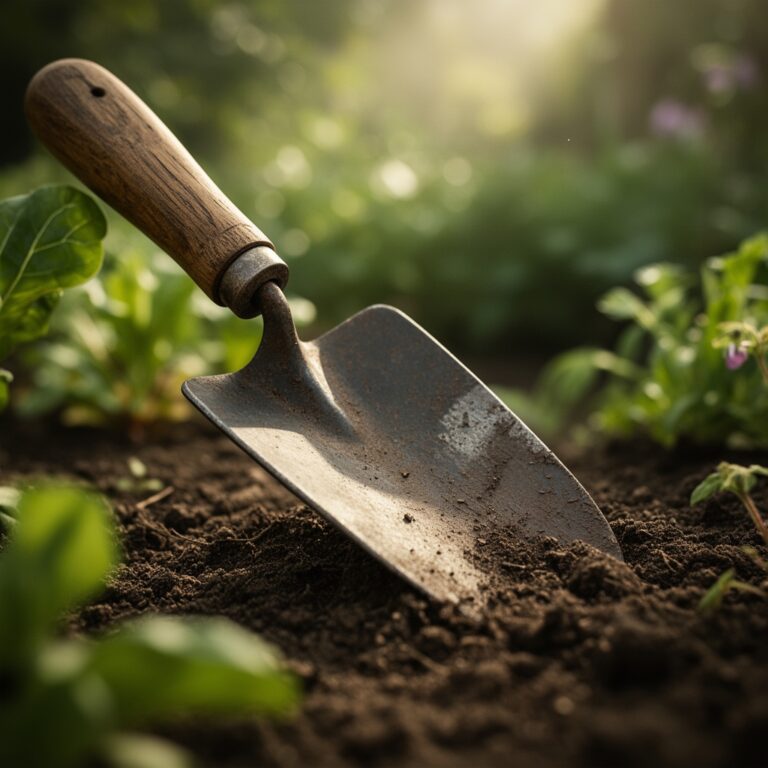
Before mounting any reflective surface; amend the soil with a balanced NPK ratio of 5-10-10 for root-heavy crops or 10-10-10 for general leafy greens. High nitrogen levels (the first number) promote vegetative growth; while phosphorus (the second number) supports the structural integrity of the root system that will anchor your mirror posts. Use a hori-hori knife to integrate organic matter into the top 6 inches of the rhizosphere.
Timing:
Installation should occur during the dormant season or early spring; specifically 2 to 4 weeks before the average last frost date. In Hardiness Zones 5 through 7; this window typically opens in late March. Proper timing ensures that the reflective surface is in place before the plants enter their rapid vegetative stage.
As the biological clock of the plant transitions from the vegetative to the reproductive stage; the demand for light increases. Mirrors installed during this transition help meet the higher energy requirements for flower and fruit production. For photoperiod-sensitive plants; the additional reflected light can prevent premature senescence by ensuring the lower leaves remain above their light compensation point.
Phases:

Sowing and Site Preparation
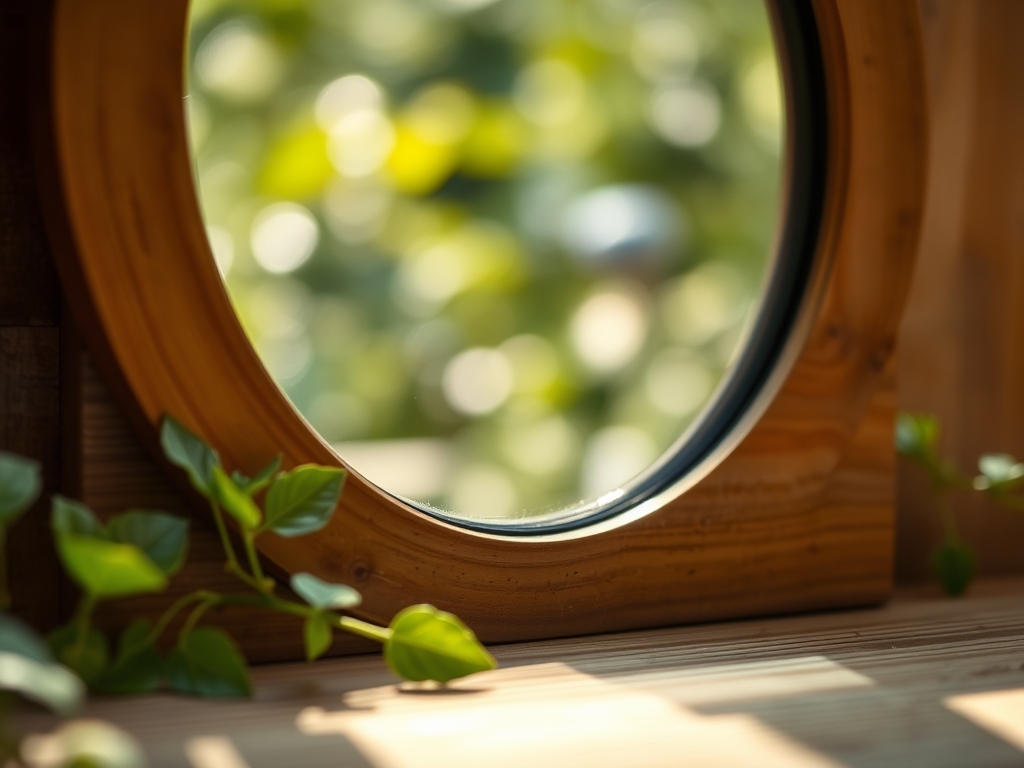
Clear a perimeter of 18 inches from the mirror base. This prevents moisture buildup against the reflective backing and allows for airflow. Ensure the mirror is angled at 15 to 20 degrees toward the northern sky to catch southern light.
Pro-Tip: Proper angling prevents phototropism from causing the plants to grow at an extreme slant. By balancing the light source; you encourage the plant to maintain vertical structural integrity through even auxin distribution.
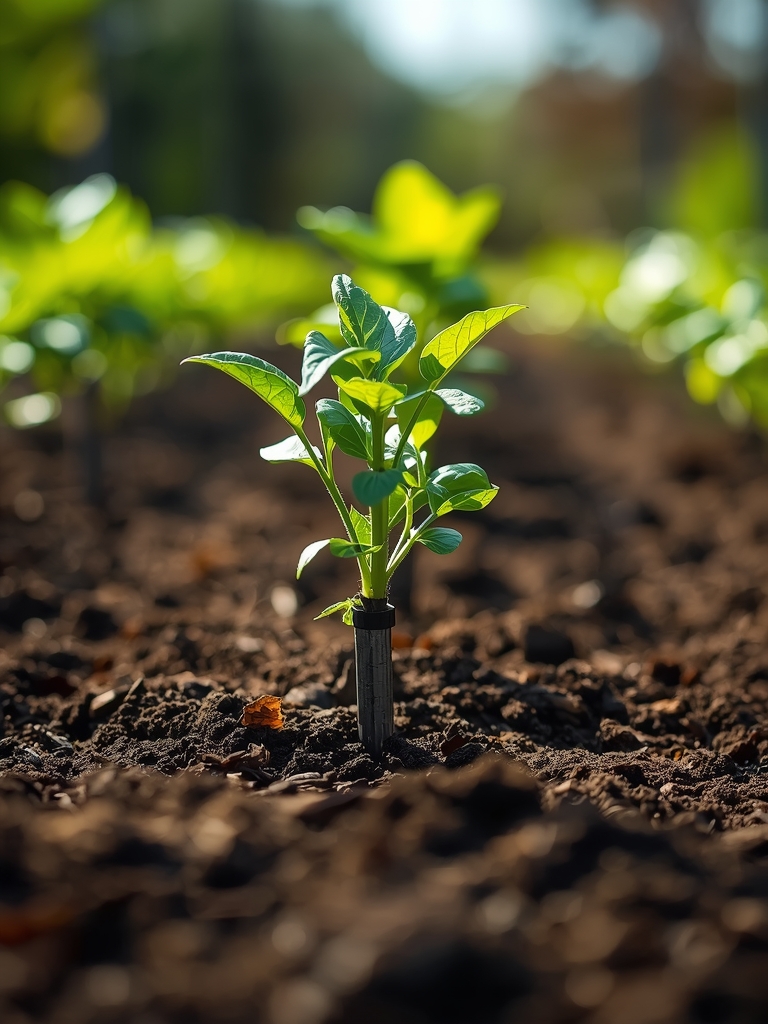
Transplanting Near the Reflective Surface
When moving seedlings from the nursery to the mirror zone; ensure they have at least four true leaves. Space the plants 12 to 24 inches apart depending on the cultivar. Use a soil moisture meter to verify the root zone is at 70% field capacity before transplanting.
Pro-Tip: High-light environments increase transpiration rates. Maintaining high soil moisture ensures the plant can maintain turgor pressure; preventing the vascular system from collapsing under the increased solar load.
Establishing the Light Corridor
Once the mirror is secured; monitor the leaf temperature using an infrared thermometer. The leaf surface should not exceed 85 degrees Fahrenheit. If temperatures spike; increase the distance between the plant and the glass.
Pro-Tip: Reflected light stimulates mycorrhizal symbiosis in the rhizosphere by increasing the carbohydrate exudates the plant sends to the roots. More light equals more energy for the fungal networks that provide phosphorus to the host.
The Clinic:
Physiological disorders often arise when light and heat are not balanced.
- Symptom: Leaf Scorch. Brown; crispy edges on the side facing the mirror.
- Solution: Diffuse the light using a thin mesh screen or increase the mirror angle to reduce direct intensity.
- Symptom: Interveinal Chlorosis. Yellowing between leaf veins; often a sign of Magnesium deficiency.
- Fix-It: Apply Epsom salts (Magnesium Sulfate) at a rate of 1 tablespoon per gallon of water. High light increases the demand for Magnesium; which is the central atom in the chlorophyll molecule.
- Symptom: Nitrogen Chlorosis. General paling of the entire leaf; starting with older growth.
- Fix-It: Side-dress with a high-nitrogen fertilizer (21-0-0) to support the rapid cell division triggered by the extra light.
- Symptom: Blossom End Rot. Sunken; black spots on the bottom of fruit.
- Solution: This is a calcium transport issue. Ensure consistent watering of 1.5 inches per week to facilitate calcium movement through the xylem.
Maintenance:
A garden mirror requires technical upkeep to remain effective. Dust and pollen can reduce reflectivity by up to 30% in a single month. Clean the surface weekly using a mixture of 90% water and 10% white vinegar.
Irrigation must be precise. Deliver 1.5 inches of water per week directly at the drip line using a soaker hose or drip emitters. Avoid overhead watering; as droplets on the leaves can act as magnifying lenses in the reflected light; causing focalized tissue damage. Use bypass pruners to remove any yellowing or senescing foliage that blocks light from reaching the productive center of the plant. Check the mirror's structural mounts after any wind event exceeding 25 mph to ensure the angle remains calibrated.
The Yield:
Harvesting in a high-light garden requires speed to preserve the "day-one" freshness. Harvest leafy greens and herbs in the early morning; specifically before 9:00 AM; when the plant's water potential is at its peak. Use a sharp hori-hori knife for clean cuts that minimize tissue trauma.
Immediately submerge harvested crops in 40-degree Fahrenheit water to remove field heat. This process slows the metabolic rate and prevents the rapid breakdown of sugars and vitamins. For fruiting crops like tomatoes or peppers; wait until they reach 90% color saturation for the highest nutrient density. The increased light from the mirror often results in a higher Brix rating (sugar content) compared to shade-grown counterparts.
FAQ:
Can garden mirrors cause a fire?
While rare; flat mirrors are generally safe. Avoid concave mirrors which can focus light into a single high-heat point. Always position the mirror at an angle that disperses light across the foliage rather than concentrating it on dry mulch.
How do I stop birds from hitting the mirror?
Apply small; UV-reflective decals to the glass. These are visible to avian eyes but do not significantly reduce the photosynthetic photon flux density (PPFD) required for your vegetables. Maintaining a distance between the mirror and dense cover also helps.
What is the best mirror material for outdoor use?
Polished stainless steel or acrylic mirrors are superior to glass for garden longevity. They are shatterproof and resist the thermal expansion and contraction cycles common in Hardiness Zones 3 through 8.
Does reflected light change the soil pH?
Light does not directly alter pH; but increased plant metabolism can lead to faster nutrient depletion. Monitor your soil every six months to ensure the cation exchange capacity remains balanced and the pH stays between 6.2 and 6.8.