9 Clearing Tips to Use a Garden Saw in Plots
The smell of damp earth and the sharp scent of crushed chlorophyll signal the end of a productive season. When the turgor pressure in heavy stems begins to fail, the vegetable plot requires a surgical approach to removal. Using a garden saw for vegetable clearing is the most efficient method for managing woody debris and lignified stalks that bypass pruners cannot handle. A mature kale stalk or an over-wintered artichoke crown possesses a high cellulose density that resists standard blades. You must approach the clearing process with the same precision used during the initial planting. This is not mere cleanup; it is the strategic management of biomass to preserve the integrity of the rhizosphere. By cleanly severing stalks at the soil line, you prevent the unnecessary upheaval of established mycorrhizal networks. A sharp, pull-stroke saw minimizes tissue tearing, which reduces the surface area available for opportunistic pathogens to colonize the remaining root systems. Speed and mechanical efficiency are the primary goals when transitioning a plot from late-season senescence back to a blank slate for the next rotation.
Materials:
![]()
The success of your garden depends on the chemical and physical composition of the substrate. For high-output vegetable plots, aim for a **friable loam** with a **pH between 6.0 and 7.0**. This range ensures maximum nutrient bioavailability. Your soil should have a high Cation Exchange Capacity (CEC), typically **above 15 meq/100g**, to retain essential minerals against leaching.
When preparing the bed for the next cycle, incorporate organic matter to maintain an NPK ratio of approximately 5-10-10 for root crops or 10-10-10 for general leafy greens. High nitrogen levels (the first number) promote vegetative growth, while phosphorus and potassium support root development and cellular strength. Ensure your garden saw is a fixed-blade or folding pull-stroke model with a tooth pitch of 7.5 to 10 teeth per inch (TPI). This specific tooth density allows for clean cuts through fibrous vegetable matter without clogging the blade with wet sap.
Timing:
The window for clearing is dictated by your local Hardiness Zone and the biological clock of your cultivars. In Zones 5 through 7, clearing typically begins after the first killing frost, which usually occurs between October 15 and November 15. In warmer Zones 8 through 10, clearing coincides with the transition from summer annuals to cool-season crops.
The biological clock of a plant moves from the vegetative stage to the reproductive stage (flowering and seeding) and finally to senescence. You must time your clearing when the plant has diverted its final energy reserves into its seeds or roots. Removing a plant too early disrupts the nutrient drawdown process. Wait until the leaves exhibit chlorosis (yellowing) and a loss of turgor pressure, indicating that the vascular system is no longer transporting water at peak capacity.
Phases:
![]()
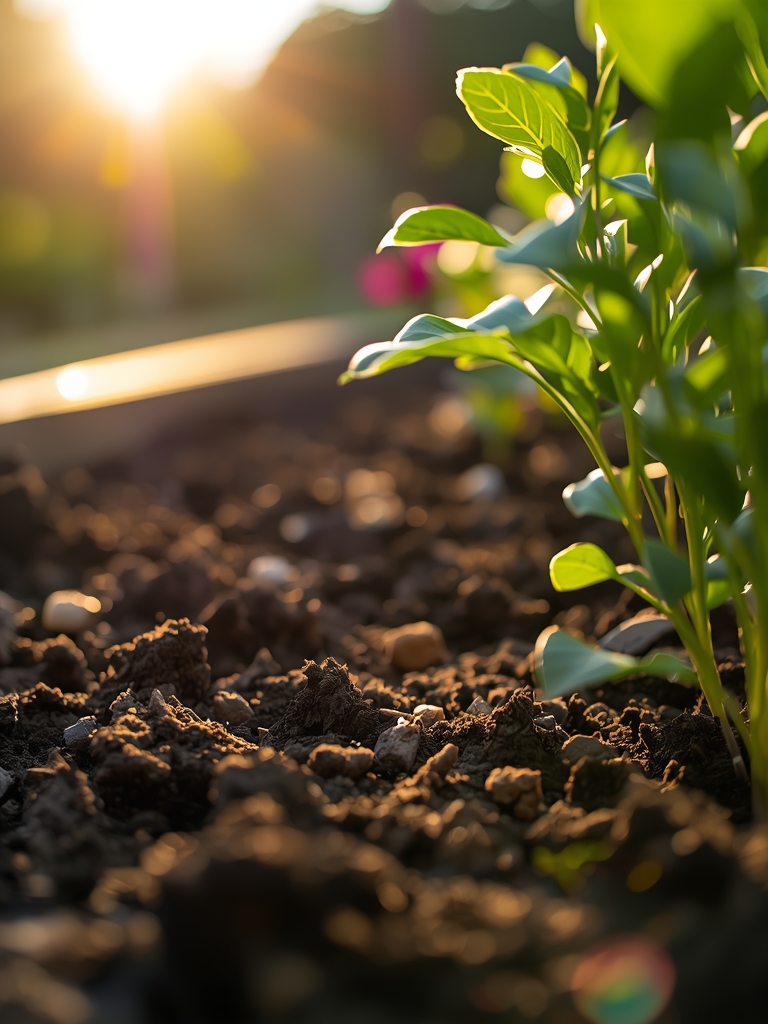
### Sowing and Soil Preparation
Before the saw ever touches a plant, the soil must be prepared to receive the debris. Clear the surface of any plastic mulches or irrigation lines. If you are sowing cover crops immediately after clearing, ensure the soil temperature is at least **50 degrees Fahrenheit** for optimal germination of rye or vetch.
Pro-Tip: Maintain the rhizosphere by leaving the root mass of non-diseased plants in the ground. This supports mycorrhizal symbiosis, where fungi exchange phosphorus for plant sugars, improving soil structure for the following season.
Transplanting and Space Management
When clearing around active transplants, use the garden saw to remove large "nurse plants" that provided shade during the heat of summer. Position the saw blade parallel to the soil surface to avoid nicking the stems of younger, more delicate seedlings.
Pro-Tip: Removing larger canopy plants increases the photosynthetically active radiation (PAR) reaching the lower tiers. This prevents auxin suppression, allowing the smaller plants to grow upright rather than stretching toward the light.
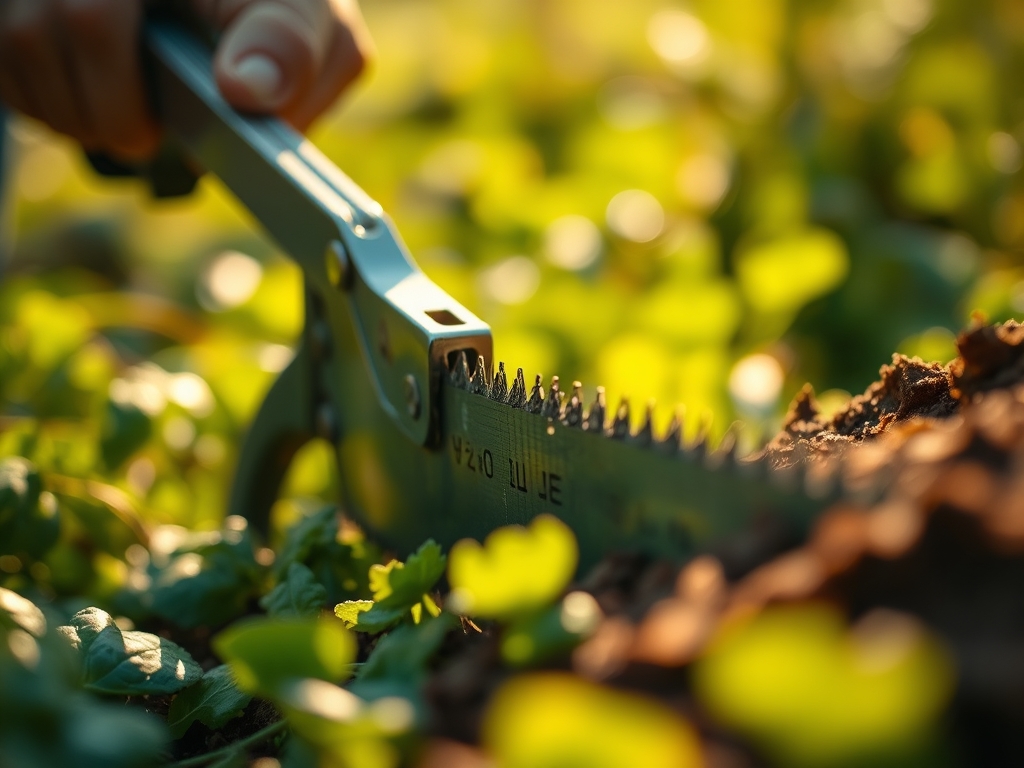
Establishing the New Plot
Once the large debris is removed, use a hori-hori knife to weed the remaining area. The garden saw should be used to cut the larger stalks into 4-inch segments. This increases the surface area for microbial decomposition, speeding up the return of carbon to the soil.
Pro-Tip: Smaller debris segments encourage faster colonization by saprotrophic bacteria. These organisms break down lignin and cellulose, converting them into stable humus that improves the soil's water-holding capacity.
The Clinic:
Physiological disorders often manifest during the clearing phase, revealing the health of your previous crop.
- Symptom: Hollow stems in broccoli or cauliflower.
- Solution: This indicates a Boron deficiency. Apply a micronutrient spray or borax at a rate of 1 tablespoon per 100 square feet in the next cycle.
- Symptom: Black, sunken spots on the bottom of fruit (Blossom End Rot).
- Solution: This is caused by a Calcium transport issue, often linked to inconsistent watering. Maintain a steady moisture level and check soil pH.
- Symptom: Stunted growth and purple-tinged leaves.
- Solution: Phosphorus deficiency. Incorporate bone meal or rock phosphate into the soil at a rate of 2 pounds per 100 square feet.
- Fix-It for Nitrogen Chlorosis: If old plants show pale yellow leaves starting from the bottom up, the soil is nitrogen-depleted. Add blood meal or a high-nitrogen organic fertilizer (NPK 12-0-0) to the bed after clearing.
Maintenance:
Precision maintenance prevents plant stress. Use a soil moisture meter to ensure the plot receives exactly 1.5 inches of water per week, delivered at the drip line to prevent foliar diseases. Keep your tools in professional condition. Clean your garden saw with 70 percent isopropyl alcohol after every use to prevent the cross-contamination of soil-borne pathogens like Fusarium or Verticillium wilt.
Sharpen the saw teeth using a feather file every ten hours of use. If using bypass pruners for smaller stems, ensure the blade crosses the hook cleanly without a gap. Store all metal tools in a bucket of sand mixed with mineral oil to prevent oxidation and maintain a sharp edge for the next season.
The Yield:
Harvesting is the culmination of the biological cycle. For most vegetables, harvest during the "cool of the day," typically between 6:00 AM and 9:00 AM, when the plants are at maximum turgidity. Use your garden saw for heavy-duty harvests like pumpkins or winter squash, cutting the vine 3 inches from the fruit to prevent rot.
To maintain "day-one" freshness, immediately move harvested produce to a cool, shaded area. For leafy greens, a hydro-cooling process (submerging in 40-degree water) removes field heat and slows the rate of respiration. This preservation of cellular structure ensures the highest nutrient density and flavor profile.
FAQ:
When should I use a saw instead of pruners?
Use a garden saw for any vegetable stalk exceeding 1 inch in diameter. Saws prevent the crushing of vascular tissues that occurs when forcing bypass pruners through thick, lignified stems like sunflower or corn.
How do I prevent rust on my garden saw?
After each use, wipe the blade with a dry cloth to remove sap. Apply a thin layer of 3-in-One oil or silicone spray. Store the tool in a low-humidity environment to prevent atmospheric oxidation.
Can I use a wood saw for garden clearing?
Standard wood saws have a "set" designed for dry lumber. Garden saws use a taper-ground blade and specific tooth geometry to handle green, wet wood without binding or tearing the plant fibers.
Should I pull or push the garden saw?
Most professional garden saws are pull-stroke saws. The blade is thinnest and strongest under tension. Pulling the saw toward you provides greater control and requires less physical exertion when cutting through dense vegetable stalks.