6 Steps to Prepare a Tool Storage System Check
The scent of damp humus and the high turgor pressure of a hydrated leaf indicate a garden at its physiological peak. Maintaining this state requires more than just water; it demands a systematic audit of the mechanical interface between the gardener and the soil. Knowing how to prepare a garden for a tool storage check ensures that every cut is sterile and every furrow is precise. Neglecting the inventory of your shed leads to blunt edges that crush vascular tissue instead of slicing it. This guide outlines the rigorous protocols for organizing your horticultural hardware while the soil remains at optimal moisture levels.
Materials:
Successful garden preparation begins with the substrate. You must aim for a friable loam with a Soil Cation Exchange Capacity (CEC) above 15 milliequivalents per 100 grams. This measurement dictates how well your soil retains essential nutrients against leaching. Ensure your soil pH sits between 6.2 and 6.8 to maximize the bioavailability of phosphorus and magnesium.
Regarding nutrient inputs, stock your storage area with specific NPK ratios for different growth stages. Use a 10-10-10 balanced granular for general maintenance; a 5-10-10 high-phosphorus blend for root establishment; and a 20-0-0 high-nitrogen source, such as blood meal, for early-season vegetative surges. Keep these stored in airtight, UV-resistant containers to prevent hygroscopic clumping and chemical degradation.
Timing:
The execution of a tool storage check must align with the Biological Clock of your specific Hardiness Zone. In Zones 5 through 7, the window opens exactly 14 to 21 days before the historical last frost date. This timing allows you to calibrate seeders and sharpen blades before the transition from winter dormancy to the active vegetative stage.
As the photoperiod extends beyond 12 hours, plants initiate rapid cell division. You must have your equipment ready before the soil temperature reaches a consistent 55 degrees Fahrenheit. If you delay the check into the reproductive stage, you risk missing the critical window for structural pruning, which should occur while the plant is still dormant to minimize sap loss and pathogen entry.
Phases:

Sowing
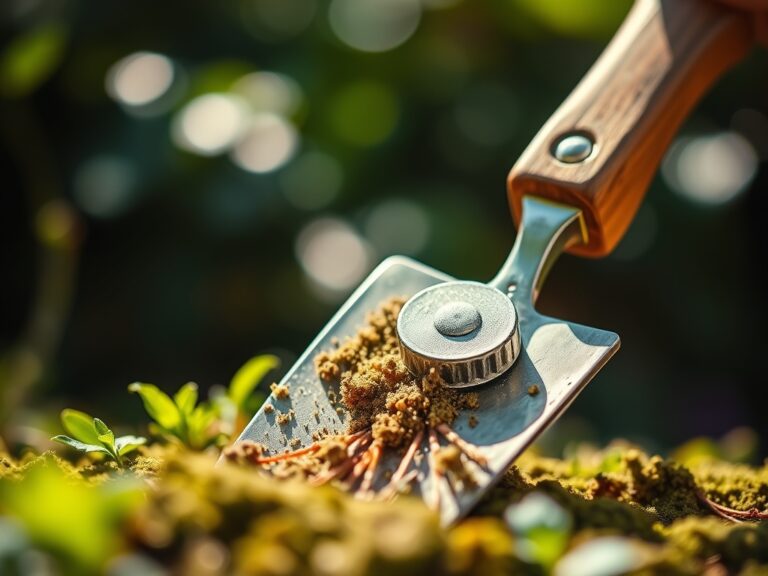
Before the first seed hits the furrow, inspect your mechanical planters and hand trowels. Ensure that depth markers are legible. When sowing, maintain a depth of three times the seed diameter to ensure adequate moisture contact without inhibiting the coleoptile's path to the surface.
Pro-Tip: Proper seed-to-soil contact facilitates imbibition, the physical process where the seed coat absorbs water to activate metabolic enzymes. Without a clean, sharp trowel to create a precise furrow, air pockets can form, leading to desiccation.
Transplanting
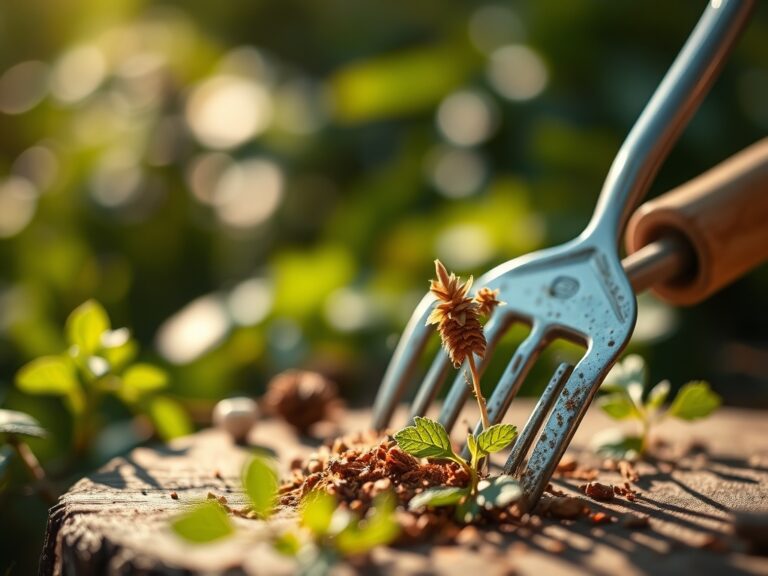
Use a hori-hori knife to slice through circling roots of pot-bound nursery stock. This encourages lateral root branching into the surrounding rhizosphere. Dig a hole twice as wide as the root ball but no deeper than the original container to avoid crown rot.
Pro-Tip: Maintaining the integrity of the root hairs during this phase is vital for mycorrhizal symbiosis. These fungi extend the root system's reach, increasing the surface area for water absorption by up to 1,000 percent.
Establishing
Once the plant is in the ground, use a soil moisture meter to monitor the transition. The first 14 days are critical for overcoming transplant shock. Maintain consistent soil moisture to support auxin production at the growing tips, which signals the roots to expand.
Pro-Tip: Avoid heavy fertilization during the first two weeks. High salt indices in synthetic fertilizers can cause osmotic stress, pulling water out of the young roots and leading to localized necrosis.
The Clinic:
Physiological disorders often mimic infectious diseases. Accurate diagnosis is required before applying any corrective measures.
- Symptom: Interveinal Chlorosis. The leaf remains green along the veins while the rest of the blade turns yellow.
- Solution: This is typically a Magnesium deficiency. Apply a foliar spray of Epsom salts at a rate of 1 tablespoon per gallon of water.
- Symptom: Blossom End Rot. A dark, sunken leathery spot on the base of the fruit.
- Solution: This indicates localized Calcium deficiency, often caused by erratic watering rather than a lack of calcium in the soil. Maintain consistent moisture levels to ensure calcium transport via the xylem.
- Symptom: Nitrogen Chlorosis. Uniform yellowing of older, lower leaves while new growth remains green.
- Solution: Nitrogen is a mobile nutrient. The plant is scavenging it from old tissue to support new growth. Apply a high-nitrogen liquid fertilizer (e.g., 10-5-5) for immediate uptake.
- Symptom: Tip Burn. The edges of leaves appear scorched or brown.
- Solution: This is often a sign of high salinity or "fertilizer burn." Flush the soil with 3 inches of water to leach excess salts away from the root zone.
Maintenance:
Precision maintenance is the difference between a surviving garden and a thriving one. Deliver 1.5 inches of water per week directly at the drip line. Avoid overhead irrigation to minimize the duration of leaf wetness, which reduces the risk of fungal sporulation.
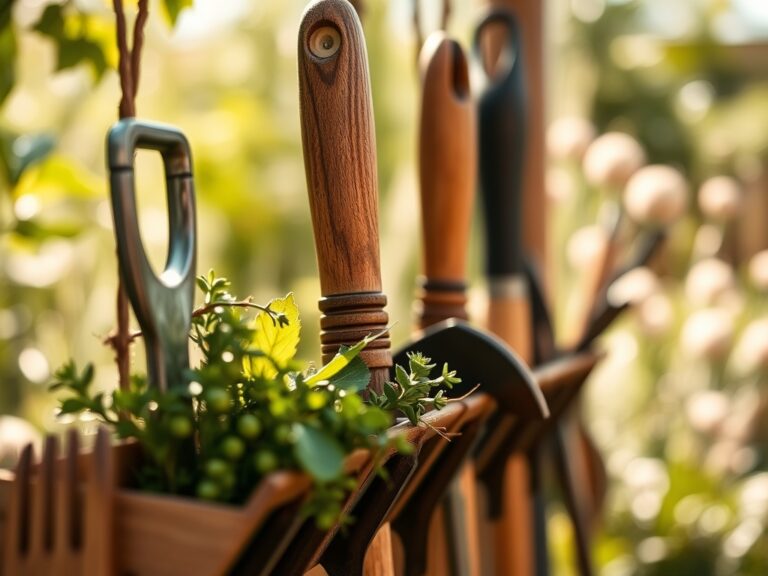
Your tool kit must include bypass pruners for clean cuts on living tissue and anvil pruners for dead wood. Every three months, use a whetstone to maintain a 20-degree bevel on all cutting edges. Sanitize tools with a 10 percent bleach solution or 70 percent isopropyl alcohol between plants to prevent the mechanical transmission of viral pathogens. Use a soil moisture meter daily at a depth of 6 inches to verify that your irrigation schedule matches the actual evapotranspiration rate of the site.
The Yield:
Harvesting is a race against senescence. For leafy greens, harvest in the early morning when turgor pressure is at its highest. This ensures the cell walls are fully distended, providing the crispest texture. Use a sharp, sterilized knife to make a clean cut 1 inch above the crown to allow for "cut and come again" regrowth.
For fruiting crops, monitor the "ground spot" or color break. Once harvested, remove the field heat immediately by placing the produce in a cool, shaded environment. This slows the respiration rate, preserving the sugars and volatile compounds that define flavor. For long-term storage of root crops, do not wash off the soil; the fine layer of earth acts as a natural desiccation barrier.
FAQ:
How often should I calibrate my soil moisture meter?
Calibrate your meter once every thirty days or at the start of each season. Insert the probe into a saturated soil sample and then a dry sample to ensure the sensors are reading the full spectrum of moisture levels accurately.
What is the best way to prevent rust on garden tools?
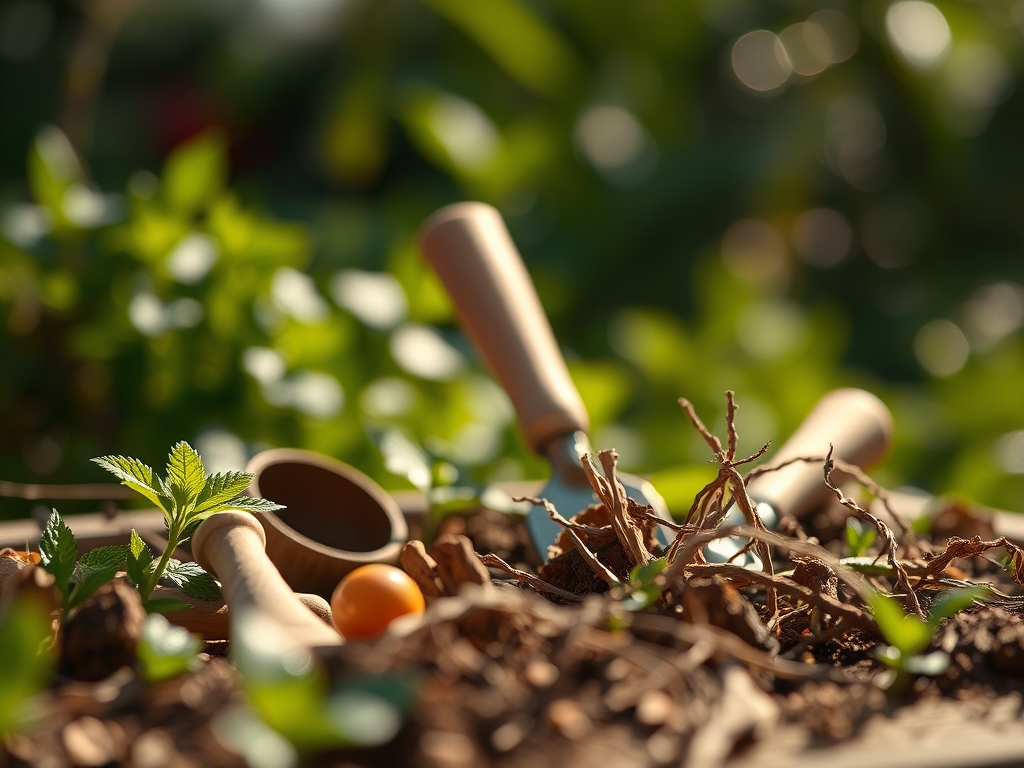
After each use, remove organic debris with a stiff brush. Wipe the metal surfaces with a cloth dampened in mineral oil. Store tools vertically in a bucket filled with dry sand mixed with a small amount of motor oil.
Why is soil pH so important for tool storage prep?
Soil pH dictates the solubility of minerals. If your pH is outside the 6.0 to 7.0 range, nutrients become chemically locked in the soil. Preparing your tools includes ensuring your pH testing kit is calibrated and the reagents are not expired.
When should I replace my bypass pruner blades?
Replace blades when you notice crushing of the stem or visible gaps when the handles are closed. A sharp blade should slice through a single sheet of paper without tearing. Dull blades increase the surface area of wounds, inviting pathogens.