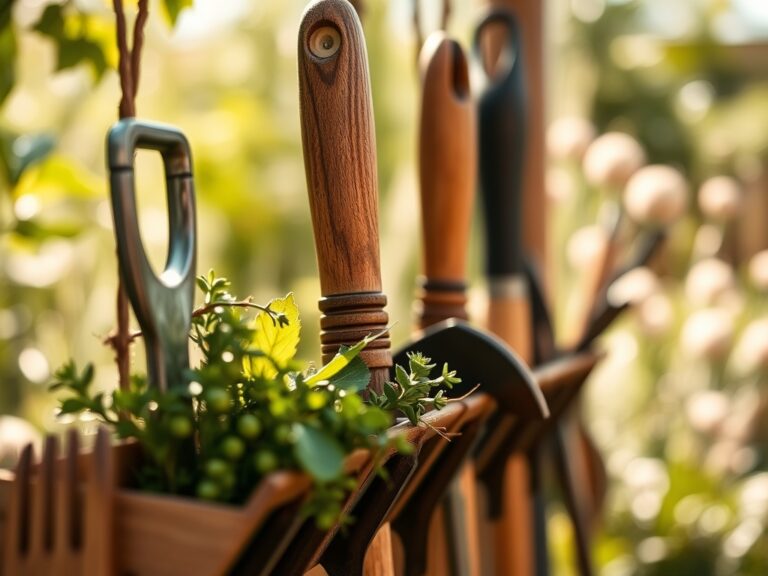
9 Steps to Clean a Planting Trowel After Use
The scent of damp humus and the high turgor pressure of a well hydrated leaf signify a successful day in the field. However, leaving moist soil on steel initiates immediate oxidation and provides a vector for soil borne pathogens to migrate between beds. Following the correct steps for cleaning a garden trowel after use ensures the longevity of the tool and the health of the rhizosphere. Neglecting this maintenance allows fungal spores and parasitic nematodes to persist on the blade surface; this leads to cross contamination during the next planting cycle. A clean edge reduces friction during soil penetration, which minimizes root zone disturbance and preserves the delicate mycorrhizal networks essential for nutrient uptake. By treating the trowel as a surgical instrument rather than a blunt object, the horticulturist maintains a sterile environment for every seedling.
Materials:

Effective tool maintenance requires an understanding of the substrate being cleared. In a **friable loam** with a **pH of 6.5**, soil particles cling less aggressively than in heavy clay. To facilitate cleaning, maintain a bucket of coarse builder’s sand mixed with mineral oil. For specialized beds, consider the nutrient profile remaining on the tool. A high **NPK ratio of 10-10-10** indicates high salt concentrations that can accelerate rust. If working in acidic soils with a **pH below 5.5**, the increased solubility of aluminum and manganese creates a more corrosive environment for carbon steel. Always keep a stiff nylon brush, a 70 percent isopropyl alcohol solution, and a clean microfiber cloth available at the workstation.
Timing:
Maintenance must align with the horticultural calendar. In Hardiness Zones 5 through 7, the window between the last spring frost and the first autumn freeze is the peak period for tool use. During the transition from the vegetative stage to the reproductive stage, plants redirect energy from leaf production to flowering; this is a critical time to ensure tools are sterile to prevent stressing the specimen. Perform a deep clean when the biological clock signals the onset of senescence in late autumn. As the photoperiod shortens and deciduous plants enter dormancy, tools should be stripped of all organic matter and coated in a protective lipid layer to prevent winter oxidation.
Phases:
Sowing
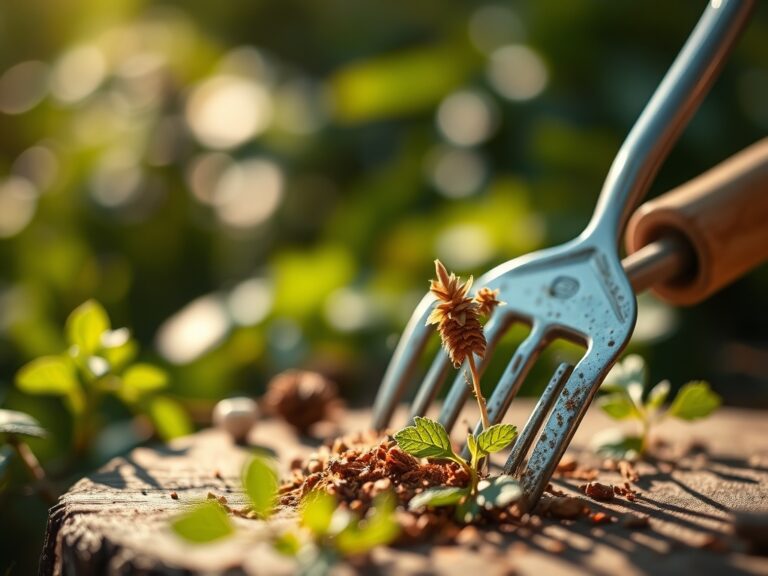
The first step in the cleaning process involves the mechanical removal of bulk debris. Use a wooden spatula or the back of a hori-hori knife to scrape away large clods of earth while the soil is still moist. Once the soil dries, it undergoes cementation, making it significantly harder to remove without scratching the steel.
Pro-Tip: Removing soil immediately prevents the desiccation of beneficial microbes on the tool surface. This is vital because dried pathogens can form protective biofilms that resist standard rinsing.
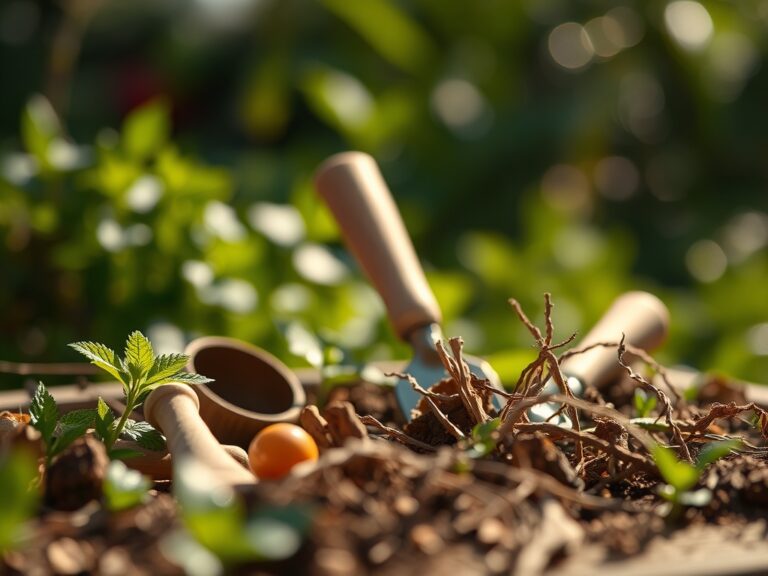
Transplanting
Submerge the trowel blade in a bucket of water to loosen the fine particulates trapped in the grain of the metal. For tools used in heavy clay, use a stiff brush to scrub the fulcrum and the neck of the trowel where soil accumulation is highest. Rinse with a steady stream of water until the runoff is clear.
Pro-Tip: Clean tools prevent the disruption of phototropism in new transplants. A jagged, dirty blade creates irregular planting holes that can cause "J-rooting," where the roots grow upward toward the light instead of downward into the soil profile.
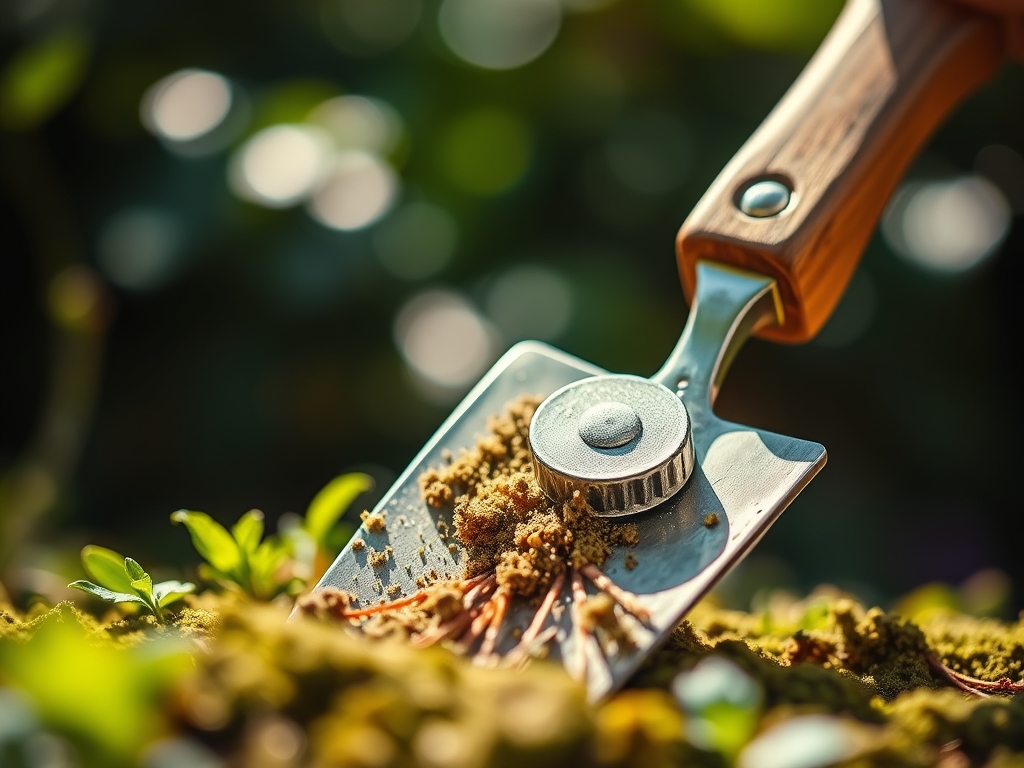
Establishing
The final phase of the steps for cleaning a garden trowel after use is disinfection and lubrication. Wipe the blade with a cloth soaked in 70 percent isopropyl alcohol to kill lingering bacteria. Once dry, apply a thin coat of linseed oil or a dedicated tool lubricant to the metal surfaces. This creates a hydrophobic barrier that prevents oxygen from reaching the iron molecules.
Pro-Tip: Disinfection prevents the spread of Tobacco Mosaic Virus and other systemic pathogens. By maintaining a sterile edge, you ensure that the auxin suppression required for healthy lateral root development is not compromised by disease.
The Clinic:
Horticultural success depends on identifying physiological disorders before they become systemic.
- Symptom: Interveinal Chlorosis. This appears as yellowing between the leaf veins while the veins remain green.
- Solution: This is typically a sign of Iron or Magnesium deficiency. Check the soil pH; if it is above 7.0, iron becomes insoluble. Lower the pH using elemental sulfur.
- Symptom: Leaf Tip Burn. The edges of the leaves turn brown and brittle.
- Solution: This often indicates high Cation Exchange Capacity (CEC) resulting in salt accumulation. Flush the root zone with 2.0 inches of distilled water to leach excess salts.
- Symptom: Stunted Growth with Purple Foliage.
- Solution: This is a classic Phosphorus deficiency. Ensure the soil temperature is above 55 degrees Fahrenheit, as cold soils inhibit phosphorus uptake.
Fix-It: For general Nitrogen chlorosis, where the entire leaf turns pale green, apply a quick release fertilizer with a 4-1-1 NPK ratio to restore chlorophyll production.
Maintenance:
Precision is required for long term plant health. Provide exactly 1.5 inches of water per week at the drip line for established perennials. Use a soil moisture meter to verify that the moisture has penetrated at least 6.0 inches into the profile. When pruning, always use sharp bypass pruners to make clean cuts at a 45 degree angle, which encourages rapid callous formation. If the soil feels compacted, use a broadfork to increase aeration without flipping the soil horizons; this protects the delicate soil structure and maintains the Cation Exchange Capacity.
The Yield:
For edible crops, harvest when the fruit reaches peak sugar concentration, usually measured via a Brix refractometer. Leafy greens should be harvested in the early morning when turgor pressure is at its highest to ensure "day-one" freshness. Use a sharp, sterilized blade to make the cut, then immediately submerge the produce in a 40 degree Fahrenheit water bath to remove field heat. This process slows down the respiration rate and extends the shelf life of the harvest by preventing rapid senescence.
FAQ:
How often should I disinfect my trowel?
Disinfect after every use, especially when moving between different plant families. Use 70 percent isopropyl alcohol to eliminate pathogens like Fusarium or Pythium. This prevents cross contamination and protects the health of the rhizosphere in every garden bed.
Can I use water alone to clean my tools?
Water removes bulk soil but does not eliminate microscopic pathogens or prevent oxidation. Always follow a water rinse with thorough drying and a light application of oil. This maintains the structural integrity of the steel over multiple growing seasons.
What oil is best for garden tool maintenance?
Linseed oil or mineral oil are the industry standards. Avoid petroleum based lubricants if the tool will be used in organic beds. These oils create a protective barrier that prevents moisture from initiating the rusting process on carbon steel blades.
Why is my trowel rusting despite cleaning?
Rust occurs if the tool is stored while damp or in a high humidity environment. Ensure the blade is completely dry before applying oil. Store tools vertically in a bucket of oiled sand to provide a constant protective coating.