7 Steps to Prepare a Tool Organization Check
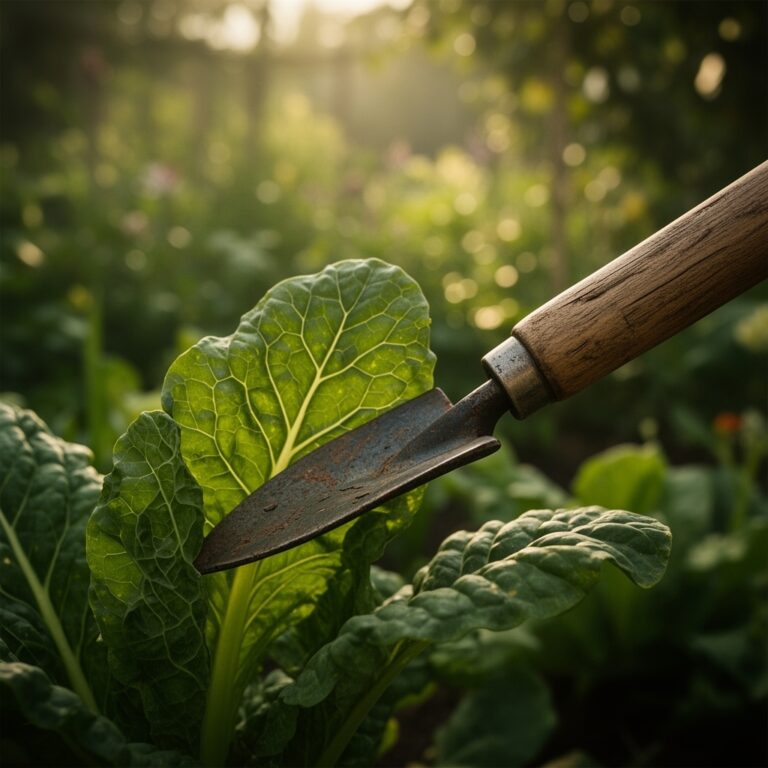
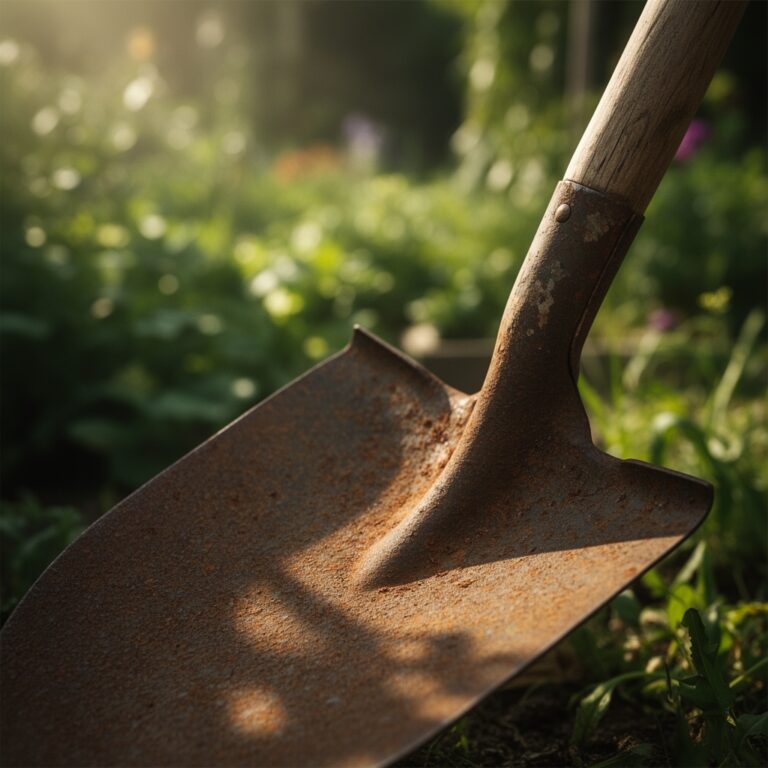
The smell of damp earth after a cold rain signifies a shift in soil porosity and microbial activity. When the turgor pressure in your perennials begins to drop during late autumn senescence, it is time to audit your equipment. Knowing how to prepare a garden for a tool organization check ensures that your mechanical interventions do not introduce pathogens into the rhizosphere. Precision in maintenance reflects precision in cultivation. A dull blade or a rusted spade disrupts the vascular cambium of a plant; it creates jagged wounds that invite fungal spores rather than clean seals that promote rapid callousing. This guide establishes a rigorous protocol for aligning your inventory with the physiological needs of the landscape.
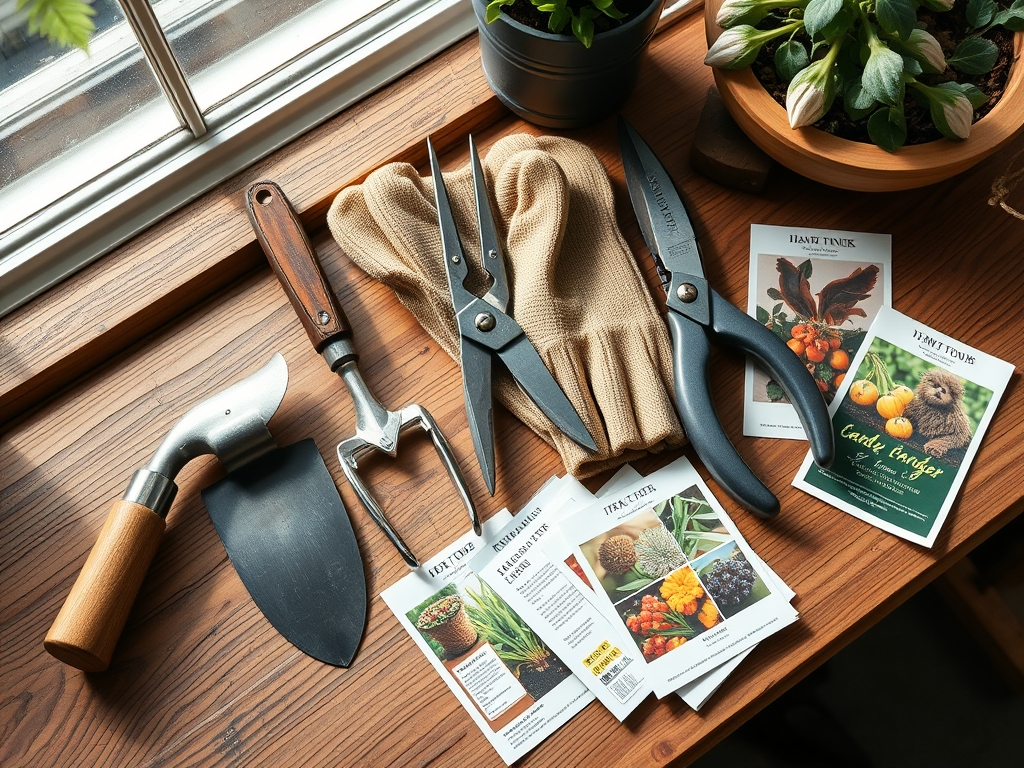
Materials:
Effective tool organization requires an environment with controlled humidity to prevent oxidation. The ideal substrate for a staging area is a **friable loam** with a high sand content to ensure rapid drainage if cleaning occurs outdoors. Maintain a soil pH between **6.2 and 6.8** in the surrounding beds to ensure that any runoff from tool sterilization does not drastically alter the Cation Exchange Capacity (CEC).
For nutrient management during this transition, utilize a fertilizer with an NPK ratio of 5-10-10. The lower nitrogen content prevents late-season vegetative flushes that are susceptible to frost damage. High phosphorus and potassium levels strengthen root cell walls and increase solute concentration within the vacuoles; this lowers the freezing point of the plant tissue. Ensure your storage area contains 70 percent isopropyl alcohol for blade sterilization and linseed oil for wooden handle preservation.
Timing:
In Hardiness Zones 5 through 7, the window for a tool organization check opens ten days after the first killing frost. This typically occurs when soil temperatures drop below 45 degrees Fahrenheit. At this stage, most deciduous plants have entered dormancy, and the biological clock has shifted from the reproductive stage to metabolic conservation.
In warmer Hardiness Zones 8 through 10, the check should align with the winter solstice when the photoperiod is at its shortest. Short days trigger the production of abscisic acid, which signals the plant to cease active growth. Performing your check during this period ensures that tools are sharp and sterile before the early spring sap flow begins in late February.
Phases:

Sowing
While tool organization focuses on hardware, the sowing phase requires specific implements like dibbers and seed-starting trays. Inspect these for structural integrity and mineral buildup. If you are sowing cover crops like winter rye, ensure your broadcast spreader is calibrated to deliver 2 pounds of seed per 1,000 square feet.
Pro-Tip: Always sterilize seed trays to prevent "damping off," a condition caused by Pythium fungi. The biological why involves protecting the emerging radicle from soil-borne pathogens before the seedling has developed sufficient secondary metabolites for defense.
Transplanting
Transplanting requires a sharp hori-hori knife and a clean spade to minimize root shear. During this phase, you must account for the transplant shock caused by the disruption of the mycorrhizal symbiosis. When moving a plant, maintain a root ball diameter at least 12 times the diameter of the trunk.
Pro-Tip: Use a root-stimulating hormone or a diluted seaweed extract to encourage the development of lateral roots. The biological why is centered on auxin suppression; by manually stimulating the root zone, you override apical dominance and force the plant to prioritize subterranean establishment over vertical growth.
Establishing
Once tools are checked and plants are in the ground, the establishment phase relies on accurate monitoring. Use a soil moisture meter to ensure the root zone stays between 20 and 40 percent volumetric water content. This prevents anaerobic conditions that lead to root rot.
Pro-Tip: Apply a 3-inch layer of organic mulch around the base of new transplants, keeping it 2 inches away from the stem. The biological why involves thermoregulation; mulch acts as an insulator that prevents the "freeze-thaw" cycle from heaving shallow-rooted plants out of the soil.
The Clinic:
Physiological disorders often stem from improper tool use or soil imbalances. Use the following diagnostic data to troubleshoot your landscape.
- Symptom: Interveinal chlorosis on young leaves.
Solution: This indicates an Iron (Fe) deficiency, often caused by a pH above 7.5.
Fix-It: Apply chelated iron or lower the pH using elemental sulfur at a rate of 5 pounds per 1,000 square feet.
- Symptom: Marginal leaf burn on older foliage.
Solution: This is typically a Potassium (K) deficiency or salt accumulation.
Fix-It: Increase K levels using sulfate of potash. Flush the soil with 2 inches of water to leach excess salts.
- Symptom: Stunted growth with purple tinting on the underside of leaves.
Solution: Phosphorus (P) deficiency, common in cold, wet soils where P becomes chemically unavailable.
Fix-It: Apply bone meal or triple superphosphate (0-45-0) once soil temperatures rise above 55 degrees Fahrenheit.
- Symptom: Jagged, necrotic edges on pruning cuts.
Solution: Mechanical trauma from dull bypass pruners.
Fix-It: Sharpen blades to a 20-degree angle and treat the wound with a thin layer of horticultural oil to prevent desiccation.
Maintenance:
Precision maintenance dictates the longevity of both the plant and the tool. Provide 1.5 inches of water per week at the drip line for established shrubs. Do not water the foliage; overhead irrigation increases the leaf wetness period, which facilitates the germination of fungal spores like Cercospora.
For tool care, use a wire brush to remove soil from all metal surfaces. Soil contains abrasive silicates that dull edges over time. After cleaning, apply a thin coat of WD-40 or mineral oil to all moving parts. Store tools vertically to prevent the handles from warping. If using a soil moisture meter, wipe the probe clean after every use to prevent the transfer of nematodes between different garden beds.
The Yield:
When harvesting root crops or herbs, timing is dictated by the concentration of essential oils or sugars. For herbs like rosemary or thyme, harvest in the morning after the dew has evaporated but before the sun reaches its zenith. This is when the volatile oil concentration is at its peak.
Use sharp bypass pruners to make clean cuts at a 45-degree angle just above a node. This encourages the plant to redirect energy to lateral buds. For "day-one" freshness, immediately submerge the cut ends in 40-degree Fahrenheit water. This maintains turgor pressure and slows the rate of respiration, extending the shelf life of the tissue.
FAQ:
How often should I sharpen my pruning tools?
Sharpen blades after every 10 hours of use or at the start of each season. Dull blades crush the xylem and phloem, preventing the plant from transporting water and nutrients to the wound site for healing.
What is the best way to disinfect garden tools?
Soak tools in a solution of one part bleach to nine parts water or wipe with 70 percent isopropyl alcohol. This kills pathogens like Fusarium and Verticillium that survive on metal surfaces and infect healthy vascular systems.
Can I use motor oil to prevent tool rust?
Avoid motor oil as it contains heavy metals and petroleum distillates that can leach into the rhizosphere. Use food-grade linseed oil or mineral oil, which are biodegradable and do not negatively impact the soil's microbial population.
How do I know if my soil is too wet for tool use?
Squeeze a handful of soil into a ball. If it stays together after a light poke, the moisture content is too high. Working in these conditions leads to soil compaction, which destroys macropores and reduces oxygen availability for roots.