8 Tips to Use a Shovel for Custom Landscaping
The scent of damp, disturbed earth signals the beginning of any serious structural modification to the rhizosphere. When the steel blade of a spade breaks the surface tension of a compacted clay loam, you are engaging in the most fundamental act of site engineering. Using a shovel for custom landscaping requires more than brute force; it demands an understanding of soil physics and mechanical leverage. A sharp edge slices through fibrous root systems while preserving the structural integrity of the surrounding soil aggregates. Proper technique ensures that the soil pores remain open for gas exchange rather than being crushed into an anaerobic state. By mastering the mechanics of the shovel, you control the drainage, aeration, and foundational stability of the entire botanical environment. This tool serves as the primary interface between the horticulturalist and the subterranean world where cation exchange and microbial activity determine the success of every planting.
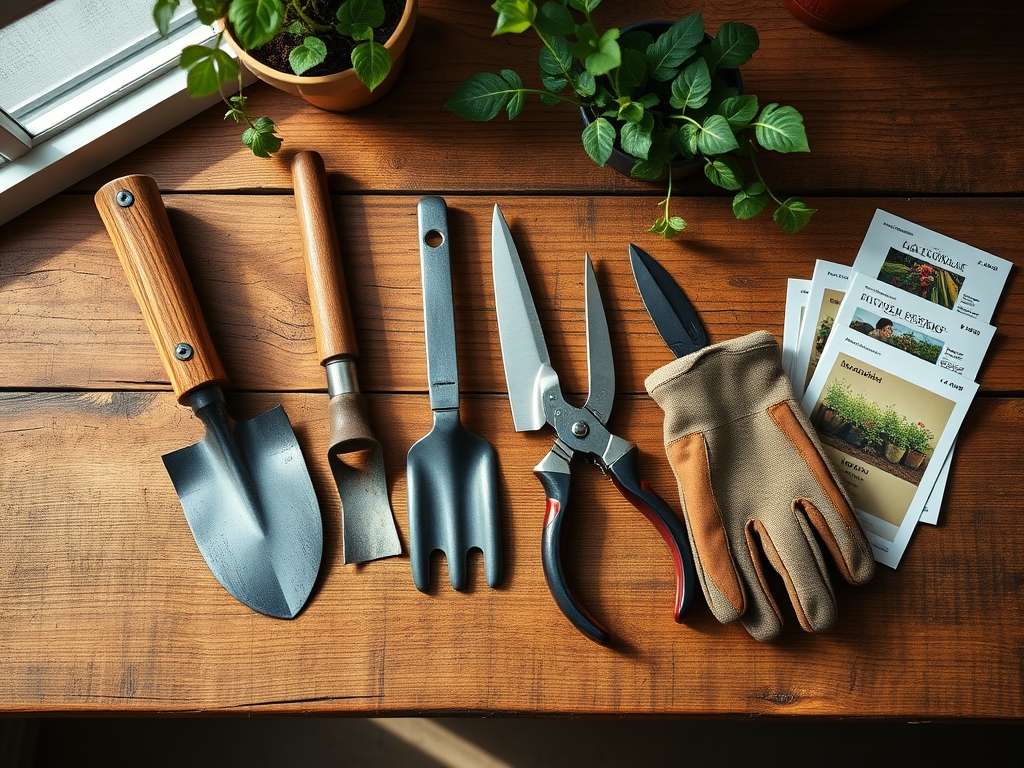
Materials:
The efficacy of your shovel work depends entirely on the substrate composition. Ideal landscaping soil is a **friable loam** consisting of roughly **40 percent sand, 40 percent silt, and 20 percent clay**. This balance provides a high Cation Exchange Capacity (CEC), typically ranging from **15 to 25 meq/100g**, allowing the soil to retain essential nutrients like ammonium and potassium. Before excavation, test the soil pH; a range of **6.2 to 6.8** is optimal for most ornamental and edible species. If the soil is overly acidic, incorporate pelletized lime at a rate of **50 pounds per 1,000 square feet**. For nutrient-depleted sites, integrate a slow-release fertilizer with an **NPK ratio of 10-10-10** into the top **6 inches** of the profile. The physical texture should allow for easy penetration; if the shovel bounces off the surface, the bulk density is likely above **1.6 g/cm3**, necessitating the addition of organic matter to improve porosity.
Timing:
Successful landscaping follows the constraints of the USDA Hardiness Zones and the local frost-date window. In Zones 5 through 7, the primary window for heavy shovel work opens when the soil temperature consistently reaches 45 degrees Fahrenheit. Excavating frozen ground destroys the crystalline structure of the soil and can lead to severe compaction once the thaw occurs. Observe the biological clock of your specimens; transplanting should occur during the transition from dormancy to the early vegetative stage. This timing allows the plant to utilize its stored carbohydrates for root regeneration before the high transpiration demands of summer. Avoid digging during the reproductive stage (flowering) because the plant redirects energy away from the root zone to support seed production. For most deciduous species, the "Goldilocks" zone for using a shovel for custom landscaping is the six-week window preceding the last spring frost.
Phases:

Sowing and Bed Preparation
Begin by marking the perimeter of the new bed. Use a square-point spade to cut a clean vertical edge 4 inches deep around the boundary. This physical break prevents the lateral spread of rhizomatous grasses into your curated space. Flip the turf inward and chop it into the soil to utilize the decomposing nitrogen. Ensure the bed is level by using a laser level or a simple string line.
Pro-Tip: Maintaining a clean vertical edge promotes mycorrhizal symbiosis by preventing aggressive turf roots from out-competing the slower-growing ornamental fungi that facilitate nutrient uptake.
Transplanting Large Specimens
When moving an established shrub, the shovel must be used to preserve the largest possible root ball. Measure the trunk diameter at the base; for every 1 inch of diameter, the root ball should be 12 inches wide. Dig a trench around the circumference and use the shovel as a lever only once the taproot or bottom lateral roots have been severed.
Pro-Tip: Minimize the time the root ball is exposed to air to prevent turgor loss. High turgor pressure is essential for the plant to maintain its structural form and continue cellular expansion post-transplant.
Establishing and Backfilling
Place the plant in the hole so the root flare is exactly at or 0.5 inches above the surrounding grade. Use the shovel to break up large clods of backfill soil. Tamp the soil lightly with your boot to remove large air pockets, but do not over-compress, as this limits the oxygen available to the roots.
Pro-Tip: Avoid adding excessive organic amendments to the planting hole alone. This can create a "bathtub effect" where the plant's roots refuse to leave the rich hole for the native soil, eventually leading to root girdling.
The Clinic:
Physiological disorders often manifest shortly after major landscaping changes. Observe the foliage for signs of stress or nutrient deficiency.
- Symptom: Interveinal chlorosis (yellowing between green veins) on new growth.
- Solution: This indicates an Iron deficiency, often caused by a pH above 7.0. Apply chelated iron to the soil.
- Symptom: Marginal leaf scorch or browning on the edges.
- Solution: This suggests potassium deficiency or salt burn. Flush the soil with 3 inches of water to leach salts and apply a 0-0-50 fertilizer.
- Symptom: Wilting despite moist soil.
- Solution: This is likely root rot (Phytophthora) caused by poor drainage in the newly dug area. Use the shovel to incorporate coarse sand or perlite to improve aeration.
- Fix-It for Nitrogen Chlorosis: If older leaves turn uniform pale green, the plant lacks nitrogen. Apply a quick-release 21-0-0 ammonium sulfate at a rate of 1 pound per 100 square feet to restore chlorophyll production.
Maintenance:
Post-installation care requires precision. Use a soil moisture meter to ensure the root zone stays between 20 and 40 percent moisture capacity. Most new plantings require 1.5 inches of water per week delivered at the drip line. Use bypass pruners to remove any branches damaged during the shoveling process; clean cuts heal faster than jagged tears. For precision weeding around delicate new roots, a hori-hori knife allows you to extract deep-taproot weeds without disturbing the primary specimen. Monitor the soil surface for crusting; if the surface seals, use a hand rake to break the tension and allow for gas exchange.
The Yield:
When landscaping includes flowering perennials or shrubs, the "harvest" involves pruning for aesthetic or reproductive health. For woody ornamentals, harvest cuttings or prune just after the flowers fade to prevent the plant from wasting energy on seed heads. Use sharp shears to cut at a 45-degree angle just above a node. To maintain day-one freshness for cut flowers, submerge the stems immediately in 110-degree Fahrenheit water to remove air bubbles from the xylem and enhance water uptake through capillary action.
FAQ:
How deep should I dig for a standard shrub?
Dig the hole two to three times wider than the root ball but no deeper than the root ball's height. This ensures the root flare remains at the soil surface, preventing stem rot and ensuring proper gas exchange for the rhizosphere.
Can I use a shovel to divide perennials in summer?
Summer division is risky due to high transpiration rates. If necessary, prune the foliage back by 50 percent to reduce water loss, dig the entire clump, and keep the roots shaded and moist during the process to maintain turgor.
What is the best way to clean a shovel?
Remove all soil with a wire brush, then disinfect the blade with a 10 percent bleach solution or isopropyl alcohol. This prevents the transfer of soil-borne pathogens like Fusarium or Verticillium wilt between different areas of your custom landscape.
How do I fix soil that is too hard to dig?
Irrigate the area with 1 inch of water 24 hours before digging. This lubricates the soil particles and lowers the mechanical resistance. For long-term improvement, top-dress the area with 2 inches of compost to lower the bulk density.