How to Prepare Your Soil for a High-Yield Vegetable Garden: A Step-by-Step Guide
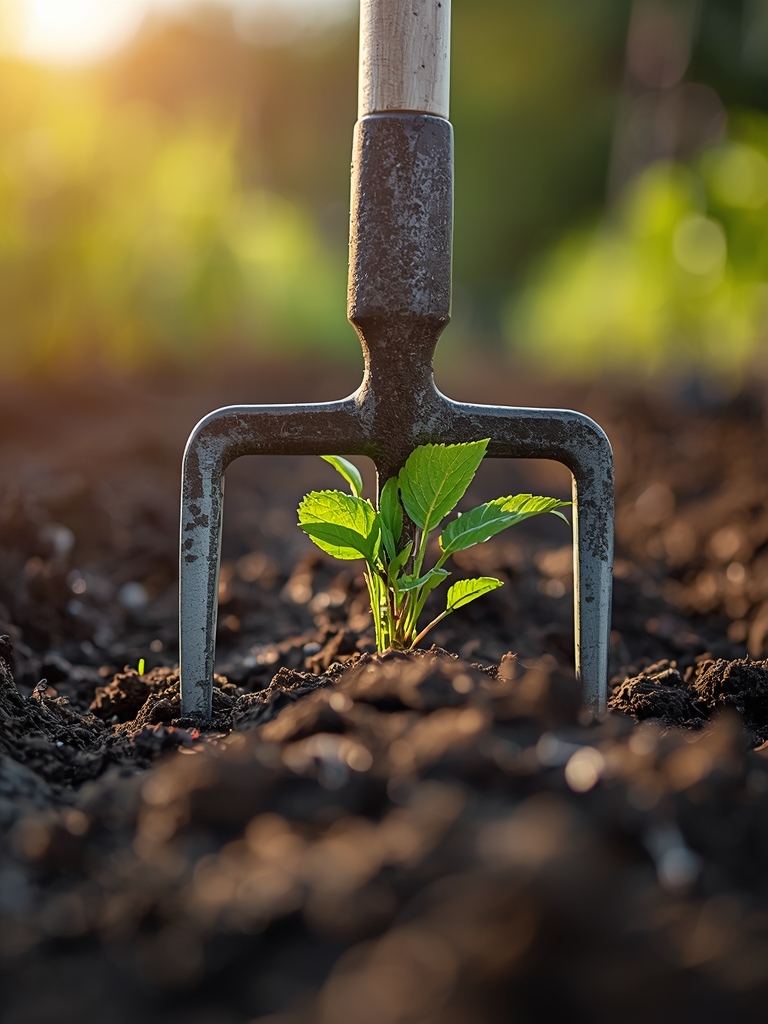
Squeeze a handful of good garden soil in your palm. It should hold its shape when you open your hand, then crumble apart with a gentle poke. That texture—neither sandy dust nor sticky clay—tells you everything about whether your tomatoes will thrive or merely survive. Learning how to prepare soil for a vegetable garden separates the gardeners who harvest bushels from those who nurse along a few stunted plants. After three decades of turning compost and testing pH levels, I’ve watched marginal plots transform into productive beds that feed families from May through October.
The difference between adequate and exceptional harvests lies beneath the surface. Soil preparation isn’t glamorous work. Your knees will ache, and your fingernails will darken with organic matter. But this foundation determines whether your squash vines produce twenty fruits or three, whether your lettuce bolts at the first warm spell or keeps producing crisp leaves for weeks.
Materials & Supplies
Soil Testing & Analysis
- Digital pH meter or test kit (measuring 4.0–9.0 range)
- Soil probe or auger (12–18 inches deep)
- Laboratory soil test kit for NPK analysis and micronutrients
- Plastic bags for collecting samples from multiple bed locations
Amendments & Organic Matter
- Aged compost (6–12 months old, dark brown, earthy-smelling)
- Well-rotted manure (horse, cow, or chicken—never fresh)
- Peat moss or coconut coir (2–3 cubic feet per 100 square feet)
- Agricultural lime or sulfur (depending on pH adjustment needs)
- Rock phosphate or bone meal (for phosphorus levels)
- Greensand or kelp meal (potassium sources)
- Mycorrhizal fungi inoculant
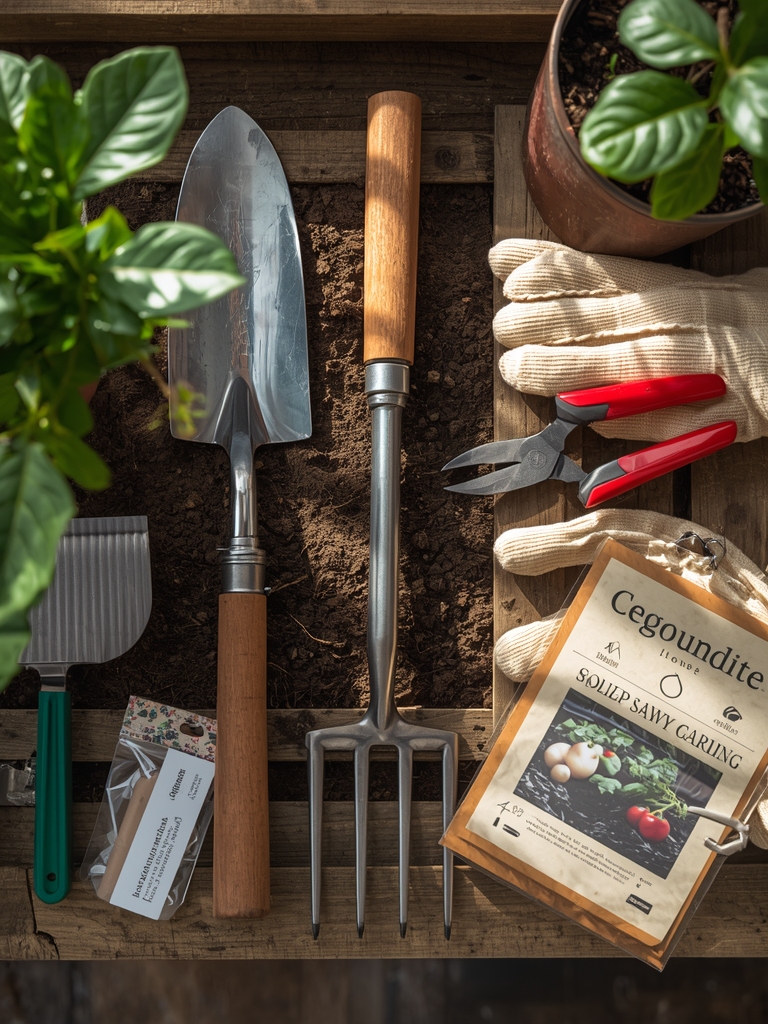
Tools & Equipment
- Broadfork or garden fork (for deep aeration without inverting layers)
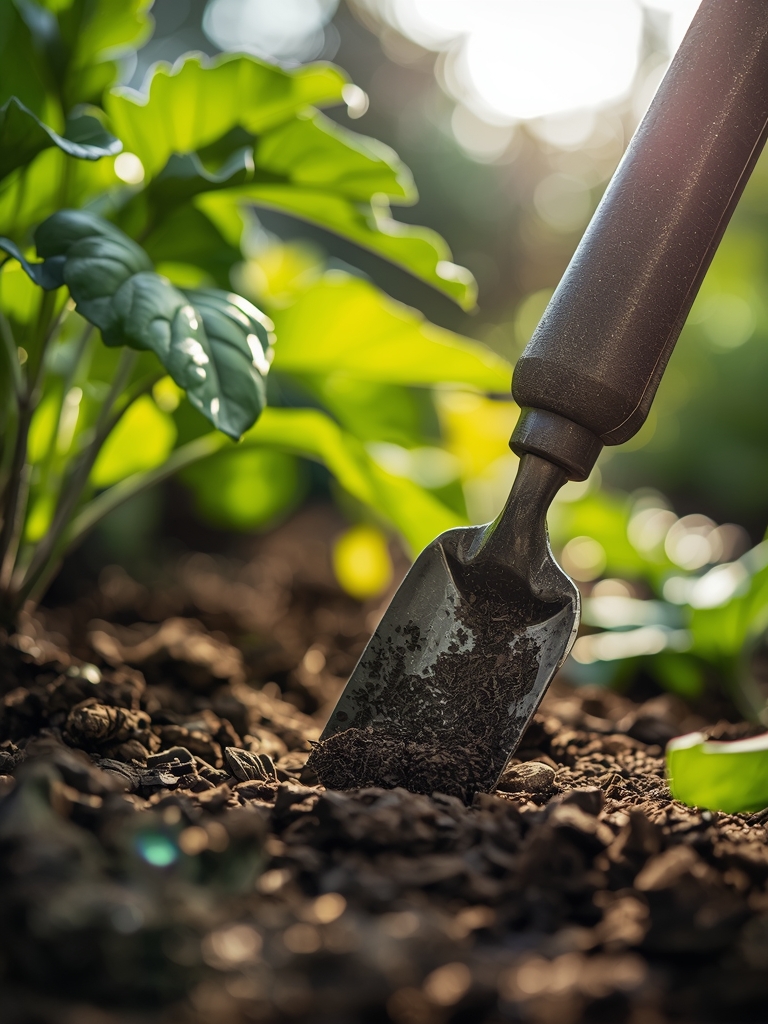
- Garden spade with sharpened edge
- Steel rake (for leveling and removing debris)
- Wheelbarrow or garden cart
- Measuring tape and stakes
- Garden hose with spray nozzle
Timing & Growing Schedule
Start soil preparation 4–6 weeks before your last expected frost date. In zones 3–5, this means working soil in late March through April. Zones 6–7 can begin in mid-to-late March. Zones 8–10 have flexibility from February through early March, and again in September for fall gardens.
Soil temperature matters more than calendar dates. Insert a soil thermometer 4 inches deep at 10 a.m. Wait until readings consistently reach 50°F before working clay-heavy soils, 45°F for loamy soils. Working wet soil destroys structure, creating concrete-like clods that take years to remediate.
Test your soil in fall if possible. Laboratory results take 2–3 weeks, and autumn testing allows winter freezes to help incorporate amendments. Spring testing works, but you’re racing against planting deadlines.
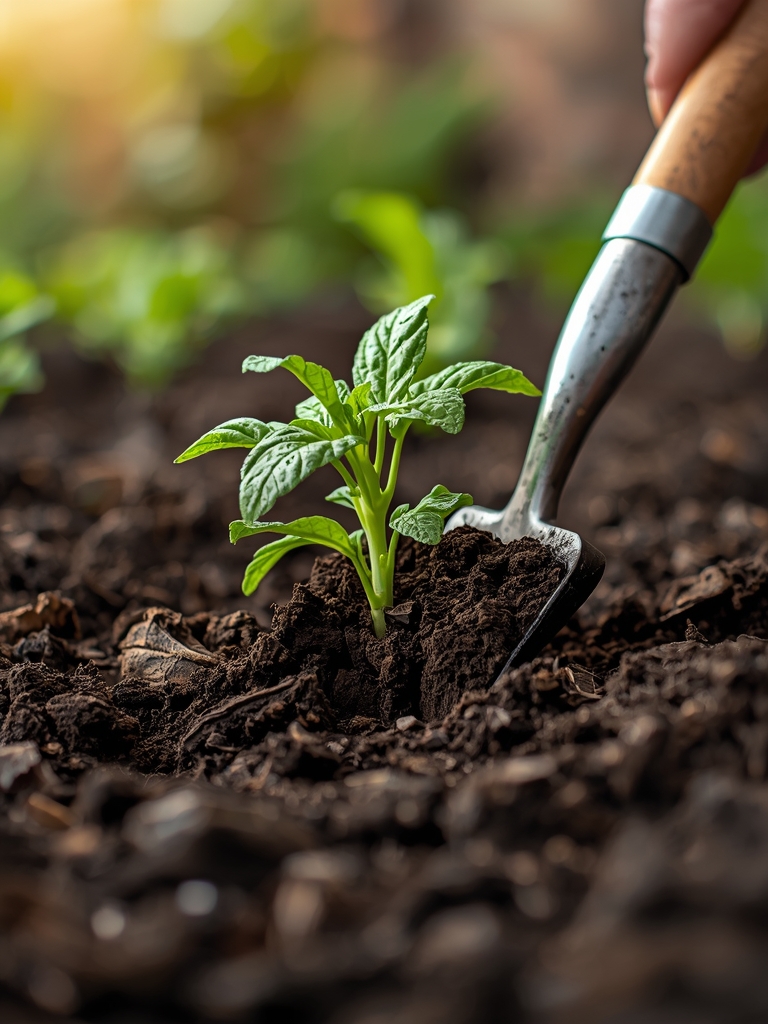
Most vegetables need 60–100 days from transplant to first harvest. Soil preparation accelerates establishment by 7–14 days compared to unprepared ground—a crucial advantage in short-season climates.
Step-by-Step Instructions

Phase 1: Assessment & Clearing (Days 1-2)
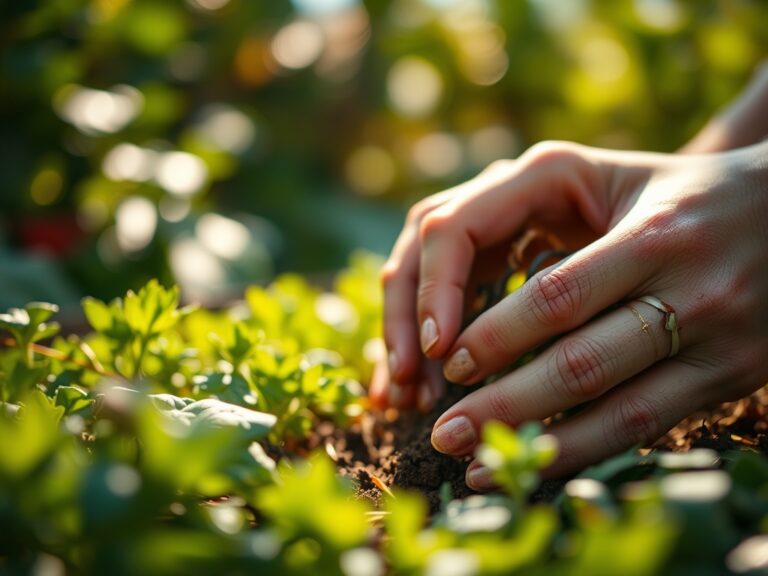
Remove all vegetation from the bed area. Pull perennial weeds by hand, extracting the entire root system. Annual weeds can be turned under if they haven’t set seed. Clear rocks, roots, and debris larger than a golf ball.
Collect soil samples from 6–8 locations across your garden area. Dig down 6 inches, take a vertical slice, and mix all samples in a clean bucket. Send 2 cups to your extension office or use a comprehensive home test kit.
Pro Tip: Sample separately from areas where you’ll plant brassicas (pH 6.5–7.0) versus nightshades (pH 6.0–6.8) if your garden spans different drainage zones. Clay areas typically test more alkaline than sandy spots.
Phase 2: Deep Loosening (Days 3-5)
Drive a broadfork into the soil every 6–8 inches across the bed. Rock the handles back without lifting or inverting the soil layers. This creates air channels while preserving soil structure and beneficial organism habitats.
For compacted areas where the broadfork won’t penetrate, use a spading fork. Work backward across the bed to avoid stepping on loosened soil. Break up clods larger than a lemon, but don’t pulverize the soil into powder.
Pro Tip: Listen to your soil. Loose, healthy ground makes a muffled thud when you strike it with a fork. Compacted soil rings with a hollow, hard sound. That acoustic difference maps your problem areas.
Phase 3: Amendment Application (Days 6-10)
Spread 2–4 inches of aged compost across the entire bed surface. Add specific amendments based on test results:
- pH below 6.0: Apply dolomitic lime at 5 pounds per 100 square feet (raises pH by approximately 0.5 points)
- pH above 7.5: Work in elemental sulfur at 1 pound per 100 square feet
- Low nitrogen: Add blood meal (12-0-0) at 3 pounds per 100 square feet
- Low phosphorus: Mix in rock phosphate (0-3-0) at 5 pounds per 100 square feet
- Low potassium: Incorporate greensand (0-0-7) at 10 pounds per 100 square feet
Sprinkle mycorrhizal fungi powder across the surface before mixing. These fungal networks increase nutrient uptake by 300–500% compared to non-colonized roots.
Pro Tip: Apply amendments in two passes. Spread half the compost, fork it into the top 3–4 inches, then add the second half and incorporate to 6–8 inches deep. This creates a nutrient gradient that encourages deep rooting.
Phase 4: Final Preparation (Days 11-14)
Rake the bed surface smooth. Create a gentle crown with the center 2–3 inches higher than edges to improve drainage. Remove any remaining debris.
Water the bed thoroughly—applying 1 inch measured in a rain gauge. Allow it to settle for 3–5 days. The surface will drop 1–2 inches as air pockets collapse and amendments integrate.
Shape permanent beds 3–4 feet wide for easy reach from both sides. Form walking paths 18–24 inches wide between beds. Never walk on prepared planting areas.
Pro Tip: Scatter cover crop seed (annual ryegrass or oats) if planting is more than 2 weeks away. The roots prevent erosion and crusting. Chop and turn under the greens 1 week before transplanting.
Nutritional & Environmental Benefits
Well-prepared soil functions as a living biological system rather than an inert growing medium. Each cubic foot of healthy garden soil contains 10–100 billion microorganisms representing thousands of species. These organisms convert organic nitrogen into plant-available nitrate through nitrogen fixation, make phosphorus accessible, and protect roots from pathogenic fungi.
Properly amended beds retain moisture 40–60% more effectively than unprepared soil, reducing irrigation needs by 30–50%. This water-holding capacity comes from organic matter’s sponge-like structure, which absorbs and releases moisture gradually.
The improved soil structure supports deeper root penetration. Tomatoes in well-prepared beds develop root systems reaching 24–36 inches deep compared to 12–18 inches in hard soil. These extensive roots access nutrients and water unavailable to shallow-rooted plants, creating resilience during dry spells.
Enhanced soil biodiversity attracts beneficial insects. Ground beetles, predatory nematodes, and parasitic wasps thrive where organic matter is abundant. These predators control aphids, hornworms, and cutworms more effectively than chemical interventions.
Advanced Methods & Variations
Small Space & Container Gardening
Mix your own container blend: 40% high-quality compost, 30% coconut coir, 20% perlite, and 10% worm castings. Add 2 tablespoons of balanced organic fertilizer (4-4-4) per gallon of mix.
Containers require more frequent feeding than in-ground beds. Apply diluted liquid fertilizer (fish emulsion or compost tea at half strength) every 10–14 days once plants establish.
Refresh container soil annually. Remove the top 4–6 inches of depleted mix and replace with fresh compost mixed with slow-release granular fertilizer.
Organic & Permaculture Methods
Create sheet-mulch beds without tilling. Lay cardboard directly over grass or weeds. Wet thoroughly, then pile 12–18 inches of mixed brown and green materials: alternating 4-inch layers of leaves, grass clippings, compost, and straw. Plant directly through this lasagna after 4–6 weeks.
Establish permanent no-till beds. After initial preparation, never turn the soil again. Add 2–3 inches of compost as surface mulch annually. Soil structure improves continuously as earthworms and microorganisms process organic matter.
Integrate nitrogen-fixing cover crops into rotation. Plant crimson clover, hairy vetch, or field peas in fall. These legumes host rhizobial bacteria that capture atmospheric nitrogen, contributing 40–150 pounds per acre when turned under before flowering.
Season Extension Techniques
Warm spring soil faster with black plastic mulch. Spread it over prepared beds 2–3 weeks before planting. Soil temperature increases 5–8°F under plastic, advancing planting dates by 7–10 days.
Install low tunnels with 10-mil clear plastic over wire hoops. These temporary greenhouses extend the growing season 4–6 weeks in spring and fall. Vent them when internal temperature exceeds 80°F.
Apply 2–4 inches of straw mulch around established plants in late fall. This insulation moderates soil temperature fluctuations, protecting root crops like carrots and parsnips through winter in zones 6–8.
Troubleshooting: Common Mistakes
Problem 1: Plants Yellow and Stunted Despite Regular Watering
Symptom: Lower leaves turn pale yellow, overall growth slows, fruiting stops or never begins.
Solution: Nitrogen deficiency in over-weathered soil. Side-dress with compost or apply blood meal at 1 pound per 10 feet of row. Leaves should green up within 10–14 days. Prevent by incorporating 2 inches of compost annually.
Problem 2: Water Pools on Soil Surface After Irrigation
Symptom: Puddles remain 30+ minutes after watering. Soil feels sticky and heavy. Plant roots appear brown and smell sour.
Solution: Clay compaction or hardpan layer. Improve drainage by working in 3–4 inches of coarse sand and equal amounts of compost. Consider raised beds (8–12 inches high) if subsoil drainage is poor.
Problem 3: Rapid Wilt During Afternoon Heat Despite Morning Watering
Symptom: Plants droop by 2 p.m., recover overnight, repeat daily. Soil surface dries to powder quickly.
Solution: Sandy soil with poor water retention. Mix in 4–6 inches of compost or peat moss to increase organic matter to 5–8%. Mulch with 3 inches of straw to reduce evaporation.
Problem 4: Seedlings Germinate Then Disappear or Turn Black at Soil Line
Symptom: Empty spots in rows where seeds sprouted. Surviving seedlings have pinched, dark stems at ground level.
Solution: Damping-off fungus thriving in cold, wet soil. Don’t plant until soil reaches 50°F minimum. Improve drainage. Apply mycorrhizal inoculant to seed furrows—beneficial fungi outcompete pathogens.
Problem 5: Blossom-End Rot on Tomatoes and Peppers
Symptom: Dark, leathery spots on fruit bottoms despite healthy foliage. Affects first fruits most severely.
Solution: Calcium deficiency caused by inconsistent watering, not poor soil. Maintain even moisture—1–1.5 inches per week. Mulch to regulate soil moisture. Foliar calcium sprays provide temporary relief but don’t solve underlying water stress.
Storage & Ongoing Maintenance
Watering Protocol
Provide 1–1.5 inches of water weekly, measured with a rain gauge. Water deeply twice weekly rather than shallow daily sprinkling. Deep watering encourages roots to grow downward seeking moisture, creating drought-resistant plants.
Install drip irrigation or soaker hoses to deliver water directly to root zones. Overhead sprinklers waste 40–60% through evaporation and encourage foliar diseases. Run drip systems early morning—soil absorbs moisture before heat accelerates evaporation.
Check soil moisture at root depth, not surface. Insert your finger 3–4 inches into soil near plants. If it feels dry at that depth, water. Surface dryness doesn’t indicate root-zone conditions.
Fertilizing Schedule
Apply balanced organic fertilizer (5-5-5 or similar) at planting: 2 pounds per 100 square feet worked into the top 2 inches. Side-dress heavy feeders (tomatoes, corn, squash) with additional compost or fertilizer 4–6 weeks after transplanting.
Feed container vegetables every 2 weeks with liquid fertilizer at half package-strength. Frequent watering leaches nutrients from containers faster than in-ground beds.
Top-dress beds with 1 inch of compost mid-season (July in most climates). Scratch it into the soil surface around plants. Rain and irrigation carry nutrients downward to active roots.
Post-Harvest Soil Care
Remove spent plants immediately after final harvest. Diseased material goes in trash, not compost. Healthy plant debris can be chopped and turned under to decompose over winter.
Plant cover crops in fall as soon as beds clear. Oats, winter rye, or crimson clover protect soil from erosion, suppress weeds, and add organic matter when turned under in spring.
Test soil pH every 2–3 years. Annual applications of compost and organic fertilizers gradually shift pH. Adjust as needed to maintain optimal ranges for planned crops.
Never leave soil bare through winter. Freezing and thawing breaks down soil structure, and wind erosion removes topsoil. Mulch empty beds with 4–6 inches of shredded leaves or straw.
Success Blueprint
Soil preparation transforms average gardening into exceptional production through three fundamental principles: build organic matter to 5–8% by volume through annual compost additions; maintain proper pH for your specific crops through targeted amendments; and protect soil structure by minimizing compaction and preserving biological communities. These practices compound annually—your third-year garden will dramatically outperform your first because soil improvement is cumulative, not instant.
Share your soil test results and amendment strategies in the comments. What challenges have you overcome, and what questions remain? Building great soil is a journey we’re all on together.
Expert FAQs
Q: How long does it take to improve poor soil?
Noticeable improvement happens in one season with proper amendment. Add 4 inches of compost and appropriate pH adjustments, and you’ll see stronger growth that first year. Full transformation to rich, loamy soil takes 3–5 years of consistent organic matter additions and maintenance.
Q: Can I prepare soil in fall for spring planting?
Fall preparation is ideal. Spread amendments in September or October. Winter freeze-thaw cycles naturally break up clods and integrate materials. Spring soil warms faster and drains better when prepared the previous fall.
Q: How much compost is too much?
Maximum benefit comes from 3–4 inches of compost incorporated annually. More than 6 inches can create overly rich soil with excessive nitrogen, causing leafy growth at the expense of fruiting. Compost should constitute 25–30% of the final mix, not exceed 50%.
Q: Should I till or use no-till methods?
Initial preparation benefits from moderate tilling to incorporate amendments and break compaction. After that first year, adopt no-till practices. Annual surface applications of compost maintain fertility while preserving soil structure and beneficial organism populations that tilling destroys.
Q: What’s the difference between topsoil and garden soil?
Topsoil is unimproved native soil scraped from construction sites—composition and quality vary wildly. Garden soil is blended specifically for growing vegetables, usually containing compost, peat, and minerals. Never buy cheap “topsoil” for gardens. Invest in quality garden soil or compost and amend your existing soil yourself.