How to Prepare Your Backyard Site for a New Fruit Orchard
The sugar maple growing in the back corner of my lot has taught me everything about site preparation, its roots mapping a story of underground competition for every drop of water and nutrient. That’s the reality you’re about to challenge: when you prepare a site for a new fruit orchard, you’re not just digging holes. You’re engineering a subterranean ecosystem that will support your trees for decades. The reward is a harvest that tastes of your own soil, not a supermarket’s supply chain. It demands planning, sweat, and an understanding of the quiet life beneath the surface. Let’s get to work.
Materials & Supplies
Soil & Amendments
- Soil Test Kit: Get a professional lab test, not a strip kit. You need exact pH, potassium, phosphorus, and organic matter percentage.
- Pelletized Gypsum: For breaking up heavy clay. Use 40 lbs per 1,000 sq ft on compacted soil.
- Organic Compost: Well-rotted, screened compost. You’ll need 3–4 cubic yards for a 30′ x 30′ area.
- Agricultural Lime or Sulfur: To adjust pH based on your test. Apples want pH 6.0-6.5; blueberries demand 4.5-5.5.
- Mycorrhizal Fungi Powder: A starter inoculant for the roots. Get one specific for woody plants.
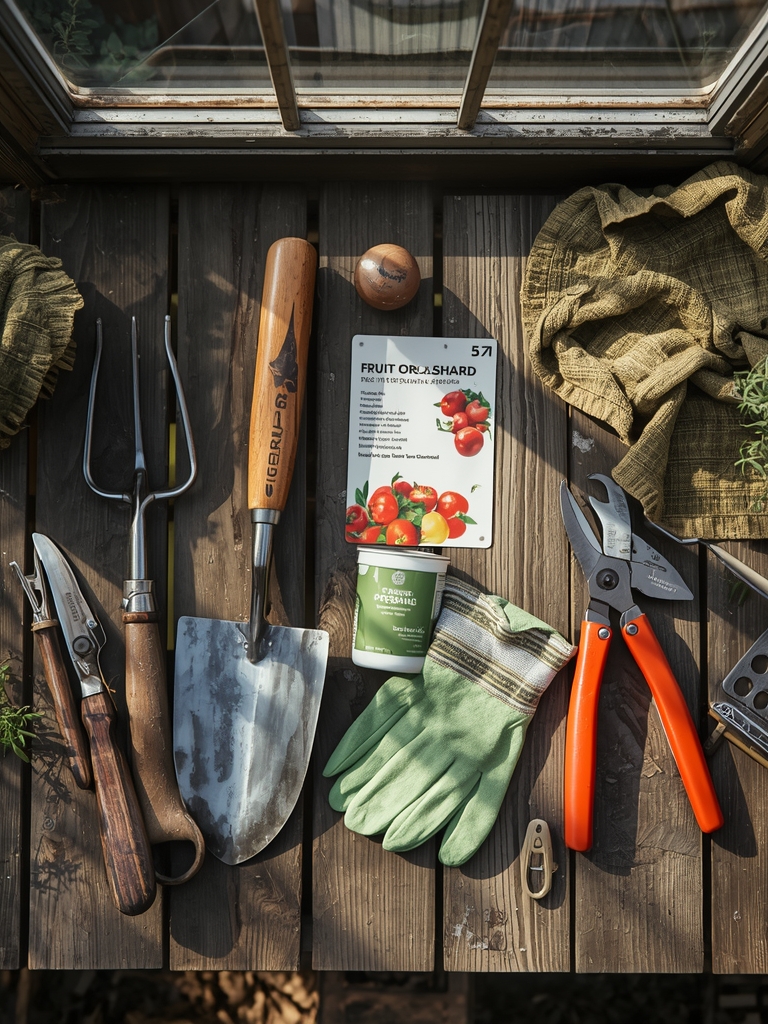
Tools
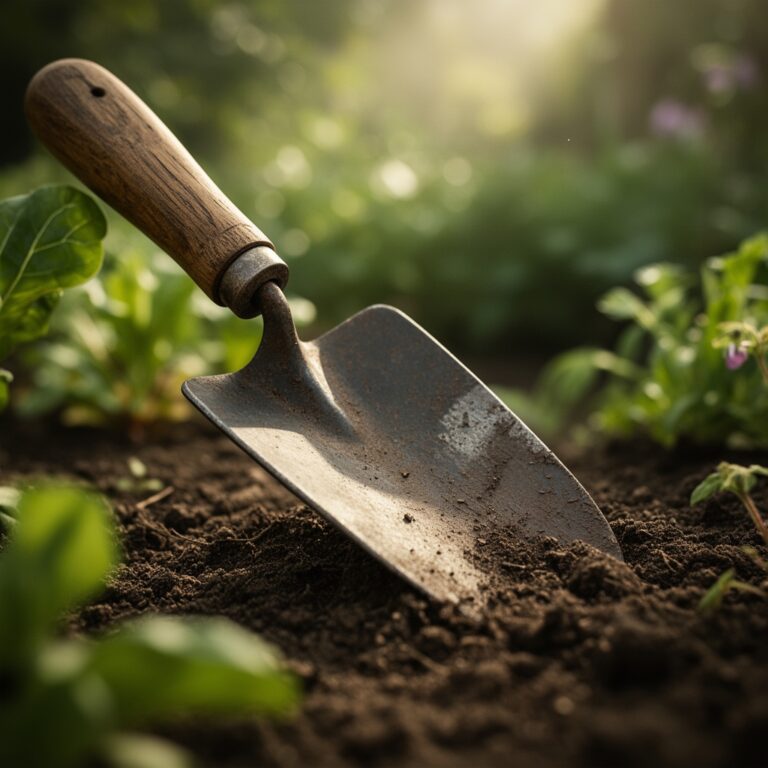
- Spade & Digging Bar: Not a shovel. A sharp spade for slicing clean holes, and a bar for fracturing subsoil.
- Soil Knife: For slicing through sod and roots.
- Broadfork: The best tool for aerating soil without destroying its structure. A 24″ width is ideal.
- Measuring Tape & Permanent Markers: You’ll layout your grid. Use 12″ wooden stakes and orange surveyor’s tape.
- Quality Hose & Soaker Hose: For initial deep watering. Get a 50′ soaker hose for the establishment phase.
Timing / Growing Schedule
This process begins a full year before your trees arrive. For most temperate Hardiness Zones (4-8), the ideal sequence is:
Year 1, Summer to Fall: Conduct soil tests, begin solarization or sheet mulching to kill grass, and start amending soil. This is your window to correct major pH issues, as lime and sulfur act slowly.
Year 1, Late Fall: Plant a cover crop like winter rye or clover for nitrogen fixation. Let it grow until spring.
Year 2, Early Spring: Turn in the cover crop 6 weeks before planting. This adds green manure. Finalize your soil amendments.
Year 2, Planting Window: For bare-root trees, plant as soon as the soil is workable, usually when it’s no longer soggy and reaches 50°F. For container trees, you can plant from early spring through early fall, but avoid the peak summer heat. The “Days to Maturity” for a fruit tree isn’t days—it’s years. Plan for 3-5 years for first significant harvests.
Step-by-Step Instructions
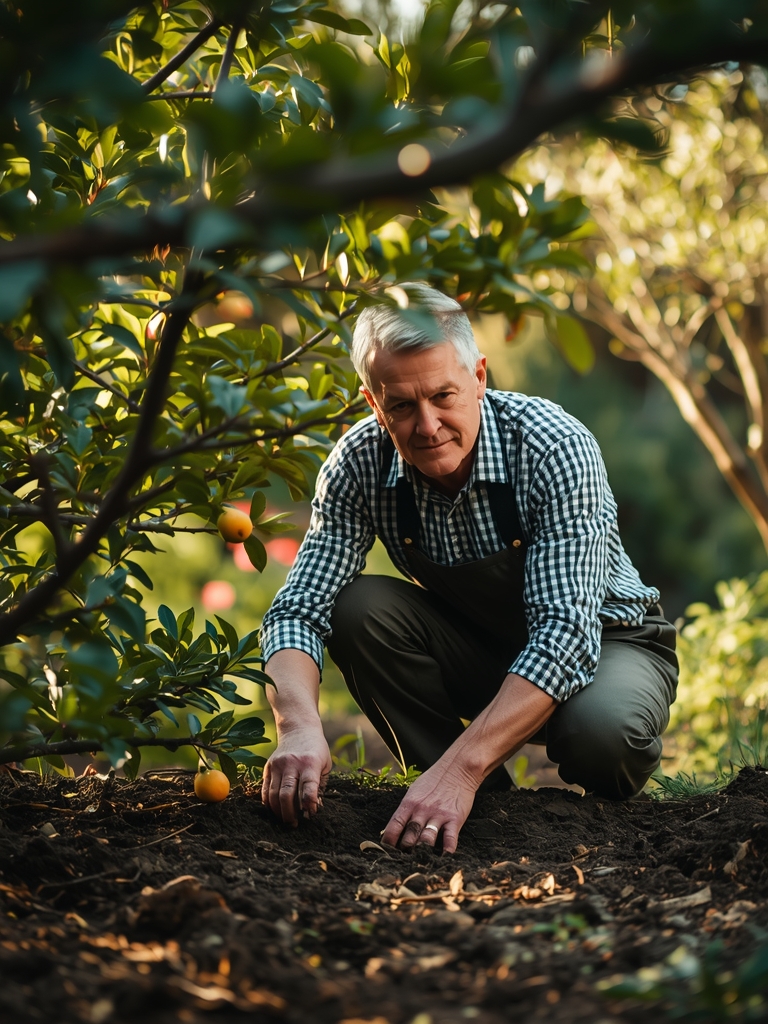
Phase 1: Site Assessment & Clearing
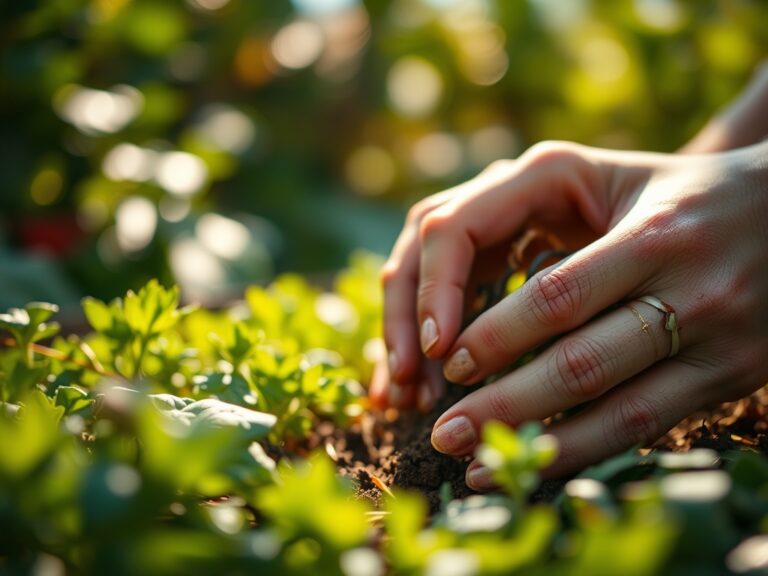
Mark your orchard perimeter. Clear existing vegetation. For sod, use a soil knife to cut and peel it away like a carpet, exposing the topsoil. Do not rotor-till; it creates a hardpan layer below.
- Pro-Tip: Observe the site after a heavy rain. Map where water pools. That’s your worst spot for a tree. Either amend it aggressively with drainage or skip it.
Phase 2: Deep Soil Amendment
This is the critical step. Based on your soil test, broadcast your pH amendments (lime/sulfur) and gypsum over the entire area. Then, spread 2″ of compost over the same area. Use your broadfork: drive it in, rock it back to lift and fracture the subsoil, then withdraw. Work across the entire site. This mixes amendments into the top 12″ without churning.
- Pro-Tip: If your phosphorus (P) is low, use bone meal at 10 lbs per 1,000 sq ft. Rock phosphate takes years to break down; bones feed the trees now.
Phase 3: Planting Hole Preparation
Dig holes only when you have the trees in hand. For each hole, make it 3 times the width of the root ball and only as deep as the root ball. The most important step happens here: score the sides of the hole with your soil knife. Glazed, smooth hole walls discourage root penetration. Create vertical slashes.
- Pro-Tip: Mix the excavated soil with an extra gallon of compost only for backfill. Do not create a rich “bathtub” in a poor matrix. The roots must seek out nutrients.
Nutritional & Environmental Benefits
A home orchard locks nutrients into your local food web. Fresh figs offer concentrated calcium and potassium. Tree fruits provide fiber and complex vitamins that degrade in transport. Beyond the harvest, a mature orchard is a layered ecosystem. The leaf litter supports decomposers, the blossoms feed native pollinators like Solitary bees, and the structure offers microhabitats for beneficial insects that suppress pests like Codling Moth. You’re planting a perennial engine for local ecology.
Advanced Methods & Variations
Small Space/Container: For patios, use half-barrel pots (20″ minimum). Plant genetic dwarfs or columnar apples. The mix is critical: 50% potting soil, 30% compost, 20% perlite for drainage. Water daily in summer.
Organic/Permaculture: Skip individual holes. Prepare the entire bed as above, then plant your trees into a living groundcover of low clover or thyme. The groundcover acts as a living mulch, regulates soil temperature, and fixes nitrogen.
Season Extension: In zones with late frosts, use micro-site selection. Plant your most frost-tender trees (like peaches) 15 feet away from the south-facing wall of your house. The radiant heat can shift your effective zone by half a degree.
Troubleshooting: Common Mistakes
Symptom: Trees stall after 2 years, leaves are small.
Solution: You likely planted in a “bathtub” of rich soil. Break the barrier by drilling 4″ wide holes with a post-hole digger around the tree, 18″ out, and fill them with compost. Force the roots to expand.
Symptom: Yellowing leaves with green veins (on most trees except blueberries).
Solution: Soil pH is too high, locking up iron. Correct with granular sulfur and apply a chelated iron drench.
Symptom: Poor fruiting despite healthy growth.
Solution: You’re likely over-fertilizing with nitrogen. Switch to a bloom-booster formula (higher Potassium) in early spring and let the grass compete a little for nitrogen.
Storage & Ongoing Maintenance
Watering post-planting is key. Give each tree 2 gallons immediately. Then, provide 1-2 inches per week via a soaker hose for the entire first season. Fertilize only in early spring with a balanced 10-10-10 organic blend, scratched into the soil surface out to the drip line. After harvest, clean up fallen fruit to prevent disease. For winter, mulch with 3″ of wood chips, but keep it 6″ away from the trunk to prevent rot.
Conclusion
The blueprint is simple: test your soil deeply, amend the entire site not just the holes, and plant into scored, wide pits. Water consistently for the first critical year. Your success is rooted in that initial preparation. Now, walk your property with this new eye. Find that spot where the sun lingers and the water drains, and mark it. That’s where your orchard begins.
Expert FAQs
Q: Can I plant an orchard over my old lawn without removing the grass?
No. Grass roots are fierce competitors for water and nitrogen. You must completely kill and remove the sod or use sheet mulching for 6 months to smother it. Planting through grass will stunt your trees.
Q: How far apart do I need to space semi-dwarf apple trees?
Space semi-dwarf apples 12-15 feet apart. Measure from trunk to trunk. This allows for light penetration and air circulation, which is critical for disease prevention.
Q: What is the single most important soil test value for fruit trees?
Organic Matter percentage. Aim for at least 5%. Below 3%, your soil lacks the structure, water-holding capacity, and microbial life to sustain a tree. Boost it with compost.
Q: How long after site preparation can I actually plant the trees?
If you do a full, deep amendment as described, you can plant after 6 weeks. This allows lime or sulfur to begin adjusting pH and compost to integrate. For major pH corrections, wait 6 months.
Q: Is it worth adding worms to the planting holes?
Don’t add worms. If your soil is properly amended with organic matter, the worms will arrive naturally. Introduced worms often die or leave. Build the habitat, and the biology follows.