7 Steps for Preparing Garlic Bulbs for Fall Planting: A Complete Tutorial
You can smell it on a cool October morning—the rich, loamy scent of soil ready for a dormant cargo. For us who grow, preparing garlic bulbs for fall planting isn’t a chore; it’s the first act of next July’s harvest, a quiet investment made with cold fingers and gritty hope. Homegrown garlic offers a potency and diversity of flavor you simply cannot buy, from the fiery punch of a Rocambole to the complex, almost sweet notes of a Porcelain variety. The work you do now, in these crisp weeks before the ground freezes, determines everything.
Materials & Supplies
Before you touch a single clove, gather your arsenal. Working clean and organized prevents disease and frustration.
Soil & Amendments: You need well-draining soil. Heavy clay is a death sentence. Amend it with 2-3 inches of finished compost and a generous helping of horticultural sand or peat moss. Your target pH is 6.0 to 7.0—get a soil test kit for hard data. For nutrition, bone meal (4-12-0) is your best friend for root development; mix a handful into each planting row.
Garlic & Tools: Source certified disease-free seed garlic from a reputable grower or nursery. Never plant garlic from the grocery store; it’s often treated to inhibit sprouting and can carry unseen pathogens. You’ll need a garden trowel, a sharp paring knife for dividing bulbs, a ruler, and a bucket for your cloves. A knee pad is worth its weight in gold.
Timing / Growing Schedule
Garlic is a long-season crop driven by cold. In Hardiness Zones 3 through 7, plant after the first light frost but at least 4-6 weeks before the ground consistently freezes. For me in Zone 5b, that’s a window between October 10th and November 1st. This schedule allows the cloves to establish roots—sometimes a few inches of top growth—before winter dormancy. Days to maturity ranges from 240 to 270 days, meaning you’ll harvest next summer. Southern growers (Zones 8-9) often plant later, in November or even December, and may need to pre-chill bulbs.
Step-by-Step Instructions
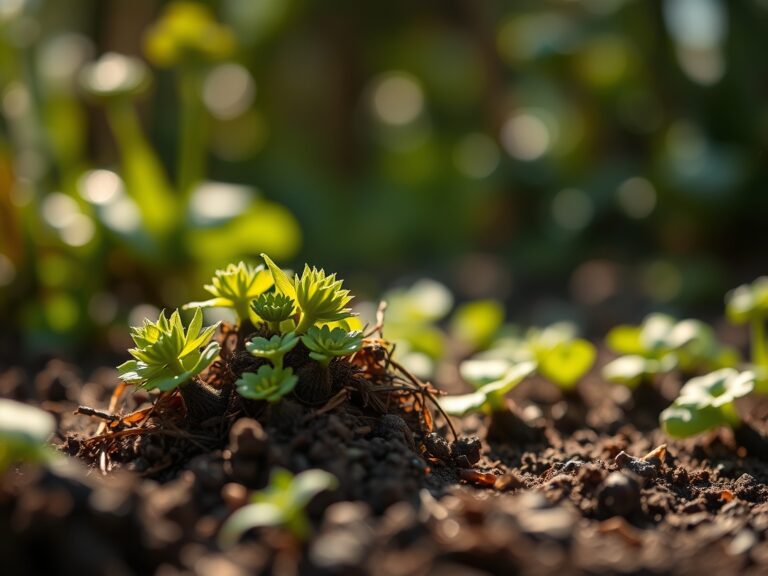
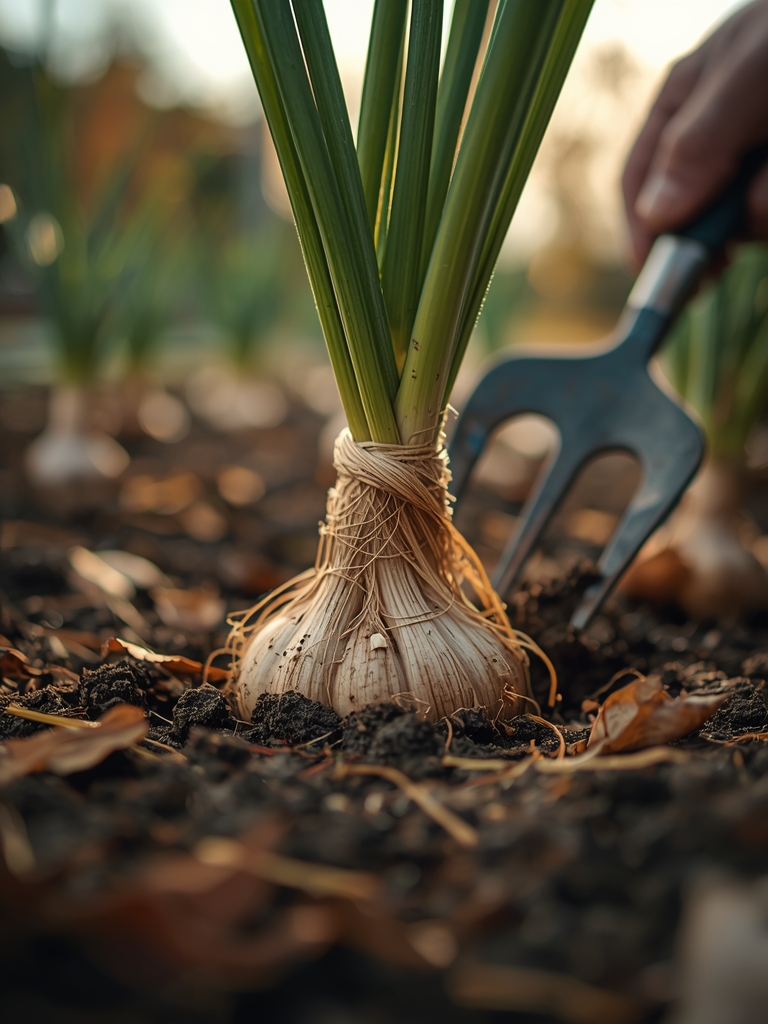
Phase 1 – Clove Selection & Prep (The Most Critical Step): The day before planting, gently break apart your seed garlic bulbs. Select only the largest, plumpest outer cloves; use the smaller inner ones for cooking. Keep the papery husk intact—it’s a protective barrier. Inspect each clove for signs of basal plate rot (a brown or mushy base) or penicillium mold (blue-green powder). Discard any suspect material immediately.
Pro-Tip: Soak your selected cloves for 15 minutes in a solution of 1 tablespoon baking soda and 1 tablespoon liquid seaweed per gallon of water. This mild soak dislodges minor pathogens and gives the cloves a nutritional kick-start.
Phase 2 – Bed Preparation & Planting: Your bed should be in full sun. Work the soil to a depth of 8 inches, removing all weeds and rocks. Form rows spaced 12 inches apart. Plant cloves pointy-side up, root-side down. The rule of thumb is to plant them twice as deep as they are tall: typically 2-3 inches deep for most varieties. Space cloves 6-8 inches apart within the row. Cover firmly with soil.
Pro-Tip: After covering, mark each clove’s location with a 6-inch wooden popsicle stick. When you apply mulch, you’ll know exactly where not to step come spring.
Phase 3 – Mulching for Success: This is non-negotiable. Immediately after planting, apply a 4-6 inch layer of straw, shredded leaves, or weed-free hay. This mulch blanket regulates soil temperature, prevents heaving from freeze-thaw cycles, and suppresses early spring weeds. In spring, you can pull back some mulch to allow growth but leave a layer to conserve moisture.
Nutritional & Environmental Benefits
A single clove of hardneck garlic packs allicin, a potent antimicrobial compound, along with manganese, vitamin B6, and vitamin C. In the garden, it’s a quiet ecosystem engineer. Garlic’s root exudates can help suppress certain soil-borne fungi and nematodes. When you let a few scapes flower (the curled seed heads), they become a magnet for predatory wasps and pollinators like hoverflies, which patrol your garden for aphids and other pests.
Advanced Methods & Variations
Containers: In a 10-gallon fabric pot or a half-barrel with excellent drainage, you can grow 8-10 cloves. Use a 50/50 mix of high-quality potting soil and compost. The container must be placed in a spot that will still experience winter cold; the cloves require vernalization.
Organic/Permaculture: Skip the tilling. Layer cardboard, 4 inches of compost, and 6 inches of straw in the fall. Plant your cloves directly into the compost through holes punched in the cardboard (a technique called “sheet mulching”). The cardboard suppresses weeds and feeds earthworms.
Season Extension: In very cold zones (3-4), plant as usual but cover the mulched bed with a floating row cover secured with stakes. This adds an extra 4-6 degrees of protection and can prevent winterkill in a brutal season.
Troubleshooting: Common Mistakes
Symptom: Green shoots emerge in late fall before heavy frost. Solution: Don’t panic. This is often caused by a warm spell or planting a bit early. The mulch will protect the shoot tip; it may die back but the clove will re-sprout in spring.
Symptom: Cloves rot or fail to emerge in spring. Solution: You likely planted in poorly draining soil or used infected seed stock. Always ensure drainage and source garlic locally if possible, as it’s acclimated to your region’s diseases.
Symptom: Stunted, yellowing plants in May. Solution: This is often a nitrogen deficiency or onion maggot damage. Side-dress with a balanced organic fertilizer (like a 5-5-5) in early spring. For maggots, use crop rotation and cover new plantings with row cover.
Storage & Ongoing Maintenance
In spring, as growth resumes, ensure the plants receive 1 inch of water per week. When scapes appear on hardneck varieties in early June, snap them off where they emerge from the top leaf—this directs energy back to the bulb. Stop watering entirely two weeks before your anticipated harvest date to let the bulbs cure in the ground. After harvest, cure bulbs in a dark, dry, well-ventilated space for 4-6 weeks before trimming roots and stems for storage.
Conclusion
Success with garlic hinges on three actions: selecting pristine seed cloves, planting them deep enough in fertile soil, and blanketing them with a thick mulch before winter. It’s a simple, patient process that rewards the disciplined gardener with a harvest that lasts nearly a year. Now, get those cloves in the ground—then tell me in the comments which hardneck variety you’re trying this season.
Expert FAQs
Can I plant garlic from the grocery store?
No. Supermarket garlic is often treated with sprout inhibitors and may carry soil-borne diseases not present in your region, risking your entire garden bed.
How deep should I plant garlic cloves?
Plant cloves 2-3 inches deep, measured from the tip of the clove to the soil surface. In very cold zones, err on the deeper side (3 inches).
What is the best mulch for garlic?
Straw or shredded leaves are ideal. Avoid using whole leaves, which mat down and create a soggy, anaerobic layer that can rot cloves.
Should I fertilize garlic when planting?
Incorporate a phosphorus-rich amendment like bone meal at planting to encourage root growth. Hold off on high-nitrogen fertilizers until spring when green growth is vigorous.
Can you plant garlic in the same bed year after year?
It is poor practice. Rotate your garlic bed at least every three years to prevent a buildup of pests like onion maggots and diseases like white rot. Follow it with a nitrogen-fixing legume like beans.