9 Steps to Install a Drip Irrigation System for Your Vegetable Rows
Watering by hand takes time you don't have. A drip irrigation system delivers water straight to the root zone, cuts water waste by up to 50%, and keeps foliage dry to prevent fungal disease. Learning the steps to install a drip irrigation system for vegetables transforms summer garden maintenance from a daily chore into a weekly check-in. You'll spend less time dragging hoses and more time harvesting tomatoes that smell like August sun and basil leaves.
Materials & Supplies
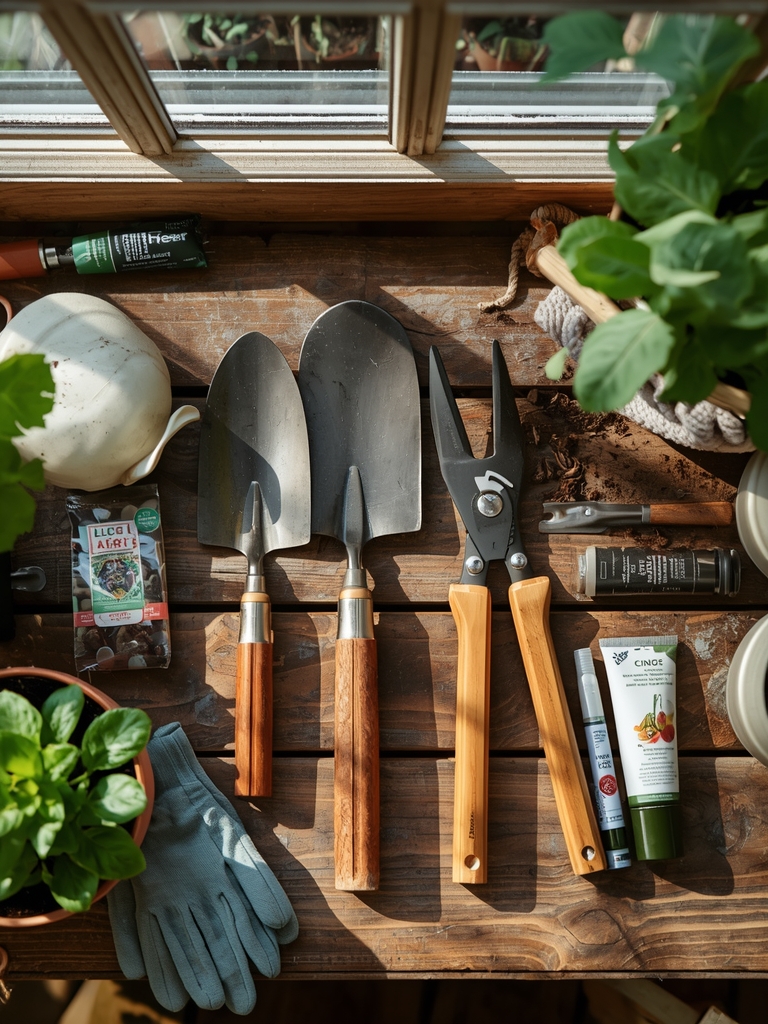
Gather these components before you begin:
Irrigation Hardware:
- Backflow preventer (required by code in most municipalities)
- Pressure regulator (set to 25 PSI for drip tape, 15 PSI for emitter tubing)
- Filter (150 mesh minimum to prevent clogging)
- Main supply line (1/2 inch polyethylene tubing)
- Drip tape or emitter line (5/8 inch with 12-inch emitter spacing for vegetables)
- End caps and flush valves
- Hose timer or battery-operated controller
Tools & Fasteners:
- Pipe cutter or sharp utility knife
- Hole punch for creating lateral connections
- Ground staples (UV-resistant plastic)
- Teflon tape for threaded connections
- Adjustable wrench
Soil Amendments (Optional but Recommended):
- Compost (2 inches worked into beds before installation)
- Mycorrhizal inoculant (improves phosphorus uptake by 300%)
- Organic mulch (straw or shredded leaves, 3 inches deep post-installation)
Timing / Growing Schedule
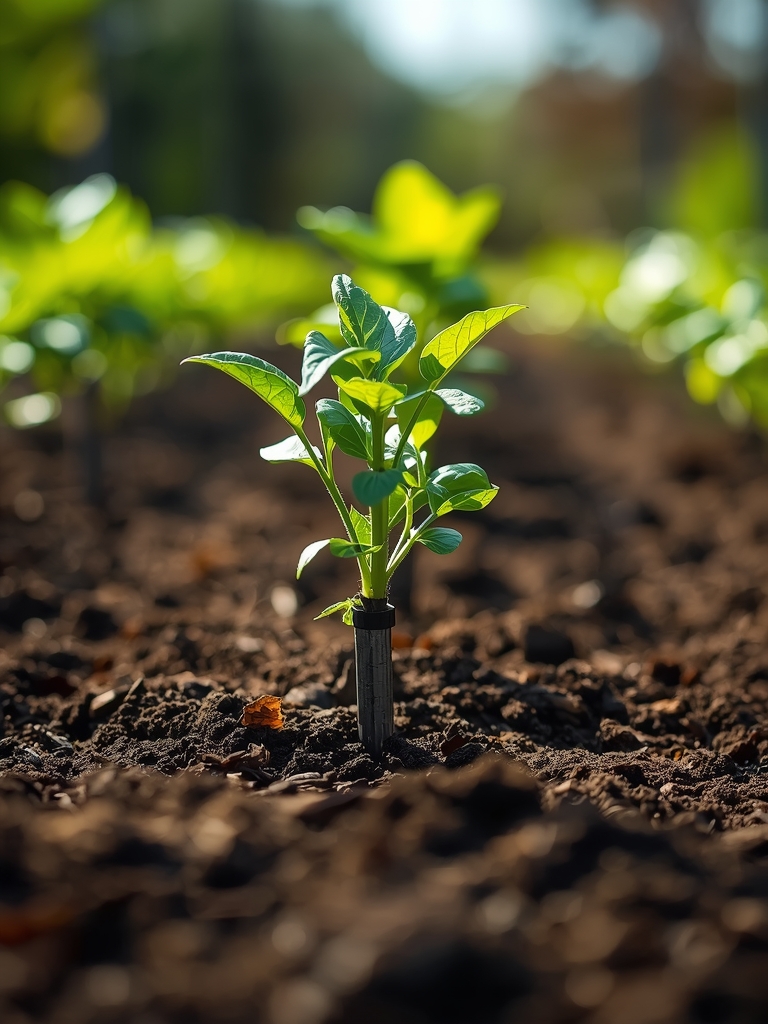
Install your system in early spring, two weeks before your last frost date. This gives you time to test flow rates and adjust emitter placement before transplanting seedlings. For Zone 5 gardeners, target mid-April. Zone 7 growers can start in early March. Zone 9 installations happen in late January.
Run the system for 30 minutes after installation to flush sediment. Check for leaks at every connection point. Mark your calendar for filter cleaning every four weeks during peak season (June through August). Replace drip tape every two to three years depending on UV exposure and water quality.
Step-by-Step Instructions
Step 1: Map Your Beds
Measure row length and spacing. Sketch a diagram showing your water source, valve location, and each vegetable row. Calculate total linear feet of drip tape needed (add 10% for mistakes and future expansion).
Pro-Tip: Photograph your layout with a measuring tape in frame. This reference photo prevents guesswork during repairs next season.
Step 2: Attach Backflow Prevention and Filtration
Thread the backflow preventer onto your hose bib. Wrap Teflon tape clockwise on male threads (three wraps). Attach the filter, then the pressure regulator. Water flows through these components in this exact order.
Pro-Tip: Install a ball valve between the filter and regulator. This isolation valve lets you service the filter without draining the entire system.
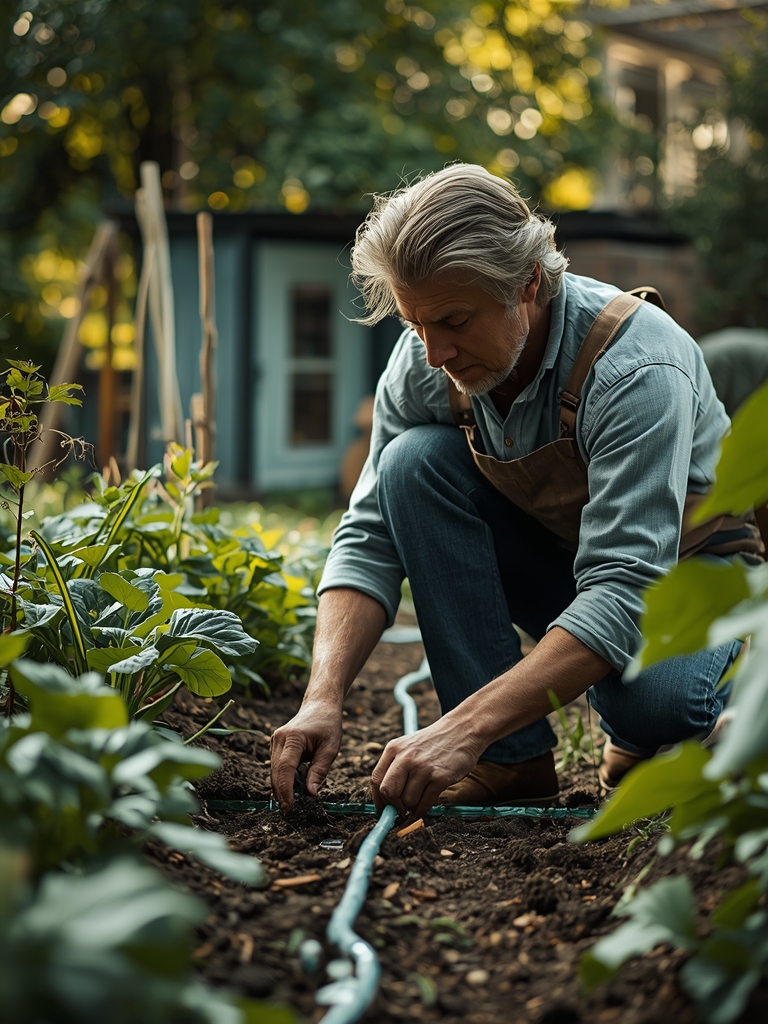
Step 3: Lay the Main Supply Line
Run 1/2 inch poly tubing from your valve assembly to the head of your garden rows. Bury it 2 inches deep or secure it with ground staples if running on the surface. Leave the tubing in the sun for 20 minutes before installation (warmth makes it pliable).
Pro-Tip: Snake the supply line in gentle curves, not sharp angles. Right angles create pressure points that blow out connections during freezes.
Step 4: Punch Lateral Connections
Use a hole punch to create openings in the supply line where each row begins. Insert barbed connectors. Push drip tape onto each connector until you feel resistance (typically 1 inch of insertion depth).
Pro-Tip: Punch holes on the top of the supply line, not the sides. Top placement prevents sediment from clogging the connection point.
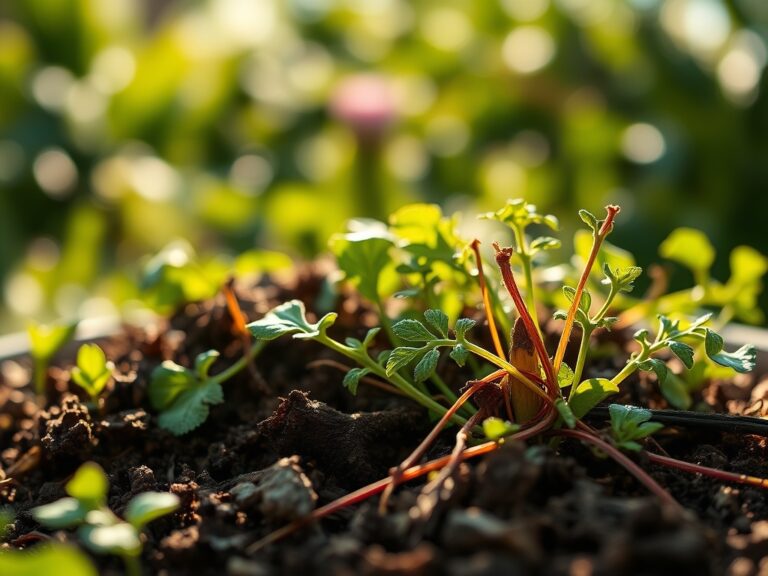
Step 5: Run Drip Tape Down Each Row
Unroll drip tape with emitters facing up (tiny holes should point toward the sky). Stake the beginning with a ground staple. Stretch the tape gently to remove slack but don't pull tight. Tight tape restricts flow and creates dry spots.
Pro-Tip: For crops with 6-inch spacing (lettuce, spinach, radishes), choose drip tape with 8-inch emitter spacing. For 18-inch spacing (tomatoes, peppers, squash), use 12-inch emitter tape.
Step 6: Cap the Ends
Fold the last 2 inches of drip tape back on itself. Secure with an end cap or a figure-eight fold held by a zip tie. This fold method allows for easy flushing at season end.
Pro-Tip: Install flush valves instead of fixed end caps. Open them monthly to clear mineral buildup and algae.
Step 7: Test the System
Turn on the water slowly. Watch for leaks at connections. Verify that every emitter releases water. Adjust pressure if you see misting (pressure too high) or no flow (pressure too low or clogged filter).
Pro-Tip: Count the seconds it takes for water to travel from the valve to the farthest emitter. If it exceeds 90 seconds, your pressure regulator setting is too low.
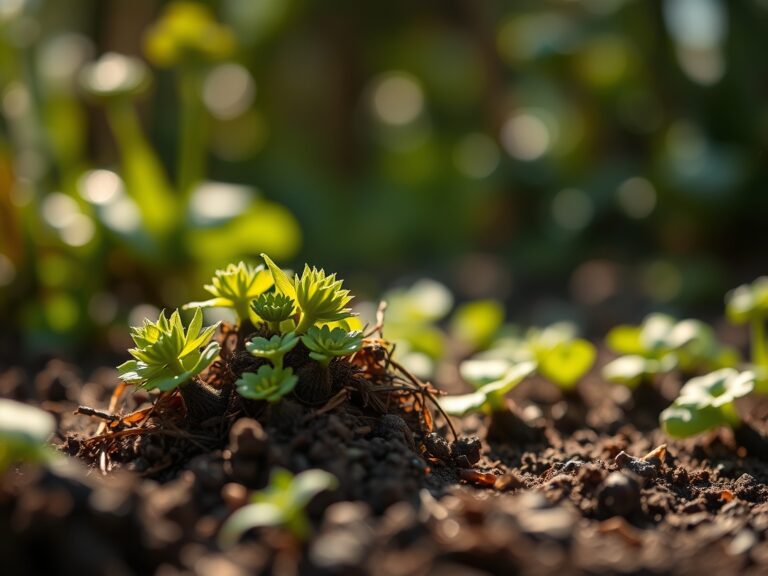
Step 8: Apply Mulch
Spread 3 inches of straw or shredded leaves over the drip tape. Mulch moderates soil temperature, suppresses weeds, and protects tubing from UV degradation. Leave a 2-inch circle around plant stems unmulched to prevent rot.
Pro-Tip: Use light-colored mulch in hot climates (Zone 8 and above). Dark mulch absorbs heat and can cook shallow roots.
Step 9: Program Your Timer
Set your timer to run early morning (5 a.m. to 7 a.m.). Morning watering reduces fungal disease and slug activity. Start with 20-minute cycles three times per week. Adjust based on soil type (sandy soils need shorter, more frequent cycles).
Pro-Tip: Dig down 6 inches after a watering cycle. Soil should be moist at that depth. If it's dry, increase run time by 5-minute increments until you achieve proper penetration.
Nutritional & Environmental Benefits
Drip irrigation delivers water where roots absorb it. This precision reduces runoff that carries nitrogen into waterways. Studies show drip systems cut water use by 30% to 50% compared to overhead sprinklers. Your municipal water bill drops. Local aquifers recharge faster.
Dry foliage means fewer fungal spores. Powdery mildew, downy mildew, and early blight need leaf moisture to germinate. Drip-irrigated tomatoes show 60% less foliar disease than sprinkler-watered plants. You spray less copper fungicide. Beneficial insects like ladybugs and lacewings thrive without chemical disruption.
Consistent soil moisture improves nutrient uptake. Calcium moves into tomato and pepper fruits through water transport. Steady hydration prevents blossom end rot, a calcium deficiency disorder that ruins 20% of the crop in hand-watered gardens.
Advanced Methods & Variations
Small Space Adaptation:
Container gardeners can install micro-drip systems using 1/4 inch distribution tubing and adjustable emitters. Run a single supply line around your patio. Branch off to each pot with individual drippers set to 0.5 gallons per hour.
Organic and Permaculture Integration:
Combine drip irrigation with hugelkultur beds (buried wood sponges that hold moisture). The wood core stores water released slowly by drip tape. This synergy extends watering intervals to every five days in Zone 6 summers. Add compost tea through your drip system using a Venturi injector. Beneficial microbes colonize root zones directly.
Season Extension:
Install drip tape under low tunnels or cold frames. Water before 9 a.m. so foliage dries before nightfall. This prevents ice formation on leaves during spring freezes. Heated propagation mats placed under drip tape warm root zones for early lettuce and spinach crops in February (Zone 7).
Troubleshooting: Common Mistakes
Symptom: Plants closest to the valve grow vigorously while those at row ends wilt.
Solution: Your drip tape run exceeds maximum length (usually 200 feet for 5/8 inch tape). Install a looped supply line that feeds the row from both ends or upgrade to larger diameter tape.
Symptom: Emitters spray instead of drip.
Solution: Pressure exceeds 25 PSI. Check your pressure regulator. If it's functioning, install a second regulator in series to achieve proper reduction.
Symptom: No water flows from newly installed tape.
Solution: Drip tape arrived with emitters clogged by manufacturing residue. Flush the system without end caps for 10 minutes. Severe clogs require replacement tape.
Symptom: Green algae grows inside clear poly tubing.
Solution: UV light triggers photosynthesis in standing water. Replace clear tubing with black polyethylene or bury the supply line to block light.
Symptom: Gophers or voles chew through drip tape.
Solution: Bury tape 3 inches deep and run inside rigid PVC sleeves in rodent-heavy areas. Set traps near damaged sections.
Storage & Maintenance
Drain the system completely before the first hard freeze. Open all end caps and flush valves. Remove the filter and clean the screen with a soft brush and white vinegar (1:1 ratio with water). Disconnect battery-operated timers and store indoors.
Inspect drip tape monthly during the growing season. Look for kinks, holes, or sections pulled loose by animals. Carry a repair kit (spare connectors, Goof Plugs, and scissors) in your garden tool bucket.
Replace filter screens at the start of each season if you have hard water (calcium deposits reduce flow by 40% over one summer). Test your system in March before transplanting. Run it for 30 minutes and walk every row to confirm even water distribution.
Store unused drip tape indoors, away from sunlight. UV exposure degrades plastic even when the tape isn't pressurized. Coil tape loosely and hang on a pegboard in your shed or garage.
Conclusion
The steps to install a drip irrigation system for vegetables give you control over water delivery, reduce disease pressure, and cut utility costs by half. You invest one Saturday in setup and reclaim dozens of summer evenings. Share your flow rate settings and emitter spacing choices with your local garden club or post a photo of your system layout to gardening forums where beginners search for real-world examples.
Expert FAQs
Can I use drip irrigation with raised beds?
Yes. Run your supply line around the perimeter of each bed. Punch lateral connections every 12 inches and lay drip tape across the bed width. Raised beds drain faster than in-ground plots, so increase watering frequency by 30%.
What emitter spacing works best for mixed vegetable rows?
Use 12-inch emitter spacing as your default. This interval accommodates everything from lettuce (6-inch spacing) to tomatoes (24-inch spacing). Emitters create overlapping wetting patterns that cover gaps.
How do I prevent clogging in well water systems?
Install a 150-mesh filter minimum. Add a secondary inline filter if your well produces iron or sulfur. Flush the system weekly and treat with diluted hydrogen peroxide (1 cup per 50 gallons) monthly to dissolve mineral buildup.
Should I install drip tape on the surface or bury it?
Surface installation works for annual vegetables. You can adjust placement each season and spot problems quickly. Bury tape 2 inches deep in perennial beds (asparagus, rhubarb) or where foot traffic crosses rows.
Can I connect drip tape directly to my garden hose?
No. Garden hoses deliver 40 to 60 PSI. Drip tape operates at 15 to 25 PSI. Install a pressure regulator or the tape will burst at connection points within minutes of turning on the water.