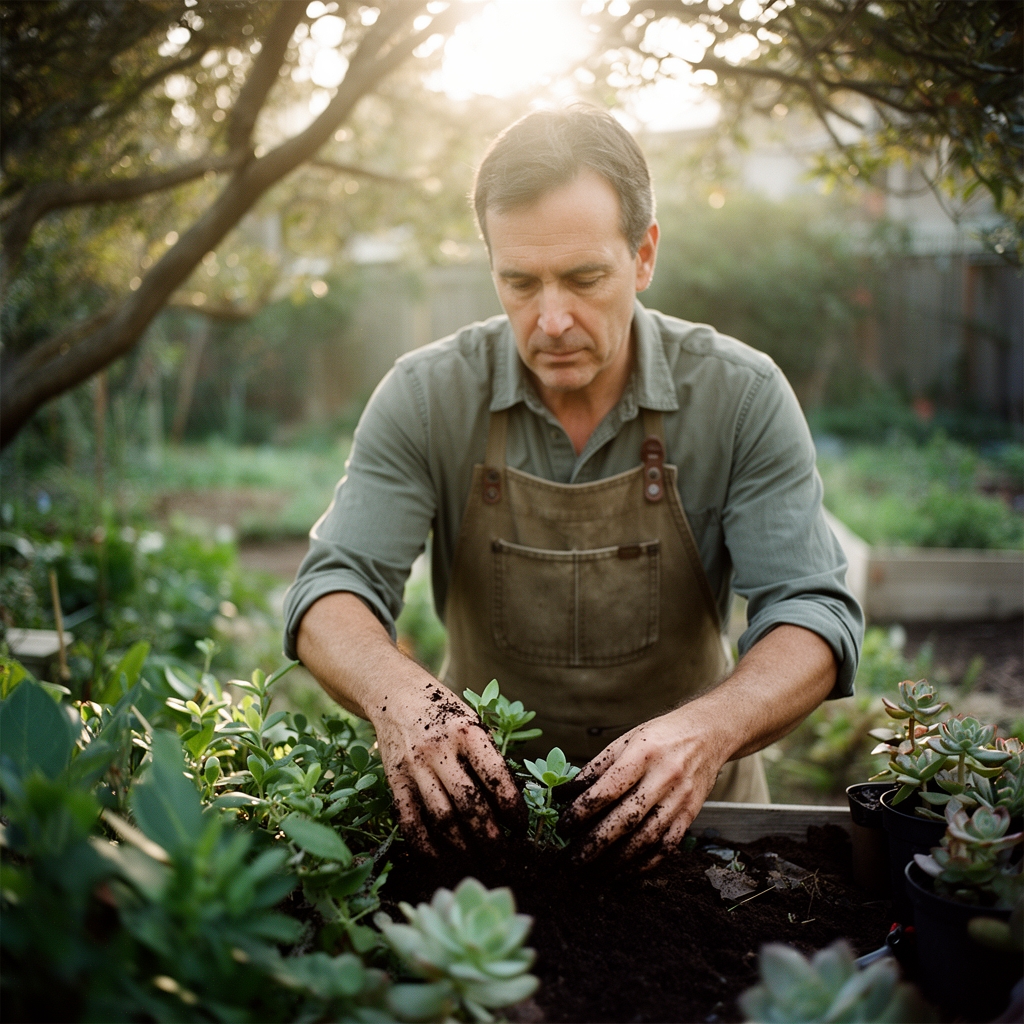
7 Steps to Prepare a Custom Potting Mix for Indoor Succulents
The crunch of perlite between your fingers is unmistakable, like crushing fresh snow except it stays dry and airy. That satisfying texture is precisely what keeps succulent roots thriving instead of drowning in ordinary potting soil. Learning how to prepare a potting mix for indoor succulents separates those who watch their plants slowly rot from those who cultivate fat, healthy leaves year after year. Commercial mixes rarely get the drainage equation right, leaving plants vulnerable to root rot within weeks of repotting.
Materials & Supplies
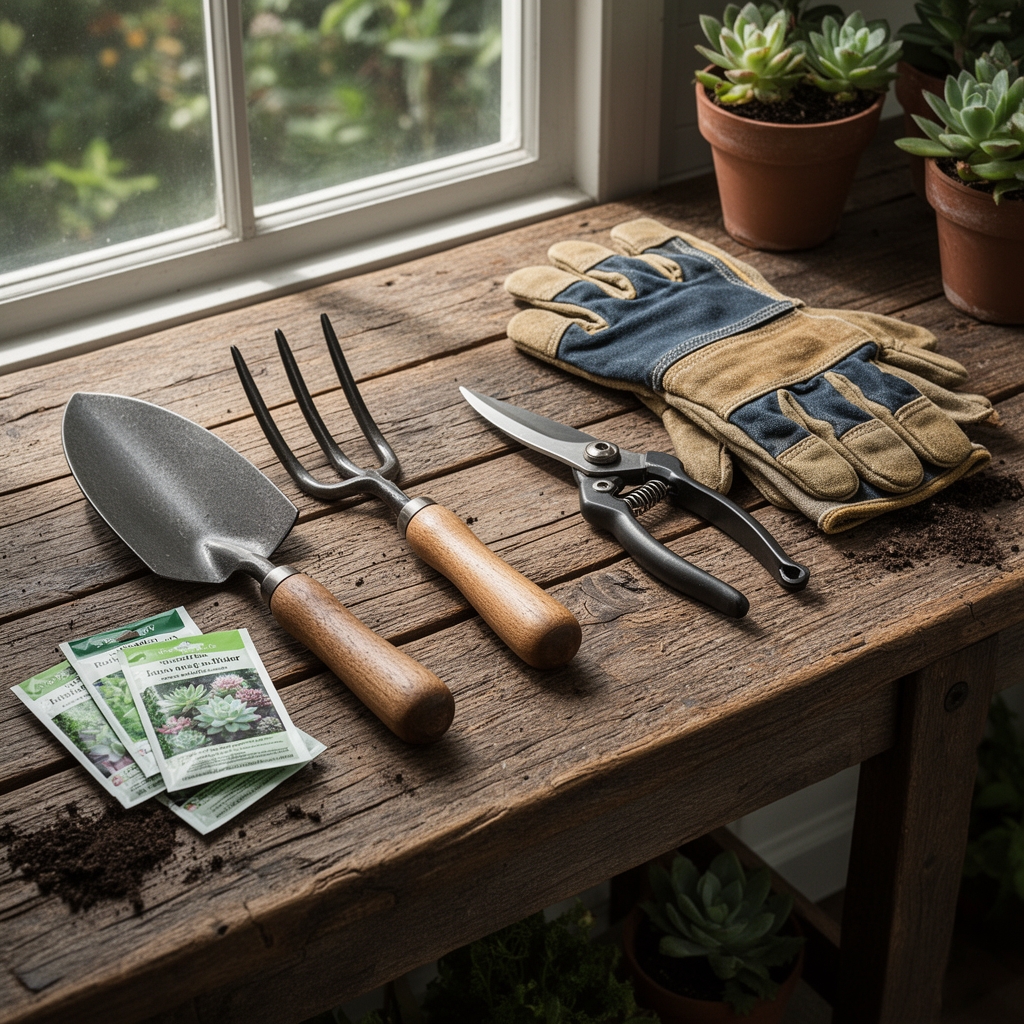
Base Components
Coarse sand (particle size 1.5-2mm): Provides structural integrity and prevents compaction. Avoid beach sand due to salt content.
Perlite (horticultural grade): Creates air pockets critical for oxygen exchange at root level. Use medium-grade, not fine powder.
Pumice (3-8mm chunks): Superior to perlite for long-term structure. Does not float during watering.
Pine bark fines (1/4 inch screened): Adds organic matter without water retention issues. pH 4.5-5.5.
Compost (fully aged, pH 6.5-7.0): Maximum 10% of total volume. Must be screened through 1/4-inch mesh.
Coconut coir: Alternative to peat moss, pH neutral (6.0-6.8). Provides minimal water retention.
Nutritional Amendments
Worm castings: NPK 1-0-0. Provides slow-release nitrogen and beneficial microbes.
Rock phosphate: 0-3-0. Supports root development without excess nitrogen.
Greensand: 0-0-3. Delivers potassium and trace minerals over 3-5 years.
Dolomitic limestone (optional): Raises pH if below 6.0. Use 1 tablespoon per gallon of mix.
Timing & Growing Schedule
Hardiness Zones: Indoor succulents adapt to USDA Zones 2-11 when protected from freezing temperatures. Maintain indoor temperatures between 60-80°F for optimal growth.
Repotting Windows: Spring (March-May) offers the primary window when succulents exit dormancy. Secondary opportunity occurs in early fall (September) before reduced winter light. Avoid repotting during summer heat stress or winter dormancy.
Mix Preparation Schedule: Prepare potting mix 2-4 weeks before use. This aging period allows components to settle and beneficial microorganisms to colonize organic matter. Store in breathable containers to maintain aerobic conditions.
Step-by-Step Instructions
Step 1: Measure Base Components
Combine 3 parts coarse sand, 2 parts perlite, 2 parts pumice, and 1 part pine bark fines in a large mixing tub. Use a dedicated 1-quart measuring container for consistency across batches.
Pro-Tip: Wear a dust mask when handling perlite. The fine particles irritate lung tissue and mask the natural earthy smell that indicates proper moisture content.
Step 2: Screen and Blend Organic Matter
Add 1 part coconut coir and 0.5 parts worm castings to the mineral base. Mix thoroughly using a garden fork or gloved hands. Break up clumps until texture resembles coarse breadcrumbs.
Pro-Tip: Lightly moisten coir before mixing (just damp, not wet). Dry coir repels water initially and creates hydrophobic pockets that never fully wet.
Step 3: Incorporate Mineral Amendments
Add 2 tablespoons rock phosphate and 2 tablespoons greensand per gallon of base mix. Blend for 3-5 minutes to distribute evenly throughout.
Pro-Tip: Mix amendments in a figure-eight pattern rather than circular stirring. This mathematical approach ensures complete distribution without dead zones.
Step 4: Test and Adjust pH
Take samples from three different locations in your mix. Test each with a soil pH meter or chemical test kit. Target pH 6.0-6.5 for most succulents.
Pro-Tip: Let moistened mix sit 24 hours before final pH testing. Initial readings from dry soil give false results due to salt concentration.
Step 5: Perform Drainage Test
Fill a 4-inch pot with mix and saturate thoroughly. Water should drain completely within 5-10 seconds. If drainage takes longer than 15 seconds, add 1 additional part pumice or perlite.
Pro-Tip: Squeeze a handful of saturated mix hard. Only 2-3 drops of water should release. More indicates excessive water retention that invites anaerobic bacteria.
Step 6: Age the Mix
Store blended mix in breathable fabric pots or wooden crates for 2-4 weeks. Lightly moisten weekly to activate mycorrhizal fungi colonization. Temperature should remain 55-75°F during aging.
Pro-Tip: Add a handful of existing healthy succulent soil to inoculate your new mix with established beneficial microbes. This "starter culture" accelerates soil food web development.
Step 7: Final Preparation Before Use
Lightly moisten mix until barely damp (approximately 10% moisture content). Fill containers loosely without tamping down. Leave 1/2 inch of space below pot rim for watering clearance.
Pro-Tip: Pre-wet pots by soaking terracotta 30 minutes before planting. Dry clay wicks moisture from roots during the critical establishment period.
Nutritional & Environmental Benefits
This custom mix delivers trace minerals including iron, manganese, and zinc through greensand and rock phosphate. These micronutrients prevent the chlorosis (yellowing) common in succulents grown in depleted commercial mixes.
The coarse texture promotes aerobic decomposition, preventing the sulfur smell associated with anaerobic soil conditions. Beneficial nematodes and soil mites thrive in well-aerated environments, naturally controlling fungus gnat populations.
Pine bark components support saprophytic fungi that break down organic matter into plant-available nutrients. This biological activity continues for 18-24 months before mix replacement becomes necessary.
Indoor succulent cultivation reduces outdoor water consumption while providing year-round oxygen production. A 6-inch pot of healthy succulents processes approximately 50-100 ml of CO2 daily through photosynthesis.
Advanced Methods
Small Space Adaptations
Prepare mix in 1-gallon batches using a large mixing bowl. Store excess in sealed 5-gallon buckets with gamma seal lids for easy access. Label with preparation date and amendment ratios.
Substitute smaller-grade components (1-3mm pumice, fine bark) for containers under 3 inches. Standard particle sizes create air gaps too large for tiny root systems.
Organic & Permaculture Approaches
Replace rock phosphate with bone meal (4-12-0) at 3 tablespoons per gallon. Source from organic suppliers to avoid antibiotic residues.
Add biochar at 5% total volume. Pre-charge biochar by soaking in diluted worm casting tea (1:10 ratio) for 48 hours. This carbon structure houses beneficial microbes for decades.
Create a living mulch layer using decomposer organisms. Add springtails and isopods to larger containers (8 inches or more) to process dead leaves and maintain soil structure.
Season Extension Techniques
Adjust mix ratios seasonally. Winter mix (November-February) should contain 25% more drainage material to compensate for reduced evaporation rates and slower root activity.
Summer mix (June-August) can include an additional 5% coconut coir to buffer against heat stress. Monitor moisture levels twice weekly during peak temperatures.
Supplement with diluted liquid fertilizer (1-1-1 NPK ratio at 1/4 strength) monthly during active growth periods. Cease feeding during winter dormancy (December-February) when metabolic activity drops 60-70%.
Troubleshooting
Symptom: Water pools on soil surface instead of penetrating.
Solution: Hydrophobic soil from excessive drying. Bottom-water by setting pot in tray for 30 minutes. Add surfactant (1 drop dish soap per gallon) to break surface tension.
Symptom: White crust forming on soil surface or pot exterior.
Solution: Mineral salt accumulation from hard water or over-fertilization. Flush thoroughly with distilled water monthly. Reduce fertilizer concentration by 50%.
Symptom: Soil compacting and pulling away from pot sides.
Solution: Insufficient drainage material or organic matter breakdown. Top-dress with 1/4 inch pure pumice. Repot completely if compaction exceeds 1 inch of soil loss.
Symptom: Green algae growth on soil surface.
Solution: Excess moisture and light exposure. Reduce watering frequency by 25%. Add 1/4 inch top layer of coarse sand to shade soil surface.
Symptom: Mix dries completely within 24 hours of watering.
Solution: Excessive drainage from too much pumice or perlite. Blend in additional 10% coconut coir. Test drainage again before repotting plants.
Storage & Maintenance
Watering Protocol
Water only when soil dries completely, typically every 10-14 days during growing season. Insert a bamboo skewer 2 inches deep; if it emerges with soil clinging, delay watering 3-5 days.
Provide 1/4 to 1/3 pot volume of water per irrigation event. Water should drain freely from bottom holes within 10 seconds. Morning watering (6-9 AM) allows excess moisture to evaporate before nighttime temperature drops.
Winter watering reduces to every 3-4 weeks. Cold temperatures and reduced light slow metabolic processes by 60%. Monitor leaf turgor (firmness) as primary watering indicator during dormancy.
Feeding Schedule
Apply balanced liquid fertilizer (2-2-2 NPK) at 1/4 manufacturer strength every 4 weeks during March through September. Dilute in irrigation water rather than applying to dry soil.
Skip fertilization during October through February dormancy period. Excess nutrients during dormancy accumulate as salts and burn tender root hairs.
Supplement with chelated iron annually if yellowing appears on new growth. Mix 1/2 teaspoon iron sulfate per gallon water. Apply as soil drench in early spring.
Mix Replacement Timeline
Refresh top 1 inch of soil every 6 months by removing compacted surface layer. Replace with fresh mix to restore oxygen exchange and remove accumulated salts.
Complete repotting occurs every 18-24 months for most succulents. Root-bound plants require annual repotting. Select containers 1-2 inches larger than root ball diameter only.
Store unused mix in breathable fabric bags or wooden crates in cool, dry locations (50-70°F). Properly stored mix remains viable for 3-6 months. Remix thoroughly before use to redistribute settled components.
Conclusion
Successfully preparing custom potting mix for indoor succulents requires understanding the balance between drainage, nutrition, and biological activity. This systematic approach eliminates the guesswork that kills thousands of succulents annually. Your investment in quality components and proper preparation pays dividends through years of healthy, low-maintenance plant growth.
Share your succulent mix recipes and growing results with local garden clubs or online communities. Teaching others amplifies your learning while building resilient local horticultural knowledge networks.
Expert FAQs
Can I reuse old succulent potting mix?
Avoid reusing mix from diseased or pest-infested plants. Healthy mix can be refreshed by screening out roots, adding 30% fresh components, and baking at 180°F for 30 minutes to eliminate pathogens. Re-amend with rock phosphate and worm castings at standard rates.
What is the difference between cactus mix and succulent mix?
True cacti require even sharper drainage (80% mineral content) compared to non-cactus succulents (60-70% mineral). Cacti evolved in desert environments with 2-4 inches annual rainfall, while many succulents originate from seasonally moist regions. Adjust ratios based on species origin research.
How do I know if my mix drains too quickly?
Succulents showing persistent leaf wrinkling despite regular watering indicate excessive drainage. Roots cannot absorb water during the brief contact period. Add 10% additional coconut coir incrementally until leaves plump between watering cycles.
Should I sterilize components before mixing?
Sterilization kills beneficial microbes along with pathogens. Only sterilize if reusing old soil or if components show visible mold. Fresh commercial components arrive essentially sterile and benefit from biological inoculation rather than sterilization.
Can I substitute vermiculite for perlite?
Vermiculite retains 3-4 times more water than perlite, making it unsuitable for succulents. This moisture retention creates the anaerobic conditions that promote root rot. Pumice offers a superior alternative to perlite with better long-term structure and no floating issues.