8 Layers for Preparing a Glass Terrarium for Tropical Plants and Tool Needs
.Don't rush through sections. Fully develop each one, incorporating specific details, examples, and elaborations where appropriate.
Moist sphagnum moss releases an earthy, slightly sweet aroma when you press it between your fingers, leaving dark particles clinging to your skin. That scent signals the beginning of every successful terrarium project, especially when preparing a terrarium for tropical plants that will thrive in humid, enclosed environments. Glass containers transform into miniature rainforests when layered correctly, creating self-sustaining ecosystems that require minimal intervention once established. The process demands precision in material selection, drainage engineering, and substrate composition to prevent root rot while maintaining the 70 to 90 percent humidity tropical species demand.
Materials and Supplies
Container Selection:
Glass vessels with wide openings (minimum 4 inches) allow easier planting and maintenance. Avoid containers shorter than 8 inches for most tropical species. Containers with lids or partial closures retain humidity better than fully open designs.
Drainage Materials:
Small pebbles or horticultural gravel (0.25 to 0.5 inch diameter) create the foundational drainage layer. Activated charcoal (horticultural grade, not BBQ charcoal) prevents bacterial growth and filters water impurities. Screen mesh or landscape fabric separates layers and prevents substrate migration.
Growing Media:
Peat-based potting mix maintains pH between 5.5 and 6.5, ideal for most tropical plants. Blend equal parts peat moss, perlite, and orchid bark for improved aeration. For nutrient-dense options, select mixes with NPK ratios around 3-1-2, which supports foliage growth without excessive fertilization. Add mycorrhizal fungi inoculant (0.5 tablespoons per gallon of substrate) to enhance root nutrient absorption.
Decorative and Functional Additions:
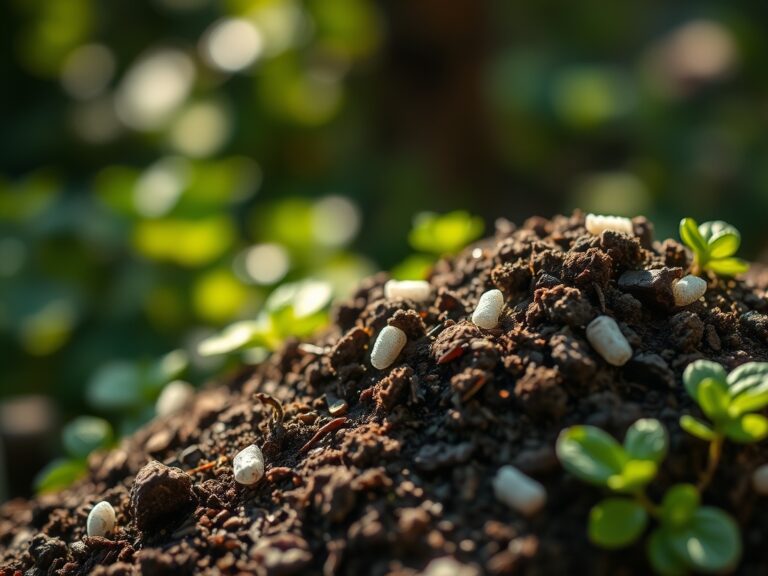
Preserved moss (sheet moss or mood moss) covers exposed soil and retains moisture. Driftwood pieces and rocks provide naturalistic hardscaping. Springtails (Collembola species) and isopods consume mold and decaying matter, functioning as biological cleanup crews.
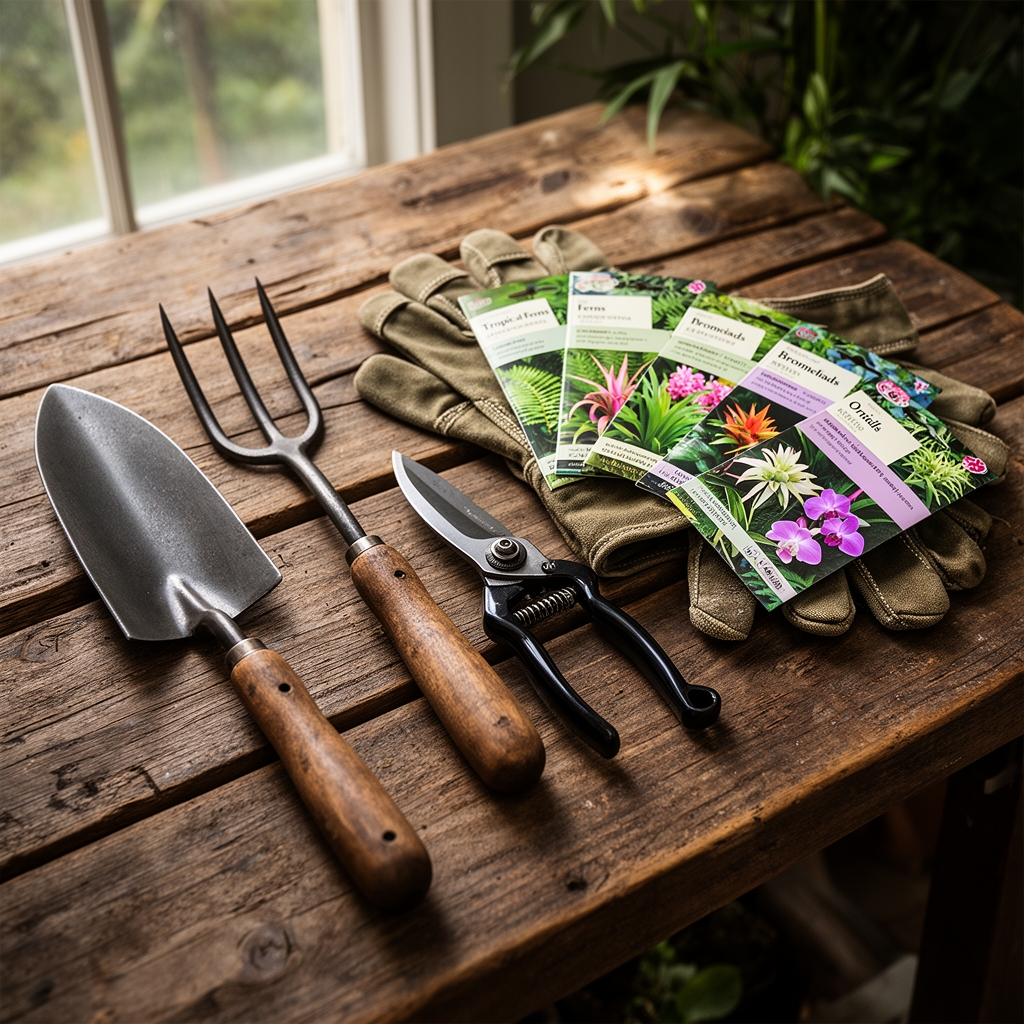
Essential Tools:
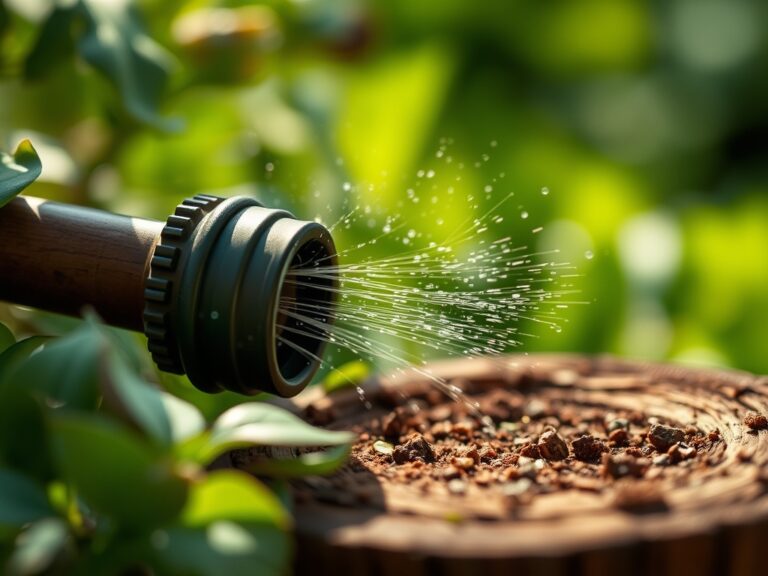
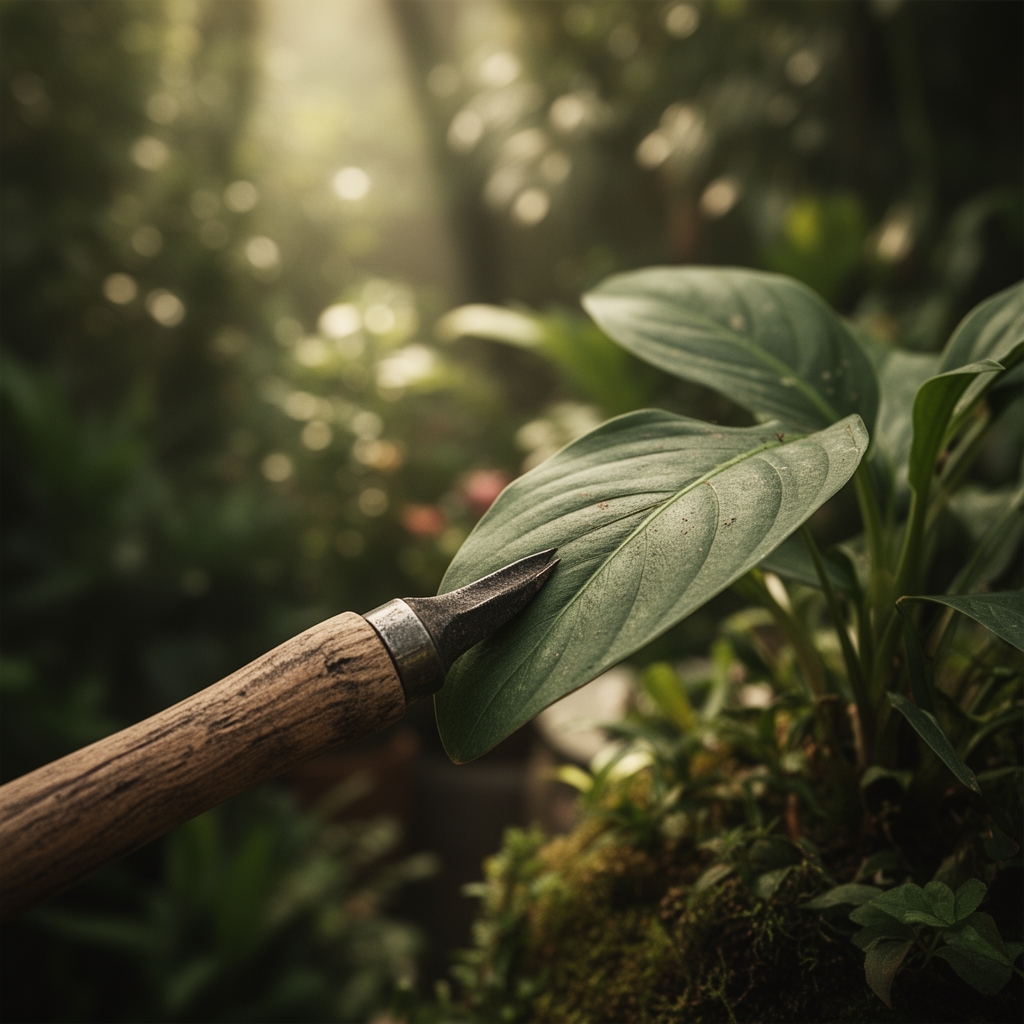
Long-handled tweezers or forceps (12 to 18 inches) place plants in narrow containers. Small funnels direct materials into tight spaces. Spray bottles deliver fine mist without disturbing delicate layers. Turkey basters remove excess water from drainage zones. Skewers or bamboo stakes test moisture levels at different depths.
Timing and Growing Schedule
Terrarium construction occurs year-round indoors, though spring (March through May) aligns with increased tropical plant availability at nurseries. Unlike outdoor gardening tied to frost dates and USDA Hardiness Zones, glass terrariums maintain stable temperatures between 65 and 75 degrees Fahrenheit regardless of external conditions.
Establishment Timeline:
Plants require 4 to 6 weeks to acclimate after initial planting. Root systems expand into new substrate during this period. Closed terrariums reach equilibrium (balanced water cycle) within 8 to 12 weeks, evidenced by consistent condensation patterns on glass surfaces.
Seasonal Considerations:
Winter months (November through February) reduce natural light intensity. Position terrariums within 3 feet of east or west-facing windows, or supplement with grow lights providing 12 to 14 hours of illumination daily. Summer heat (above 80 degrees) requires increased ventilation to prevent overheating in sealed containers.
Step-by-Step Layer Instructions
Phase 1: Foundation Drainage (Layer 1)
Pour 1 to 2 inches of pebbles or gravel into the container bottom. This layer collects excess water, preventing substrate saturation. Ensure even distribution across the entire base. Pro-Tip: Rinse all gravel in clean water before use to remove dust that clouds the terrarium aesthetic and potentially harbors contaminants.
Phase 2: Filtration Protection (Layer 2)
Add 0.5 inches of activated charcoal directly over drainage material. Horticultural charcoal absorbs odors from decomposing organic matter and filters dissolved compounds. Pro-Tip: Slightly dampen charcoal before adding to reduce dust particles that coat glass surfaces and require tedious cleaning.
Phase 3: Separation Barrier (Layer 3)
Cut screen mesh or landscape fabric to fit container diameter. Place over charcoal layer to prevent substrate from filtering into drainage zone. Overlap edges by 0.5 inches in larger containers. Pro-Tip: Use natural fiber mesh (coconut coir fabric) in closed terrariums, as synthetic materials may degrade in constant high humidity over years.
Phase 4: Moisture Regulation (Layer 4)
Spread 0.5 to 1 inch of dried sphagnum moss across the barrier. This layer acts as a moisture reservoir and additional filter. Long-fiber sphagnum (New Zealand variety) outperforms short-fiber types in water retention. Pro-Tip: Soak sphagnum in distilled water for 15 minutes before application, then squeeze out excess moisture to achieve damp (not saturated) consistency.
Phase 5: Primary Growing Medium (Layer 5)
Add 2 to 4 inches of prepared substrate, creating depth for root development. Increase depth in larger containers (above 12 inches tall). Create gentle slopes or mounds for visual interest and improved drainage patterns. Pro-Tip: Mix substrate components in a separate container before adding to terrarium, ensuring uniform particle distribution and preventing stratification that creates dry pockets.
Phase 6: Hardscape Placement (Layer 6)
Position rocks, driftwood, or decorative elements before planting. Press items firmly into substrate to prevent shifting. Create focal points using the "rule of thirds" for aesthetic balance. Pro-Tip: Boil natural wood pieces for 20 minutes to kill hitchhiking organisms (mites, mold spores) that proliferate in humid terrarium conditions.
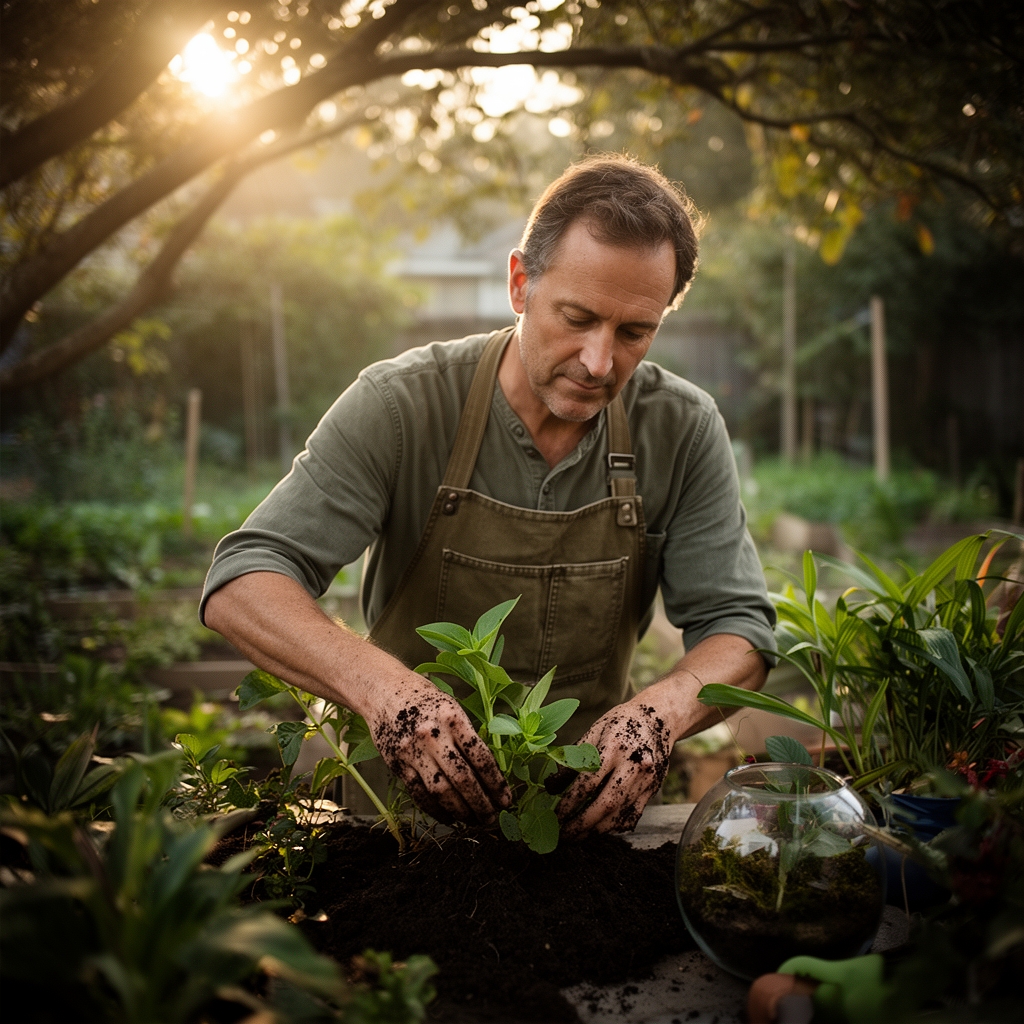
Phase 7: Plant Installation (Layer 7)
Remove plants from nursery containers and gently loosen root balls. Create planting holes using fingers or skewers. Position taller plants toward the back or center, shorter species toward front or edges. Space plants 2 to 3 inches apart minimum to allow growth. Pro-Tip: Rinse root balls under lukewarm water to remove excess commercial potting soil containing fertilizers that promote algae growth in closed systems.
Phase 8: Surface Finishing (Layer 8)
Cover exposed substrate with preserved moss, creating a naturalistic forest floor appearance. Add springtails (culture of 20 to 50 individuals) by sprinkling them over moss surface. Press moss gently to ensure soil contact. Pro-Tip: Leave small substrate gaps between moss patches to allow nitrogen fixation bacteria access to soil while maintaining the aesthetic appeal of 90 percent coverage.
Nutritional and Environmental Benefits
Tropical terrarium plants improve indoor air quality by absorbing volatile organic compounds (VOCs) through stomata during photosynthesis. Fittonia species, common terrarium inhabitants, remove formaldehyde at rates of 0.8 to 1.2 micrograms per hour per square meter of leaf surface.
Closed terrariums function as carbon sinks, storing carbon dioxide in plant tissues and substrate organic matter. The sealed environment creates a complete water cycle demonstration, showing evaporation, condensation, and precipitation processes in miniature.
Mycorrhizal fungi networks within substrates enhance phosphorus uptake by 60 to 80 percent compared to non-colonized roots. These fungal relationships reduce fertilization requirements, minimizing nutrient runoff concerns present in traditional potted plants.
Indoor terrariums support environmental education, particularly for urban households without outdoor growing space. Children observe ecosystem processes firsthand, including decomposition cycles managed by isopods (pill bugs or sowbugs) that break down dead plant matter into nutrient-rich castings.
Advanced Methods for Maximizing Success
Small Space Optimization:
Vertical terrariums (wall-mounted containers) utilize unused wall space in apartments or offices. Select shallow-rooted tropical plants like Peperomia prostrata or Pilea glauca that thrive in 2-inch substrate depths. Mount containers on studs or use hollow-wall anchors rated for 15 pounds minimum.
Tiered plant stands display multiple small terrariums (4 to 6-inch containers) in compact footprints. Rotate containers weekly to ensure even light exposure on all sides.
Organic and Permaculture Integration:
Replace activated charcoal with biochar inoculated with compost tea. Biochar provides similar filtration while housing beneficial bacteria populations. Create compost tea by steeping 2 tablespoons finished compost in 1 quart dechlorinated water for 24 hours.
Incorporate nitrogen-fixing plants like small fern varieties whose root systems harbor beneficial bacteria. These species reduce external fertilization needs in established terrariums.
Season Extension and Light Management:
Install full-spectrum LED grow lights (6500K color temperature) on timers providing 12 to 14 hours daily illumination. Position lights 12 to 18 inches above glass surfaces. LEDs generate minimal heat, preventing temperature spikes in sealed containers.
During winter months, rotate terrariums 90 degrees weekly to prevent phototropic leaning toward windows. Move containers further from cold window panes (below 60 degrees) during nighttime to avoid temperature stress.
Troubleshooting Common Terrarium Issues
Symptom: Excessive condensation obscures glass completely, with water droplets continuously streaming down interior surfaces.
Solution: Remove lid or covering for 2 to 4 hours to release excess moisture. Reduce watering frequency by 50 percent. Verify drainage layer depth meets minimum 1.5-inch requirement. Add small ventilation holes (0.25-inch diameter) near container base if condensation persists.
Symptom: White fuzzy growth (mold) appears on substrate surface, wood, or plant stems.
Solution: Increase air circulation by partially opening lids for 30 minutes daily. Remove affected plant material with sterilized tweezers. Reduce watering and ensure substrate surface dries slightly between moisture applications. Introduce springtail cultures (available from biological supply companies) that consume mold spores and hyphae.
Symptom: Plants develop yellow, drooping leaves despite adequate light exposure.
Solution: Test substrate moisture at 2-inch depth using wooden skewer. Overly saturated substrate (water visibly drips from skewer) indicates drainage failure or overwatering. Remove plants, add additional drainage material, and replant. If substrate feels dry, increase misting frequency to every 3 to 5 days.
Symptom: Green or brown algae coats glass interior surfaces and substrate.
Solution: Reduce light exposure by 20 to 30 percent, moving container further from windows or decreasing grow light duration. Clean glass using cotton swabs dampened with distilled water. Algae growth indicates excess nutrients; avoid fertilization for 8 to 12 weeks in new terrariums.
Symptom: Plant growth becomes leggy (elongated stems, sparse foliage) with pale coloration.
Solution: Insufficient light causes etiolation. Relocate terrarium to brighter location or add supplemental grow lighting. Prune leggy stems back by one-third to encourage bushy growth. Select naturally compact plant varieties (Fittonia, Peperomia, Selaginella) better suited to lower light conditions.
Storage and Maintenance Schedules
Watering Protocol:
Closed terrariums achieve water equilibrium, requiring minimal additions. Check moisture levels monthly by observing condensation patterns. Light morning condensation that clears by afternoon indicates proper balance. Add 1 to 2 tablespoons distilled water only when condensation ceases entirely.
Open terrariums require misting every 5 to 7 days, adjusting frequency based on ambient humidity. Apply water until substrate surface appears uniformly moist but not saturated. Avoid water accumulation in drainage layer exceeding 0.25 inches.
Feeding Requirements:
Established terrariums (beyond 3 months) benefit from diluted liquid fertilizer every 8 to 12 weeks. Mix balanced fertilizer (10-10-10 NPK) at one-quarter recommended strength. Apply 1 tablespoon per 10 square inches of substrate surface. Organic alternatives include diluted worm casting tea (1 part castings to 10 parts water).
Terrariums with active isopod and springtail populations require no fertilization, as these organisms continuously mineralize organic matter into plant-available nutrients.
Pruning and Grooming:
Remove dead leaves immediately using long tweezers to prevent mold development. Trim overgrown plants monthly to maintain scale proportions within container. Propagate trimmings in separate containers rather than discarding viable plant material.
Clean glass surfaces every 4 to 6 weeks using microfiber cloths dampened with distilled water. Avoid commercial glass cleaners containing ammonia, which damages plants through vapor exposure.
Long-Term Substrate Management:
Substrate settles 10 to 15 percent during the first year as organic components decompose. Top-dress with fresh substrate-moss mixture annually to maintain depth. Replace entire substrate every 3 to 5 years when compaction reduces drainage efficiency or salt accumulation (white crusty deposits) becomes visible.
Conclusion: Your Success Blueprint
Preparing a terrarium for tropical plants succeeds through methodical layering, appropriate material selection, and understanding closed ecosystem dynamics. The eight-layer system (drainage, charcoal, barrier, moss, substrate, hardscape, plants, surface finishing) creates stable growing conditions replicating tropical understory environments. Maintenance involves monthly moisture monitoring, quarterly pruning, and annual substrate top-dressing rather than daily intervention.
Share your terrarium progress photos with local plant societies or online horticultural communities to exchange species recommendations and troubleshooting advice specific to your regional conditions.
Expert FAQs
What is the minimum terrarium size for tropical plants?
Containers should measure at least 6 inches tall and 5 inches in diameter. Smaller vessels lack adequate substrate depth (minimum 2 inches required) and create unstable moisture conditions. Larger containers (10+ inches) provide better environmental buffering and accommodate diverse plant combinations.
How do you prevent root rot in closed terrariums?
Install proper drainage layers (1.5 to 2 inches combined gravel and charcoal), use well-draining substrate with 30 percent perlite or orchid bark, and avoid overwatering. Select tropical species naturally adapted to high humidity with moderate moisture tolerance, avoiding cacti or succulents. Monitor condensation patterns to prevent waterlogged conditions.
Can you use tap water in terrariums?
Distilled or rainwater prevents mineral accumulation (white crust) on substrate and glass surfaces. Tap water contains chlorine, chloramines, and dissolved minerals (calcium, magnesium) that concentrate in closed systems. If using tap water, let it sit uncovered 24 hours to allow chlorine evaporation, though minerals remain.
Which tropical plants work best for beginners?
Fittonia (nerve plant), Peperomia varieties, Pilea glauca, and Selaginella (spikemoss) tolerate humidity variations and lower light conditions. Avoid orchids, bromeliads, and carnivorous plants until mastering basic terrarium maintenance. Select plants with mature heights under 6 inches to prevent rapid overgrowth.
How often should you open a closed terrarium?
Properly balanced closed terrariums remain sealed for months except during maintenance (pruning, spot cleaning). Open lids for 30 to 60 minutes monthly to refresh air exchange. Excessive opening disrupts humidity equilibrium, requiring 2 to 3 weeks to restabilize. New terrariums require more frequent adjustments (weekly for first month) while establishing moisture balance.