8 Steps to Preparing a Functional Drainage Layer for Indoor Pots and Planters
Waterlogged soil carries the smell of decay, an ammonia tang that signals root rot and the collapse of microbial colonies. Indoor gardeners encounter this crisis when drainage fails, when water sits stagnant in the bottom third of a pot, suffocating roots and destroying the aerobic zone plants require. Preparing a drainage layer for indoor pots establishes the foundation for proper air-to-water ratios in the root zone, creating conditions where oxygen reaches depths of 6 to 8 inches and excess moisture exits rapidly through bottom holes.
The drainage layer functions as a physical barrier between saturated substrate and active roots. It prevents the capillary rise of water into the main growing medium while providing escape routes for gravitational flow. In commercial greenhouse operations, growers measure drainage success by observing water exit within 3 to 5 seconds of irrigation. Home indoor gardeners can apply these same principles to containers ranging from 4-inch starter pots to 20-gallon floor planters.
Materials
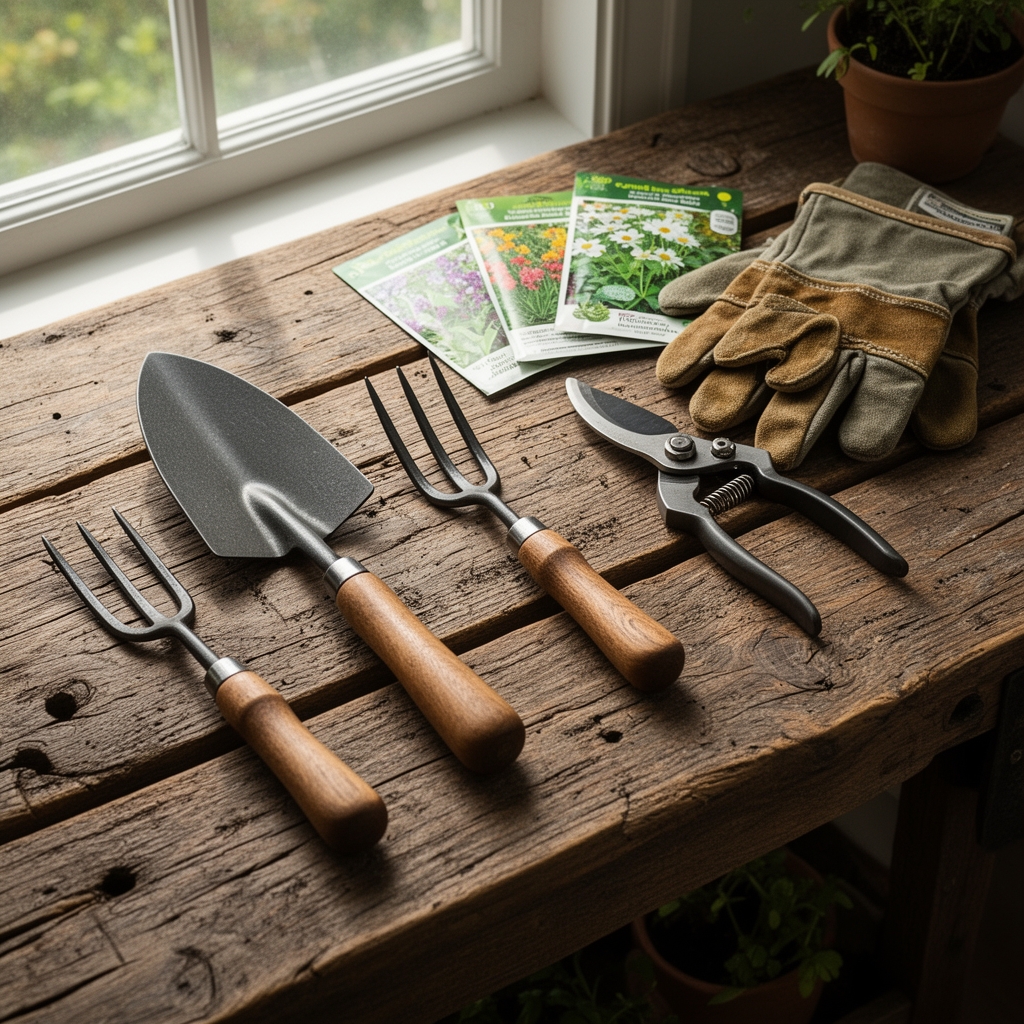
Drainage aggregate must be chemically inert and structurally stable. Expanded clay pebbles (LECA) offer a pH of 6.5 to 7.0 and contribute no measurable NPK. These fired clay spheres resist compression and maintain air pockets even under the weight of saturated soil. Horticultural pumice provides similar stability with a slightly more acidic pH of 6.0 to 6.8. Its porous structure absorbs minimal moisture while creating tortuous pathways for water descent.
Crushed granite or pea gravel works in larger containers exceeding 12 inches in diameter. These materials have a neutral pH of 7.0 and zero nutrient contribution, functioning purely as physical spacers. Avoid limestone gravel, which raises pH to 7.5 or higher and interferes with iron uptake in acid-loving species.
Activated charcoal serves a secondary filtration role. It adsorbs dissolved salts and organic acids, maintaining cation exchange capacity in the root zone. Use granular grades between 4 and 8 mesh size. Finer particles migrate into soil layers and clog drainage pathways.
Landscape fabric or fiberglass window screen prevents substrate from washing into the aggregate layer. Select materials with pore sizes between 0.5 and 1.0 millimeters. This range blocks soil particles while allowing free water movement.
Timing
Indoor environments operate independently of hardiness zones, but seasonal light cycles affect root growth patterns. Prepare drainage layers during early spring (March through April in USDA Zones 5 through 9) when increasing photoperiods trigger auxin distribution and active root elongation. Plants potted during this window establish faster, producing 30 to 40 percent more fine root biomass within eight weeks compared to fall installations.
For tropical species maintained under grow lights, timing aligns with the grower's propagation schedule rather than outdoor frost dates. Maintain consistent air temperatures between 68 and 75 degrees Fahrenheit during the first two weeks after potting to maximize root-to-substrate contact.
Phases
Sowing (Initial Layer Installation)
Place a single piece of screen material over drainage holes, cutting the fabric to extend 1 inch beyond the hole diameter. Add aggregate to a depth of 1.5 inches in containers up to 10 inches tall. Increase to 2.5 inches for containers between 10 and 18 inches in height. For planters exceeding 18 inches, use a 3-inch drainage layer to prevent basal saturation.
Distribute aggregate evenly, avoiding mounds or depressions. Tap the container sides to settle particles and eliminate voids. The aggregate surface should sit level, providing uniform resistance across the entire pot base.
Pro-Tip: Rinse all aggregate materials in a 5-gallon bucket until runoff water appears clear. This removes dust particles that otherwise migrate upward and clog soil pores, reducing hydraulic conductivity by 15 to 20 percent.
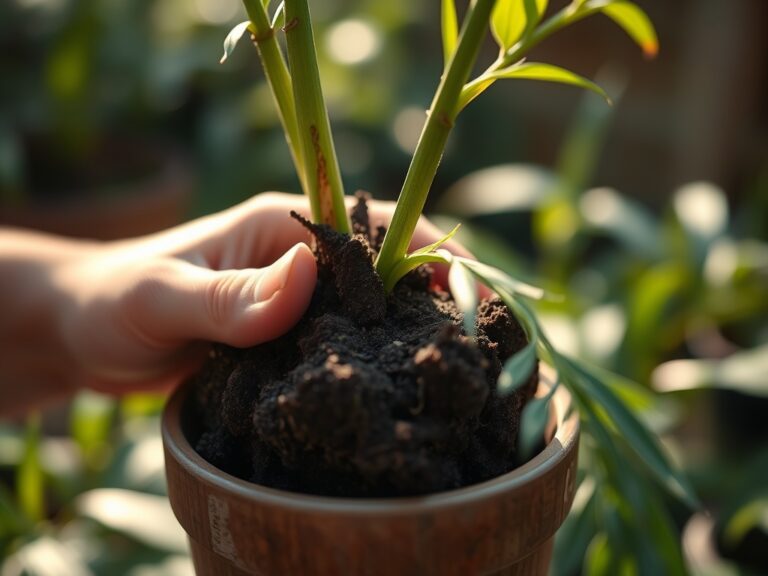
Transplanting (Soil Addition)
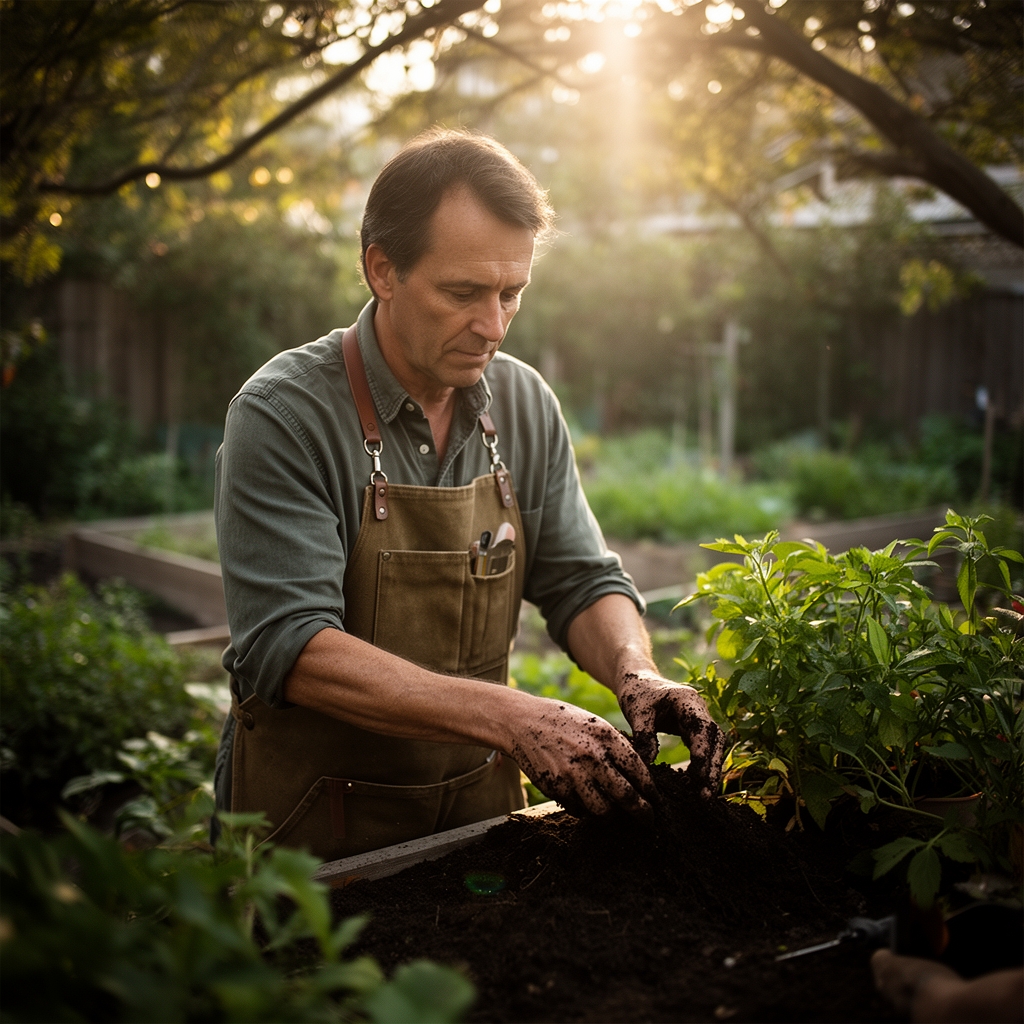
Layer a 0.25-inch band of activated charcoal over the drainage aggregate. This creates a chemical buffer zone that captures excess fertilizer salts before they concentrate in the root zone. Add growing substrate in increments, firming each 2-inch layer with fingertips to eliminate air pockets while maintaining overall porosity.
Position the root ball so its top surface sits 0.75 inches below the container rim. This measurement provides adequate freeboard for irrigation without overflow. Fill gaps around the root ball with additional substrate, maintaining consistent density throughout.
Pro-Tip: Incorporate mycorrhizal fungi inoculant directly into the substrate layer that contacts existing roots. Apply at a rate of 1 teaspoon per gallon of pot volume. Fungal hyphae extend the effective root surface area by 100 to 1,000 times, improving both nutrient uptake and drought resistance.
Establishing (Post-Installation Care)
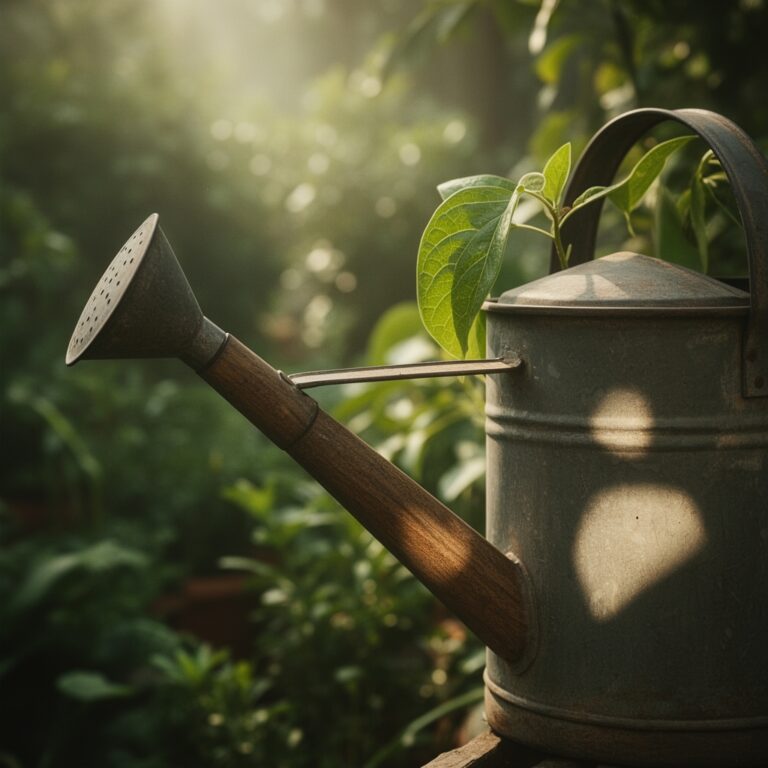
Water immediately after potting, applying liquid until it emerges from drainage holes. This settling irrigation collapses large air gaps and ensures substrate-to-root contact. Allow the top 2 inches of soil to dry before the second irrigation, typically 5 to 7 days in standard indoor conditions.
Monitor the transition zone where substrate meets drainage layer. Insert a moisture meter to a depth that reaches this boundary. Readings should drop to 3 or lower on a 10-point scale within 24 hours of watering, indicating proper drainage function.
Pro-Tip: Prune damaged roots at 45-degree angles before potting. This cut orientation maximizes cambium exposure and accelerates callus formation, reducing transplant shock by 20 to 30 percent in woody species.
Troubleshooting
Symptom: Water pools on soil surface, draining slowly or not at all
Solution: The drainage layer has become clogged with migrated soil particles. Remove the plant, inspect the aggregate layer, and replace the separator fabric. Use a finer mesh screen (0.5 millimeters or smaller) to prevent future soil intrusion. Increase aggregate particle size to 0.5 inches or larger.
Symptom: Roots grow into drainage layer, appearing brown and brittle
Solution: Excess air space in the drainage zone creates desiccation stress. Reduce drainage layer depth by 0.5 inches and increase substrate volume. Roots entering the drainage layer indicate the plant has outgrown its container. Transplant to a pot 2 to 4 inches larger in diameter.
Symptom: White crystalline deposits form on soil surface
Solution: Salt accumulation occurs when drainage is insufficient and salts wick upward through capillary action. Flush the pot with water volume equal to twice the container capacity every four weeks. Check that drainage holes remain fully open and unobstructed.
Symptom: Fungus gnats emerge from soil surface
Solution: Organic matter trapped in the drainage layer creates breeding habitat. Remove the top 2 inches of substrate and replace with fresh material. Apply Bacillus thuringiensis var. israelensis (Bti) at label rates to eliminate larvae. Allow the top 3 inches of soil to dry completely between waterings.
Symptom: Lower leaves yellow despite adequate fertilization
Solution: Anaerobic conditions in the root zone prevent nitrogen uptake. Test drainage by pouring 1 cup of water on the soil surface and timing how long it takes to emerge from the bottom. Drainage should complete within 10 seconds. If slower, repot with a deeper aggregate layer and coarser growing substrate.
Maintenance
Water when the top 1 to 2 inches of substrate feels dry to the touch, typically every 7 to 10 days in average indoor environments. Apply water volume equal to 20 to 25 percent of the pot's total capacity. For a 5-gallon container, this equals approximately 1 gallon of water per irrigation event.
Fertilize with a balanced NPK formulation such as 10-10-10 diluted to half the recommended strength. Indoor plants require 40 to 60 percent less fertilizer than outdoor counterparts due to reduced light intensity and slower growth rates. Apply every two weeks during active growth periods (spring and summer) and monthly during dormancy (fall and winter).
Inspect drainage holes monthly by tipping the container and observing the underside. Remove any root growth that blocks openings. Roots growing through drainage holes indicate the plant requires repotting into a larger container.
Check the moisture level at the substrate-drainage boundary every three months using a moisture meter or by carefully excavating a small inspection hole near the pot edge. This zone should never remain saturated for more than 48 hours after irrigation.
Replace drainage aggregate and separator fabric every 24 to 36 months. Mineral deposits and organic debris accumulate over time, reducing the layer's effectiveness. Complete repotting during the early spring growth flush for fastest recovery.
FAQ
How deep should the drainage layer be in a standard 8-inch pot?
Use a 1.5-inch drainage layer in 8-inch containers. This provides adequate air space without reducing the root zone volume excessively.
Can I use broken pottery shards instead of specialized aggregate?
Pottery fragments work in large containers exceeding 14 inches in diameter. Sharp edges damage fine roots in smaller pots. Pottery also lacks the uniform porosity of expanded clay or pumice.
Does every indoor pot require a drainage layer?
Any container holding more than 2 gallons of substrate benefits from a drainage layer. Smaller pots drain adequately through substrate porosity alone, provided they include bottom drainage holes.
How do I know if my drainage layer is functioning correctly?
Pour 1 cup of water on the soil surface. Water should begin exiting drainage holes within 5 to 10 seconds. If drainage takes longer than 30 seconds, the layer requires reconstruction.
Should I add drainage layers to self-watering containers?
Self-watering pots use a reservoir system that makes traditional drainage layers unnecessary. The built-in water chamber serves the same function by separating roots from standing water.