8 Farm-Scale Steps to Prepare a Backyard Farm
Preparing land for intensive vegetable production transforms soil biology, mineral availability, and water dynamics over eight deliberate stages. How to prepare a garden for a backyard farm vegetable garden starts months before transplanting, when amendments integrate with native soil and beneficial organisms colonize root zones. Commercial growers in USDA Zone 6b begin soil tests in late winter, correcting pH and cation exchange capacity before spring thaw. The same rigor applies at backyard scale, where a 20-by-30-foot plot can yield 200 pounds of produce annually if nutrient density and drainage meet crop demands.
Materials
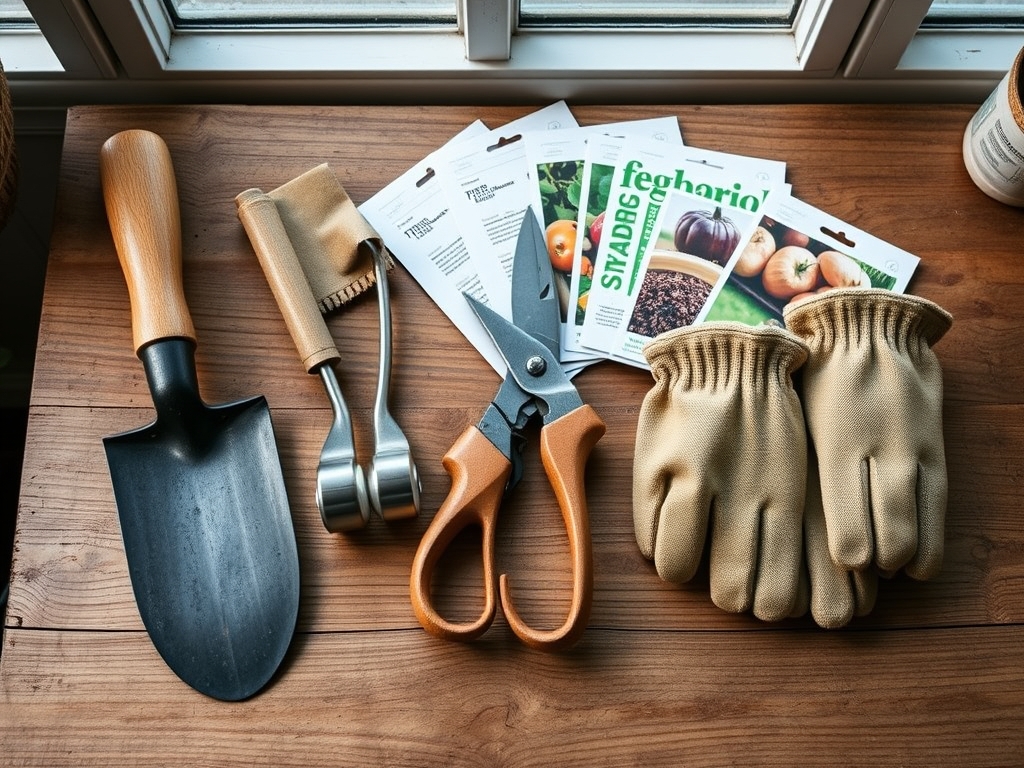
Amendments fall into three categories: pH adjusters, macro-nutrient sources, and microbial inoculants. Dolomitic lime raises pH by 0.5 units per 50 pounds per 1,000 square feet, delivering calcium and magnesium. Sulfur lowers pH more slowly, acidifying alkaline clay over 60 to 90 days. For nitrogen, phosphorus, and potassium, select balanced organic meals: feather meal (12-0-0) for nitrogen, bone meal (3-15-0) for phosphorus, and kelp meal (1-0-2) for potassium and trace minerals. A general-purpose 4-4-4 blend delivers moderate NPK without salt accumulation.
Compost aged six months provides carbon for soil microbes and improves water-holding capacity in sandy loams. Mycorrhizal inoculants, sold as Rhizophagus irregularis spores, extend root surface area by 100-fold, improving phosphorus uptake in low-fertility soils. Gypsum (calcium sulfate) improves clay structure without altering pH, while greensand (glauconite) releases potassium over two growing seasons.
Timing
Soil preparation aligns with frost dates and microbial activity thresholds. In USDA Hardiness Zones 5 through 7, initiate tillage or broadforking when soil temperature reaches 50 degrees Fahrenheit at four-inch depth, typically mid-March to early April. Frost-free dates dictate transplanting schedules: Zone 5 averages May 15, Zone 6 centers on May 1, and Zone 7 sees last frost by mid-April.
Apply lime or sulfur 90 days before planting to allow equilibration with soil colloids. Spread compost and organic meals 30 days ahead, giving microbes time to mineralize nutrients into plant-available forms. Cover crops like winter rye or hairy vetch terminate two weeks before transplanting, releasing nitrogen through decomposition. Spring sowings of cool-season crops (lettuce, kale, peas) begin three to four weeks before the frost-free date, while warm-season crops (tomatoes, peppers, squash) require soil temperatures above 60 degrees Fahrenheit.
Phases

Sowing
Direct-seed root crops (carrots, beets, radishes) into loose soil with low clay content. Create furrows one-half inch deep for small seeds, one inch for legumes. Space rows 12 inches apart for hand cultivation or 30 inches for wheel hoes. Press seeds firmly into contact with soil to ensure capillary water flow. Pelleted seeds reduce thinning labor but require consistent moisture to dissolve coatings.
Pro-Tip: Dust carrot seeds with mycorrhizal inoculant powder at a ratio of one teaspoon per 100 seeds. The Glomus species colonize taproots within 14 days, increasing phosphorus uptake by 40 percent in low-fertility soils.
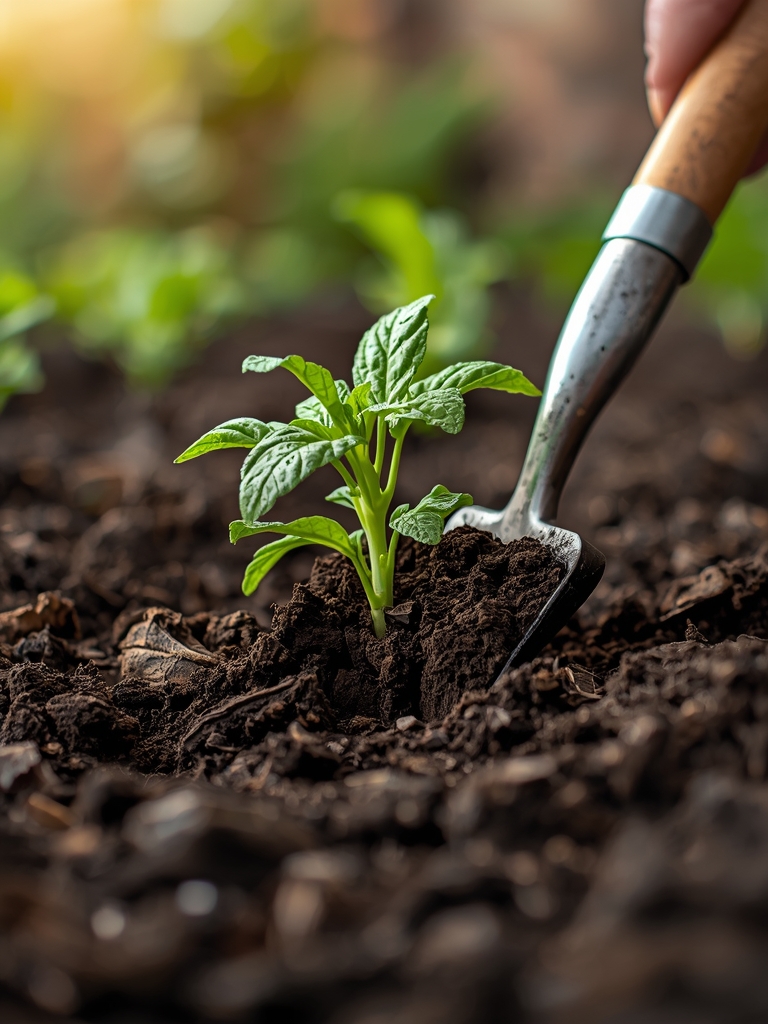
Transplanting
Harden seedlings by reducing water and lowering nighttime temperatures to 50 degrees Fahrenheit for seven days. Dig planting holes twice the root-ball diameter, incorporating one tablespoon of bone meal (3-15-0) at the base. Set tomato and pepper transplants one inch deeper than nursery soil line to encourage adventitious rooting along buried stems. Space determinate tomatoes 24 inches apart, indeterminate varieties 36 inches to accommodate lateral growth.
Pro-Tip: Prune lower leaves up to the first flower truss at transplanting to reduce soil-borne fungal contact. Auxin distribution shifts upward, accelerating terminal growth by 15 percent in the first 30 days.
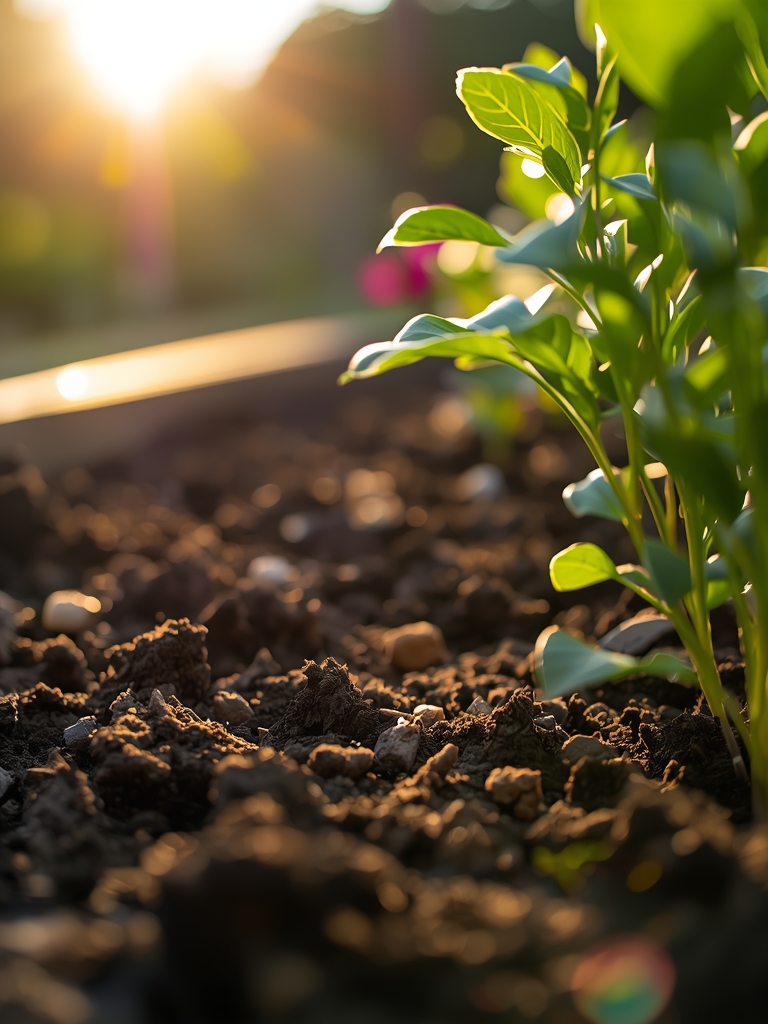
Establishing
Mulch pathways and bed surfaces with two inches of straw or shredded leaves to moderate soil temperature and suppress annual weeds. Install drip irrigation on 12-inch centers, delivering 0.25 gallons per hour per emitter. Monitor soil moisture at six-inch depth with a tensiometer; maintain 50 to 70 percent field capacity for most vegetables.
Pro-Tip: Side-dress nitrogen-demanding crops (brassicas, sweet corn) with blood meal (12-0-0) at three weeks post-transplant, applying one-quarter cup per plant in a six-inch band offset from the stem. Water immediately to prevent ammonia volatilization.
Troubleshooting
Symptom: Interveinal chlorosis on young leaves (yellowing between veins while veins remain green).
Solution: Iron deficiency induced by high pH. Apply chelated iron (Fe-EDDHA) as foliar spray at 0.5 ounces per gallon, or lower soil pH with elemental sulfur over the next season.
Symptom: Blossom-end rot on tomatoes and peppers (sunken black lesions on fruit base).
Solution: Calcium deficiency or irregular watering. Side-dress with gypsum (calcium sulfate) at two tablespoons per plant. Maintain even soil moisture through drip irrigation.
Symptom: Wilting despite adequate moisture; brown vascular streaks in stem cross-sections.
Solution: Verticillium or Fusarium wilt. Remove and destroy infected plants. Rotate to non-susceptible families (Fabaceae, Alliumaceae) for three years. Solarize soil under clear plastic for six weeks during peak summer heat.
Symptom: Flea beetles creating shothole damage on brassica leaves.
Solution: Apply kaolin clay (Surround WP) at 0.5 pounds per gallon as foliar barrier. Reapply after rain. Introduce parasitic nematodes (Steinernema species) to soil to target larval stages.
Symptom: Powdery mildew (white fungal coating on leaf surfaces).
Solution: Spray potassium bicarbonate solution (one tablespoon per gallon) at seven-day intervals. Improve air circulation by spacing plants at recommended distances. Water in early morning to reduce leaf wetness duration.
Maintenance
Irrigate deeply once per week, delivering one inch of water measured in rain gauges placed at bed level. Sandy soils require twice-weekly sessions due to low water-holding capacity. Fertigate every 14 days with liquid kelp (0-0-1) at two tablespoons per gallon to supply trace minerals and cytokinins that promote root growth.
Cultivate shallowly with a stirrup hoe to sever annual weeds at the soil line without disturbing crop roots. Remove weeds when two inches tall; larger specimens compete for nitrogen and water. Prune indeterminate tomatoes to one or two leaders, removing suckers at 45-degree angles with sterilized shears to prevent disease transmission.
Monitor for aphids, hornworms, and cabbage loopers through twice-weekly scouting. Hand-pick large larvae into soapy water. Release lacewing larvae (Chrysoperla species) at a rate of 1,000 per 500 square feet for biological control of soft-bodied pests.
FAQ
When should I start preparing my garden beds?
Begin soil tests and pH adjustments 90 days before planting. Spread compost and organic fertilizers 30 days ahead to allow microbial mineralization.
What is the ideal soil pH for vegetable production?
Most vegetables thrive between pH 6.0 and 6.8. Brassicas tolerate up to 7.0, while blueberries require 4.5 to 5.5.
How much compost do I need per square foot?
Apply a one-inch layer (0.75 cubic feet per 10 square feet) annually. This supplies 2 to 4 pounds of nitrogen per 100 square feet over the growing season.
Can I plant vegetables in the same bed every year?
Rotate by plant family to break disease cycles. Follow nightshades (tomatoes, peppers) with legumes (beans, peas), then brassicas (cabbage, broccoli), and finally alliums (onions, garlic).
What is cation exchange capacity and why does it matter?
CEC measures soil's ability to hold and release positively charged nutrients (calcium, magnesium, potassium). Clays have high CEC (20 to 40 meq/100g); sands have low CEC (5 to 10 meq/100g). Amend low-CEC soils with compost to improve nutrient retention.