7 Urban Steps to Prepare a Productive City Garden
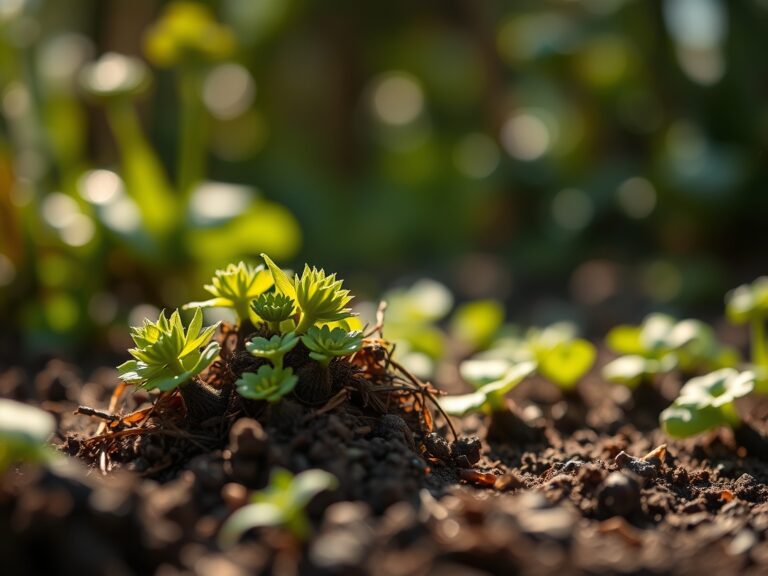
The scent of damp, mineralized earth rising from a galvanized raised bed marks the start of the metropolitan growing season. Success in a concrete environment depends on the turgor pressure of the vascular system; a plant must maintain internal fluid pressure to stand against the heat reflected by brick and asphalt. Learning how to prepare a garden for an urban vegetable garden requires a shift from traditional backyard thinking to high-density precision. You are managing a closed system where every cubic centimeter of substrate must provide maximum nutrient bioavailability. Urban soils are often compacted or contaminated; therefore, your preparation begins with the physical isolation of the root zone from the city's legacy lead and heavy metals. By controlling the rhizosphere from the ground up, you bypass the limitations of poor drainage and low organic matter. This process is a calculated engineering project. You are building a life-support system that converts solar energy and chemical inputs into caloric output within the narrow confines of a balcony, rooftop, or small lot.
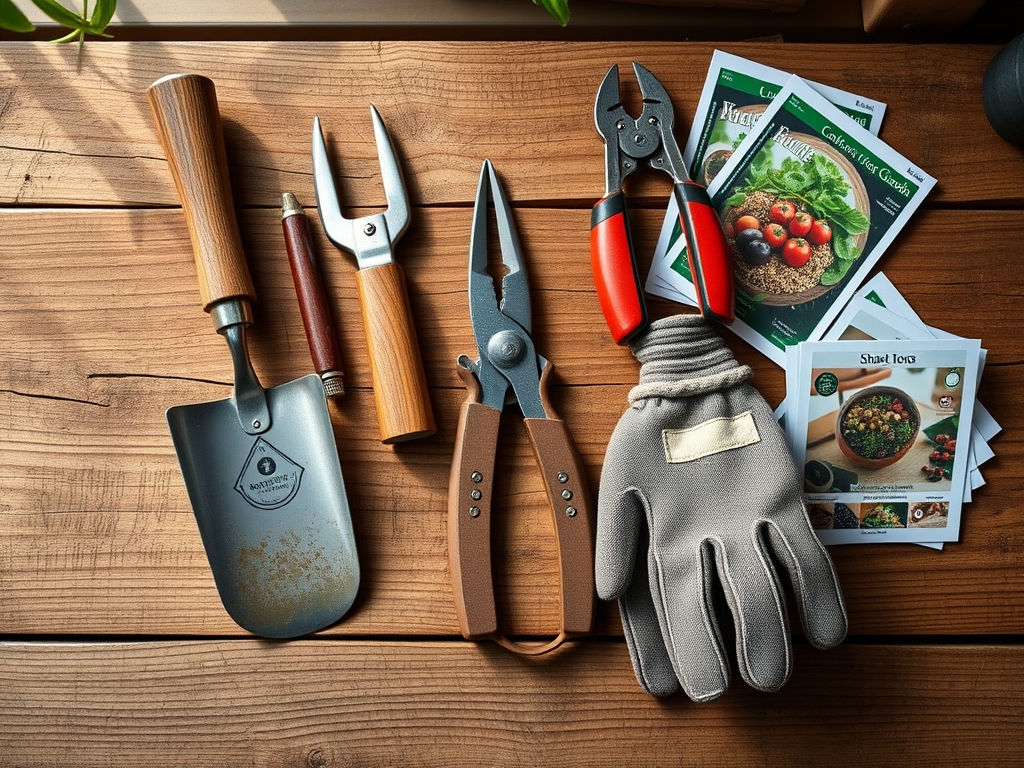
Materials:
The foundation of an urban garden is the substrate. Avoid "fill dirt" which lacks the necessary Cation Exchange Capacity (CEC) to hold nutrients. You require a friable loam consisting of 40 percent compost, 40 percent peat moss or coconut coir, and 20 percent perlite for aeration. This mixture ensures the soil does not crust over, allowing oxygen to reach the roots.
Target a soil pH between 6.2 and 6.8 for most vegetable crops. At this range, phosphorus remains soluble and available for uptake. For heavy feeders like tomatoes and peppers, incorporate a granular 5-10-10 NPK fertilizer into the top six inches of the bed. The lower nitrogen ratio prevents excessive leaf growth at the expense of fruit, while the higher phosphorus and potassium levels support root development and cellular water regulation. For leafy greens, shift to a 10-5-5 NPK ratio to prioritize the synthesis of chlorophyll and vegetative biomass. Ensure you have a soil moisture meter and a digital pH probe to monitor the chemical environment weekly.
Timing:
Urban microclimates often run 5 to 10 degrees warmer than surrounding rural areas due to the "Heat Island Effect." Identify your USDA Hardiness Zone, but adjust your planting dates two weeks earlier for spring crops. The "Biological Clock" of your plants is governed by the photoperiod and accumulated Growing Degree Days (GDD).
Cool-season crops like kale and radishes should be in the ground when soil temperatures reach 45 degrees Fahrenheit. Warm-season crops, such as basil and eggplants, require a minimum soil temperature of 65 degrees Fahrenheit to avoid chilling injury. Transitioning from the vegetative stage (leaf production) to the reproductive stage (flowering and fruiting) is triggered by hormonal shifts. If you plant too late in an urban setting, the reflected heat from buildings can cause "bolting," where the plant enters premature senescence and produces seeds before the harvest is ready.
Phases:
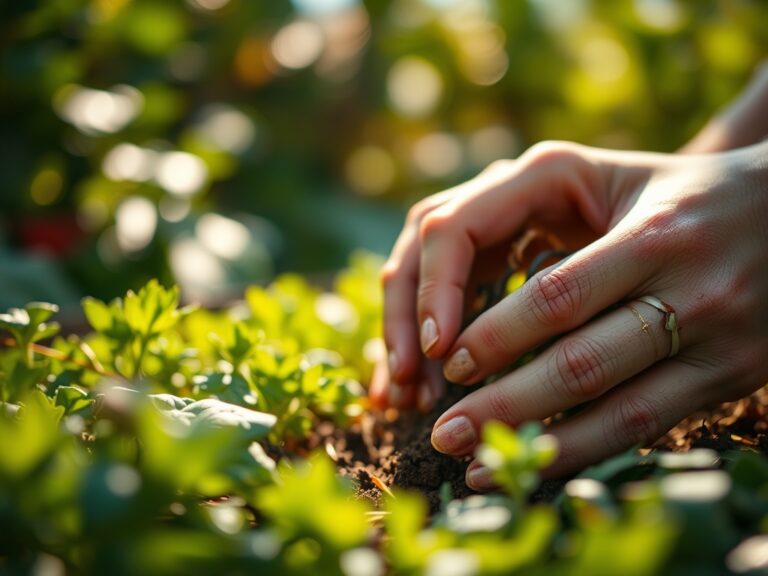
Sowing
Direct sow seeds at a depth exactly three times the diameter of the seed. Ensure the substrate remains consistently moist to facilitate the imbibition of water through the seed coat.
Pro-Tip: Use a light dusting of vermiculite over the seeds. This improves capillary action, ensuring the seed remains in contact with moisture without being smothered by heavy soil.
Transplanting
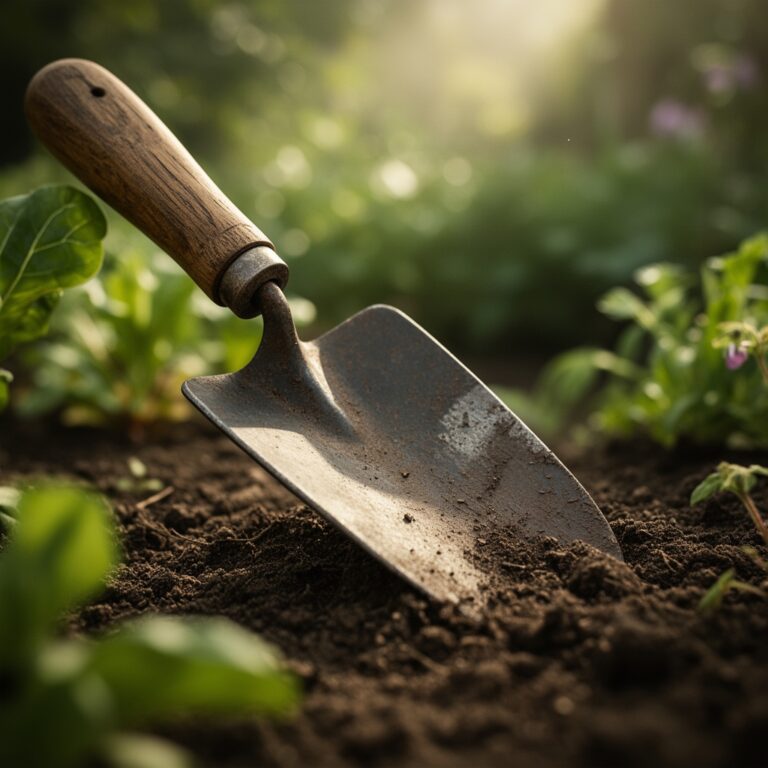
When moving seedlings from trays to the main bed, ensure the "true leaves" have fully expanded. Dig a hole twice the size of the root ball using a hori-hori knife.
Pro-Tip: Inoculate the transplant hole with mycorrhizal fungi. This creates a symbiotic relationship where the fungi extend the root system's reach, increasing the surface area for phosphorus absorption and water uptake.
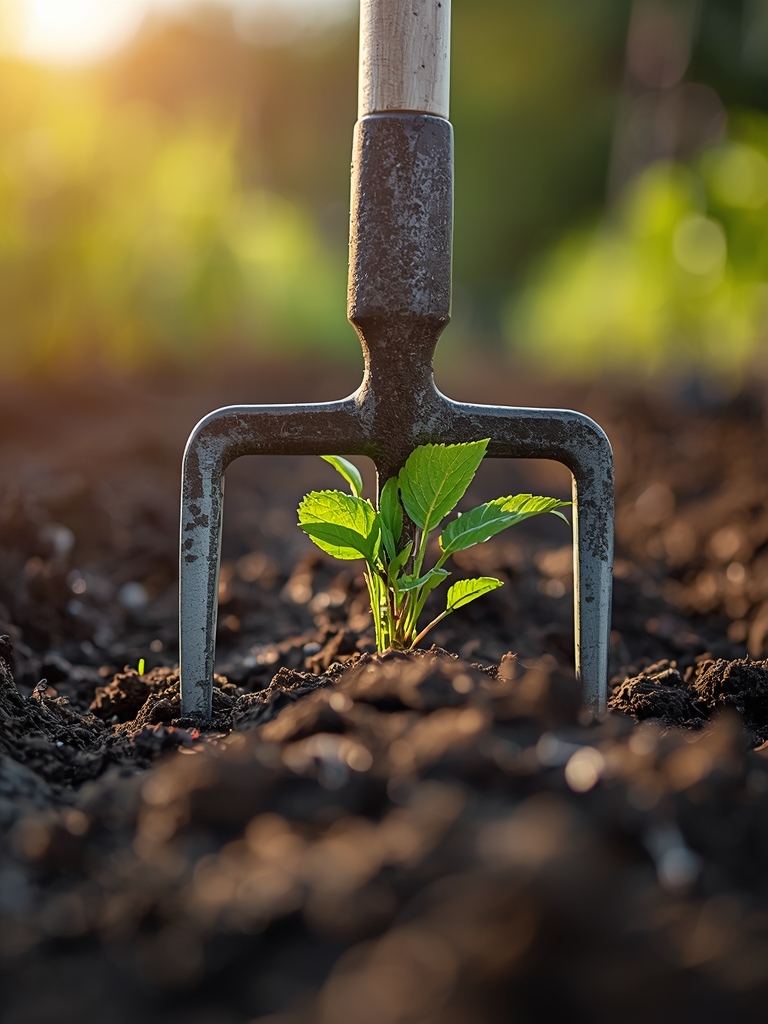
Establishing
During the first 14 days, focus on root anchorage rather than top-growth. Avoid high-nitrogen fertilizers during this window to prevent "lanky" stems that cannot support the plant's weight.
Pro-Tip: Apply a thin layer of straw or cedar mulch. This suppresses auxin-driven stress responses by keeping the root zone at a stable temperature, preventing the plant from diverting energy into heat-shock proteins.
The Clinic:
Physiological disorders in urban gardens are often mistaken for pathogens. Use this diagnostic guide to identify abiotic stress.
Symptom: Blossom End Rot (dark, leathery spots on the bottom of fruit).
Solution: This is a calcium transport issue, not a soil deficiency. Maintain consistent moisture levels to ensure the plant can move calcium through the xylem.
Fix-It: Apply a foliar spray of calcium chloride if the soil is saturated but the fruit shows damage.
Symptom: Nitrogen Chlorosis (yellowing of older, lower leaves while veins remain green).
Solution: The plant is translocating mobile nitrogen to new growth.
Fix-It: Side-dress with blood meal or a liquid high-nitrogen fish emulsion to restore green tissue.
Symptom: Leaf Scorch (browning of leaf margins).
Solution: High transpiration rates are exceeding the roots' ability to supply water.
Fix-It: Install a 30 percent shade cloth during the hours of 12:00 PM to 3:00 PM to reduce the vapor pressure deficit.
Maintenance:
Precision is the difference between a hobby and a harvest. Urban plants in containers or raised beds dry out rapidly. Deliver 1.5 inches of water per week directly at the drip line. Avoid overhead watering; moisture on the foliage encourages fungal spores to germinate. Use bypass pruners to remove any yellowing or diseased foliage immediately to prevent the spread of spores in tight quarters.
Check your soil compaction once a month. If the soil feels dense, use a hori-hori knife to gently aerate the perimeter of the root zone. Every three weeks, apply a diluted seaweed extract. This provides micronutrients like boron and manganese which are essential for enzyme function but are often missing from synthetic fertilizers. Monitor the rhizosphere for drainage; if water sits on the surface for more than 30 seconds, your substrate has collapsed and requires the addition of coarse organic matter.
The Yield:
Harvesting is a physiological intervention. For leafy greens, harvest in the early morning when turgor pressure is at its peak. This ensures the cell walls are fully hydrated, providing the crispest texture. Use sharp shears to make a clean cut; jagged tears invite pathogens into the vascular system of the mother plant.
For fruiting crops like tomatoes, harvest at the "breaker stage" when the fruit is 50 percent colored. The fruit will continue to ripen off the vine without the risk of cracking or pest damage. Once harvested, remove the field heat by placing the produce in a cool, shaded area immediately. For herbs, harvest before the plant flowers to ensure the highest concentration of essential oils in the leaves. Post-harvest, prune back one-third of the plant to stimulate a second flush of vegetative growth.
FAQ:
How do I fix poor drainage in a city garden?
Incorporate 20 percent perlite or coarse sand into your soil mix. This creates macropores that allow gravity to pull excess water away from the roots, preventing anaerobic conditions and root rot in confined urban containers.
What is the best NPK for urban tomatoes?
Use a 5-10-10 ratio at planting. High phosphorus supports flower initiation, while potassium regulates stomatal opening and water retention. Avoid high nitrogen (the first number) once fruit sets to prevent "all leaf and no fruit" syndrome.
Can I use tap water for my urban vegetables?
Most municipal water contains chlorine or chloramines. Let the water sit in an open bucket for 24 hours to allow chlorine to dissipate, or use a charcoal filter to prevent damage to beneficial soil microbes in the rhizosphere.
How much sun does an urban garden actually need?
Most vegetables require a minimum of six hours of direct solar radiation. In "canyon" environments with tall buildings, prioritize leafy greens like spinach or arugula, which can produce biomass with only four hours of sunlight.
How do I know if my soil is healthy?
Perform a "squeeze test." Moist soil should form a ball when squeezed but crumble easily when poked. This indicates a friable loam texture with a balance of air space and water-holding capacity essential for root respiration.