9 Curb Appeal Steps to Prepare a Suburban Garden
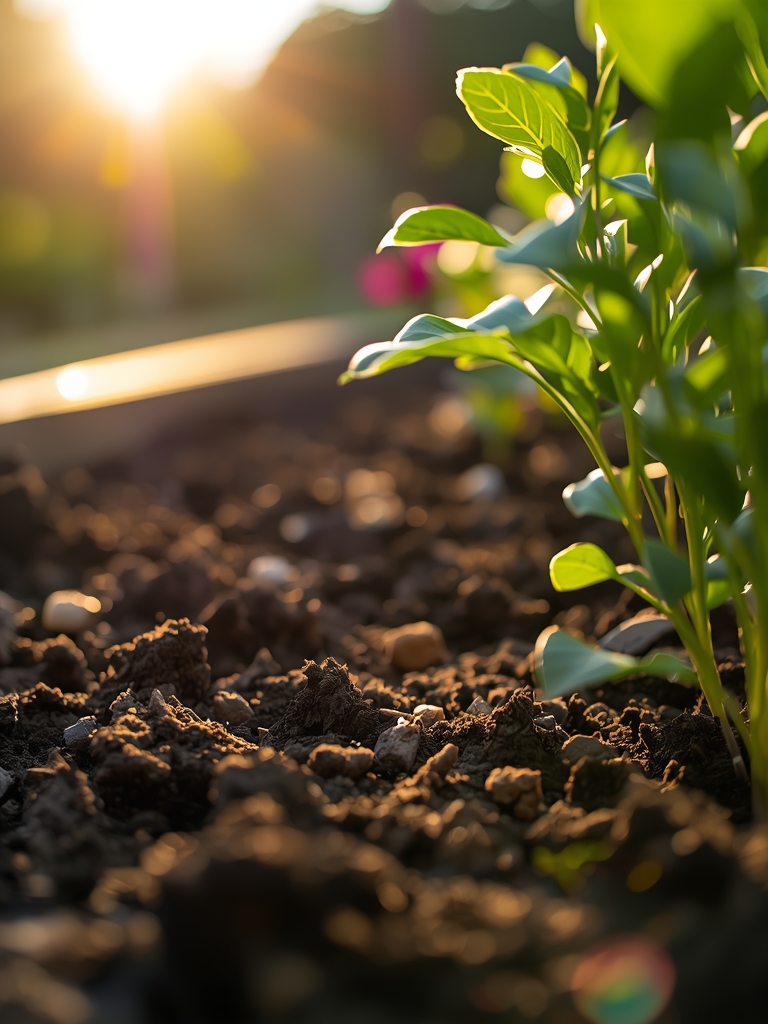
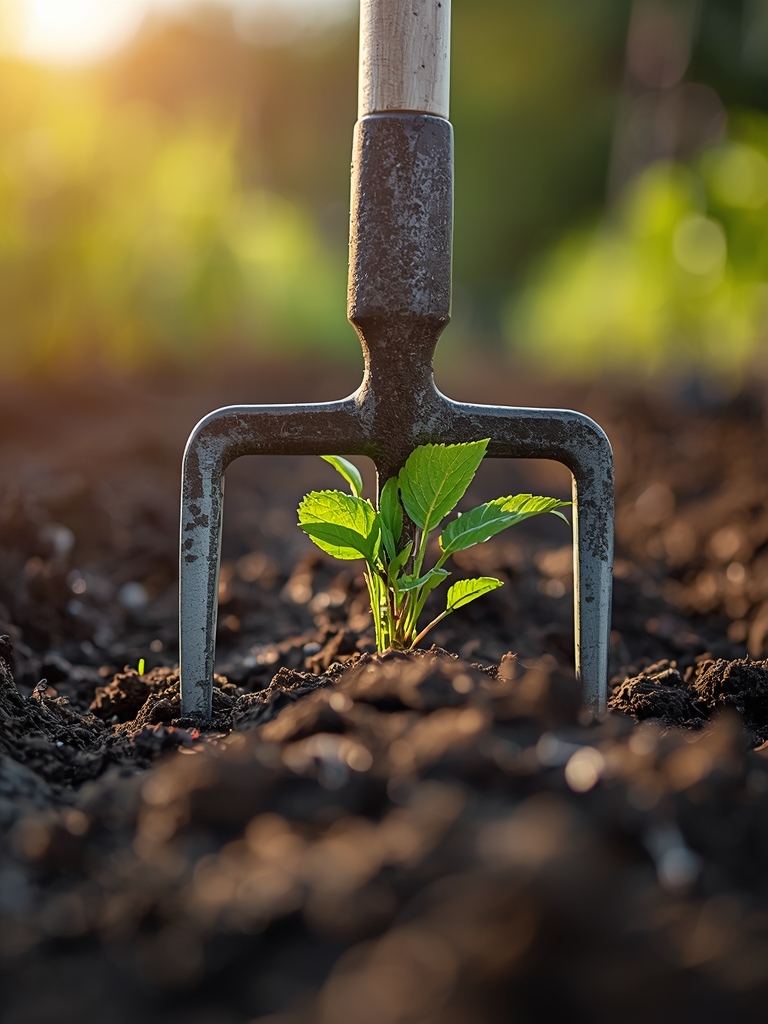
Crushing a handful of dark, damp earth between your palms reveals the structural integrity of your soil. When the aggregate holds its shape but shears easily under thumb pressure, you have achieved the ideal friable loam required for high-yield cultivation. Mastering how to prepare a garden for a suburban vegetable garden requires more than aesthetics; it demands an understanding of turgor pressure and the cellular mechanics of the rhizosphere. Suburban plots often suffer from compaction and nutrient leaching due to construction runoff. To counteract this, you must engineer a substrate that facilitates rapid gas exchange and deep root penetration. A successful season begins with the sensory confirmation of earth that smells of geosmin and feels cool to the touch. This indicates active microbial life and sufficient moisture retention. By focusing on the chemical and physical properties of your land, you transition from a casual observer to a biological manager. Preparation starts in the dormant months, ensuring that when the first true leaves emerge, the plant has immediate access to the bioavailable minerals necessary for explosive vegetative growth.
Materials:
Suburban soil preparation requires a precise inventory of amendments based on a Cation Exchange Capacity (CEC) analysis. For most vegetable crops, aim for a soil pH between 6.2 and 6.8. If your test reveals acidic conditions, apply calcitic lime at a rate of 5 pounds per 100 square feet to raise the pH. Conversely, elemental sulfur will lower alkaline readings.
The NPK (Nitrogen-Phosphorus-Potassium) ratios must be tailored to the specific growth stage. A balanced 10-10-10 starter fertilizer provides the initial surge, but heavy feeders like Solanaceae (tomatoes and peppers) eventually require a 5-10-10 ratio to prioritize fruit development over excessive leaf production. Your substrate must be a friable loam consisting of 40 percent sand, 40 percent silt, and 20 percent clay. This ratio ensures the soil does not crust over, allowing delicate seedlings to break the surface without energy depletion. Incorporate well-rotted organic matter at a 3:1 ratio to increase the water-holding capacity and provide a steady release of micronutrients like boron and manganese.
Timing:
Success is dictated by the USDA Hardiness Zone and the specific frost-date windows of your microclimate. In Zones 6 and 7, the spring planting window typically opens between April 15 and May 15. You must track the Biological Clock of your crops, which is the internal mechanism governing the transition from vegetative to reproductive stages.
Soil temperature is a more accurate metric than air temperature. Use a probe to ensure the soil has reached a consistent 60 degrees Fahrenheit (15.5 Celsius) before transplanting warm-season crops. Planting too early leads to chilling injury, which disrupts the plant's metabolic pathways and can cause permanent stunting. Observe the photoperiod; most suburban vegetables require a minimum of 8 to 10 hours of direct solar radiation to drive the photosynthesis necessary for high-density caloric output.
Phases:

Sowing
Direct sow seeds at a depth exactly three times the diameter of the seed. This ensures the embryo has enough stored energy to reach the light before its cotyledons must begin photosynthesis. Maintain a consistent moisture level to prevent the seed coat from hardening.
Pro-Tip: Utilize mycorrhizal inoculants during sowing. This biological why centers on mycorrhizal symbiosis, where fungal hyphae extend the root system's reach by up to 100 times, significantly increasing phosphorus uptake and drought resistance.
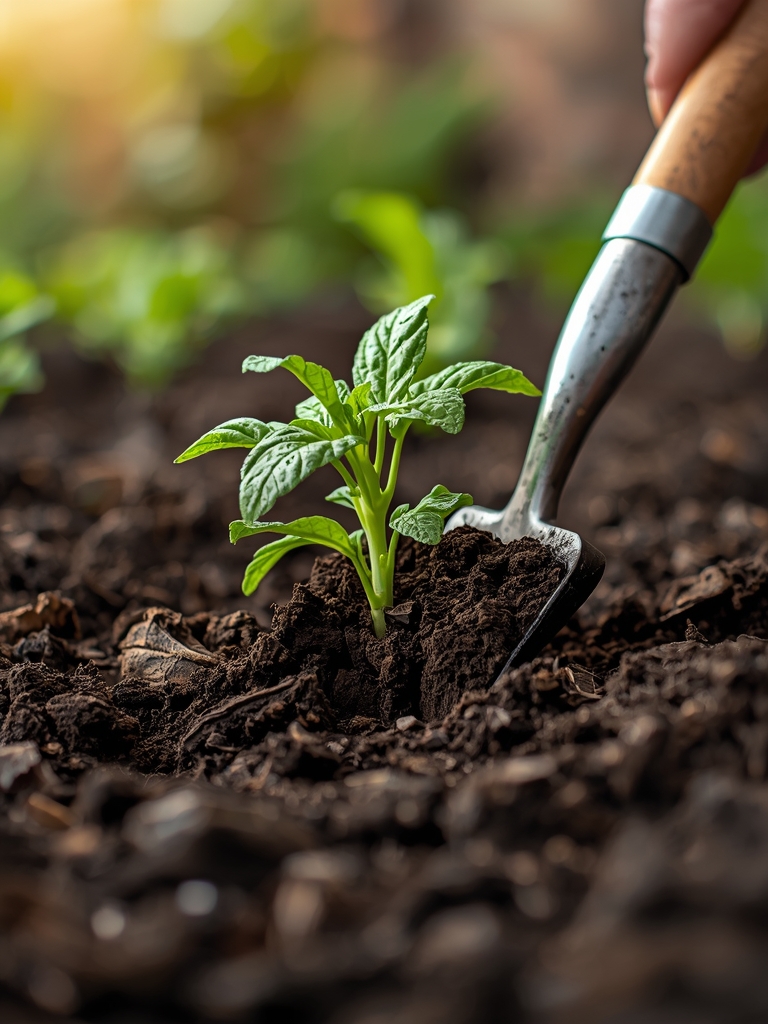
Transplanting
When moving seedlings from flats to the garden, minimize transplant shock by maintaining the root ball's integrity. Dig a hole twice as wide as the root mass and backfill with native soil mixed with a small amount of bone meal to stimulate root elongation.
Pro-Tip: Bury tomato stems up to the first set of true leaves. The biological why involves adventitious roots; the plant will develop additional root structures along the buried stem, increasing its ability to draw water and anchor itself against suburban wind gusts.
Establishing
Once the plants are in the ground, focus on structural development. Use stakes or cages early to prevent soil-borne pathogens from splashing onto the foliage during irrigation or rain events.
Pro-Tip: Remove the lower "sucker" shoots on indeterminate varieties. This practice utilizes auxin suppression; by removing competing growth points, the plant redirects its hormonal energy toward the primary terminal bud and fruit production rather than excessive lateral branching.
The Clinic:
Physiological disorders often mimic disease but are usually rooted in environmental stress or nutrient imbalances.
- Symptom: Blossom End Rot. Dark, leathery sunken spots on the bottom of the fruit.
- Solution: This is a calcium deficiency often caused by inconsistent watering. Ensure the soil remains evenly moist so the plant can transport calcium through the xylem.
- Symptom: Nitrogen Chlorosis. Older leaves turn pale yellow while veins remain slightly green.
- Solution: Apply a high-nitrogen liquid feed (such as 20-0-0) to the base of the plant to restore chlorophyll production.
- Symptom: Leaf Curl. Leaves twist and distort, often appearing thickened.
- Solution: Check for extreme temperature fluctuations or herbicide drift from neighboring lawns. Provide shade cloth if temperatures exceed 90 degrees Fahrenheit.
- Symptom: Purpling Foliage. Lower leaves turn a distinct purple or reddish hue.
- Solution: This indicates phosphorus deficiency, often prevalent in cold soils. Apply a water-soluble phosphorus booster to the root zone.
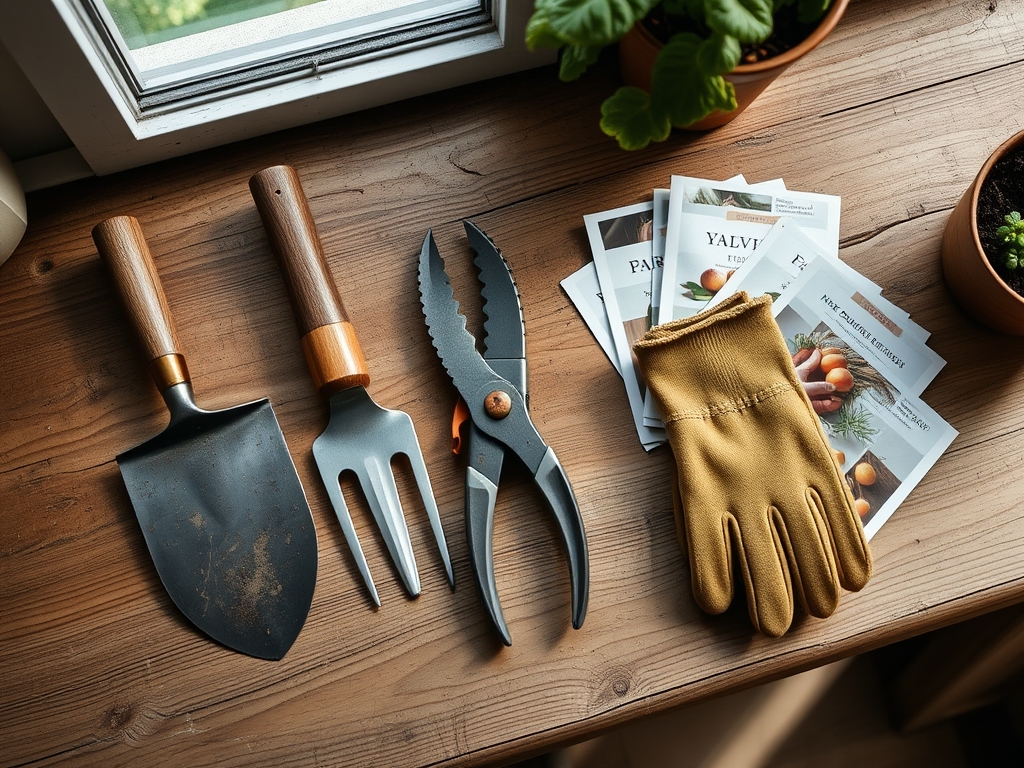
Maintenance:
Precision irrigation is the cornerstone of suburban garden health. Apply exactly 1.5 inches of water per week at the drip line rather than overhead. This prevents leaf moisture that invites fungal spores. Use a soil moisture meter to verify that the water is penetrating at least 6 inches deep.
Keep your bypass pruners sharp and sanitized with a 10 percent bleach solution between plants to prevent cross-contamination. When weeding, use a hori-hori knife to extract the entire taproot of invasive species without disrupting the delicate root systems of your vegetables. Mulch with 2 inches of clean straw or shredded bark to suppress weed germination and regulate soil temperature fluctuations.
The Yield:
Harvesting is a matter of timing and cellular state. Pick vegetables in the early morning when turgor pressure is at its peak; this ensures the crispest texture and longest shelf life. For leafy greens, use sharp shears to avoid tearing the vascular tissue.
Post-harvest handling is critical. Remove field heat immediately by plunging harvested crops into cool water or moving them to a refrigerated environment. This slows the rate of senescence, the biological aging process, preserving the sugars and vitamins within the plant tissues. For fruiting crops like peppers, leave a small portion of the stem attached to prevent moisture loss through the attachment point.
FAQ:
What is the best soil for a suburban vegetable garden?
A friable loam consisting of 40% sand, 40% silt, and 20% clay is ideal. It should have a pH between 6.2 and 6.8 and at least 5% organic matter to support microbial activity and nutrient retention.
How often should I water my vegetable garden?
Aim for 1.5 inches of water per week. Use a rain gauge to track precipitation. Water deeply and infrequently at the soil level to encourage deep root growth and prevent foliar diseases caused by overhead irrigation.
When is the best time to plant vegetables?
Planting depends on your USDA Hardiness Zone. Most warm-season crops require soil temperatures of at least 60 degrees Fahrenheit. Check your local last-frost date and wait until the threat of freezing temperatures has passed completely.
Why are my vegetable leaves turning yellow?
Yellowing, or chlorosis, usually indicates a nitrogen deficiency or overwatering. Check soil moisture first. If the soil is not waterlogged, apply a balanced fertilizer to restore the nitrogen levels necessary for chlorophyll production.