8 Foliage-Care Steps to Prepare a DIY Plant Mister
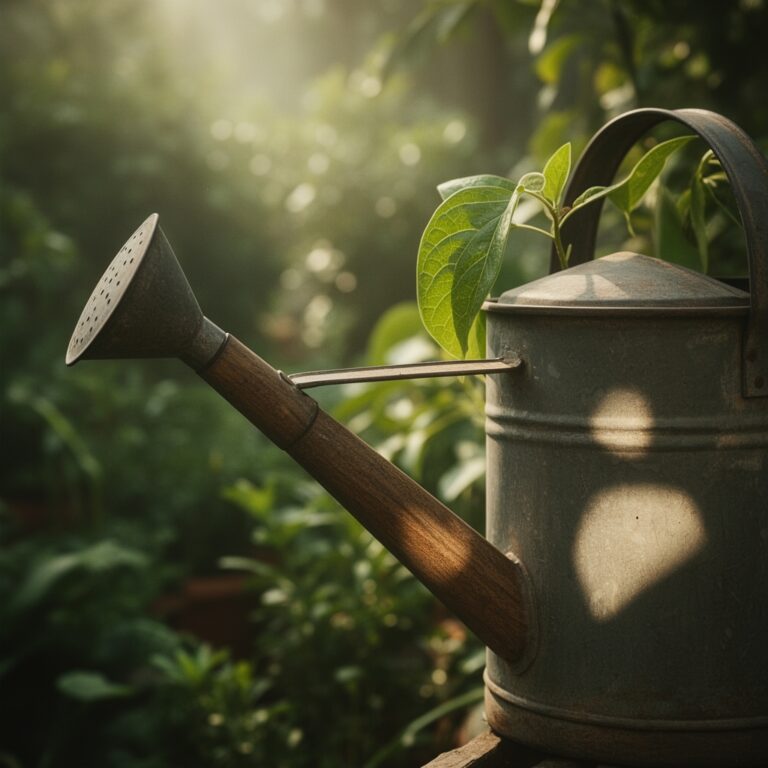
The scent of damp earth and the firm turgor pressure of a healthy leaf signify a plant in peak metabolic condition. Maintaining this state requires precise humidity management, particularly for tropical understory species that lack the waxy cuticles of xeric plants. Learning how to prepare a DIY plant mister allows a grower to regulate the microclimate of the phyllosphere without over-saturating the growing medium. This technique prevents leaf scorch and encourages stomatal opening for efficient gas exchange. Effective foliar hydration requires more than a simple spray bottle; it demands an understanding of water chemistry and the physiological needs of the plant. By mastering this tool, you ensure that the transpiration rate remains balanced against the moisture available in the root zone.
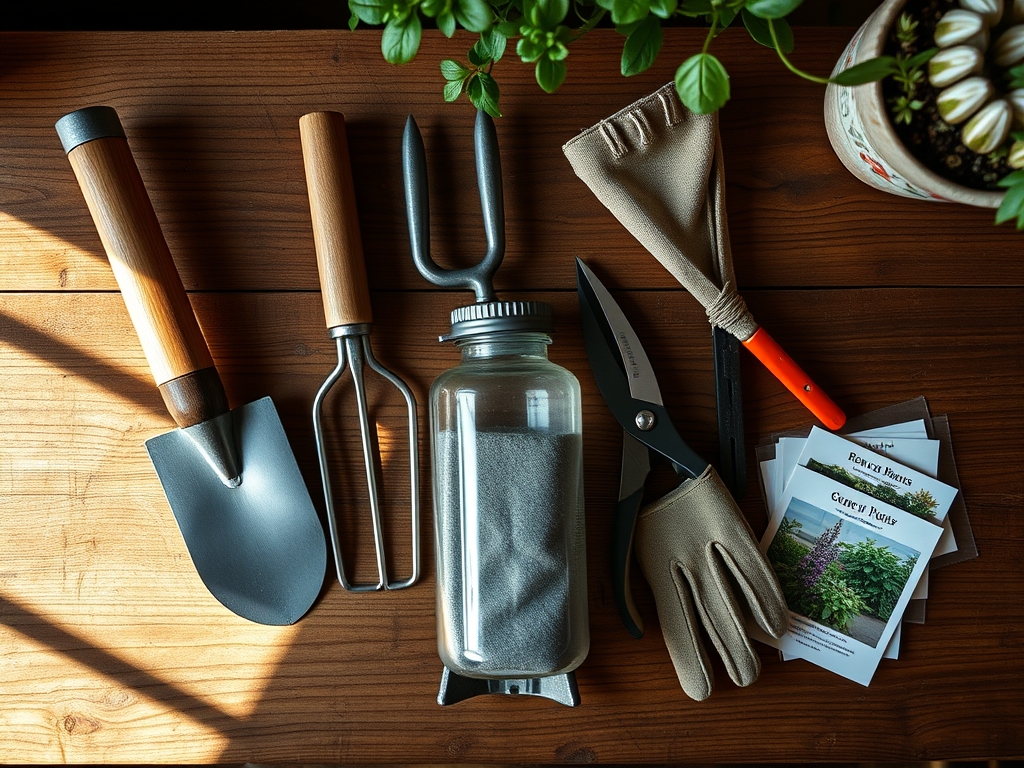
Materials:
To support the foliage you intend to mist, the substrate must maintain a specific chemical profile. For most tropical foliage, aim for a **soil pH between 5.8 and 6.5**. This range ensures optimal nutrient bioavailability within the **Cation Exchange Capacity (CEC)** of the medium. The ideal substrate is a **friable loam**, composed of 40 percent sand, 40 percent silt, and 20 percent clay. This texture allows for rapid drainage while retaining enough moisture to prevent the plant from drawing too heavily on its internal reserves between misting sessions.
When selecting fertilizers to complement your foliar care, look for an NPK ratio of 3-1-2. This high-nitrogen formula supports the vegetative growth of the leaves you are hydrating. Avoid heavy salts that can accumulate on the leaf surface. The mister itself should be constructed from a high-density polyethylene (HDPE) or glass container to prevent chemical leaching into the water supply. Use distilled or deionized water to prevent mineral buildup on the stomata.
Timing:
Hardiness Zones 9 through 11 provide the natural humidity required for many broadleaf evergreens, but indoor environments in Zones 4 through 8 often drop below 20 percent relative humidity during winter months. You must synchronize your misting schedule with the biological clock of the plant. Misting should occur in the early morning, specifically between 6:00 AM and 8:00 AM, before the sun reaches its zenith. This allows the moisture to evaporate from the leaf surface before nightfall, reducing the risk of fungal pathogens.
The transition from the vegetative stage to the reproductive stage marks a shift in moisture needs. During the vegetative phase, high humidity supports cell expansion. Once a plant enters the reproductive stage, reduce misting frequency to avoid trapping moisture in developing flower buds or fruit clusters, which can lead to botrytis. Monitor the photoperiod; as daylight hours decrease, the plant's metabolic rate slows, and the frequency of misting must be reduced by 50 percent to prevent physiological stress.
Phases:

Sowing and Early Hydration
During the germination phase, seeds require a constant moisture film to break dormancy. Use your DIY mister to keep the top 0.25 inches of the seed-starting mix damp without dislodging the seeds. Maintain a consistent temperature of 70 to 75 degrees Fahrenheit to optimize the metabolic enzymes responsible for growth.
Pro-Tip: Maintaining high surface humidity during germination prevents the seed coat from hardening. This supports the biological why of emergence; if the coat is too dry, the cotyledons cannot exert enough force to break through, leading to a failed germination event.
Transplanting and Recovery
When moving a plant to a new container, the root system experiences temporary dysfunction. Foliar misting during this window provides essential hydration while the roots re-establish contact with the rhizosphere. Mist the underside of the leaves where the majority of the stomata are located.
Pro-Tip: Misting during transplanting reduces the rate of transpiration. This supports the biological why of auxin regulation; by keeping the plant hydrated through its leaves, you prevent the surge of abscisic acid that triggers leaf drop and transplant shock.
Establishing the Microclimate
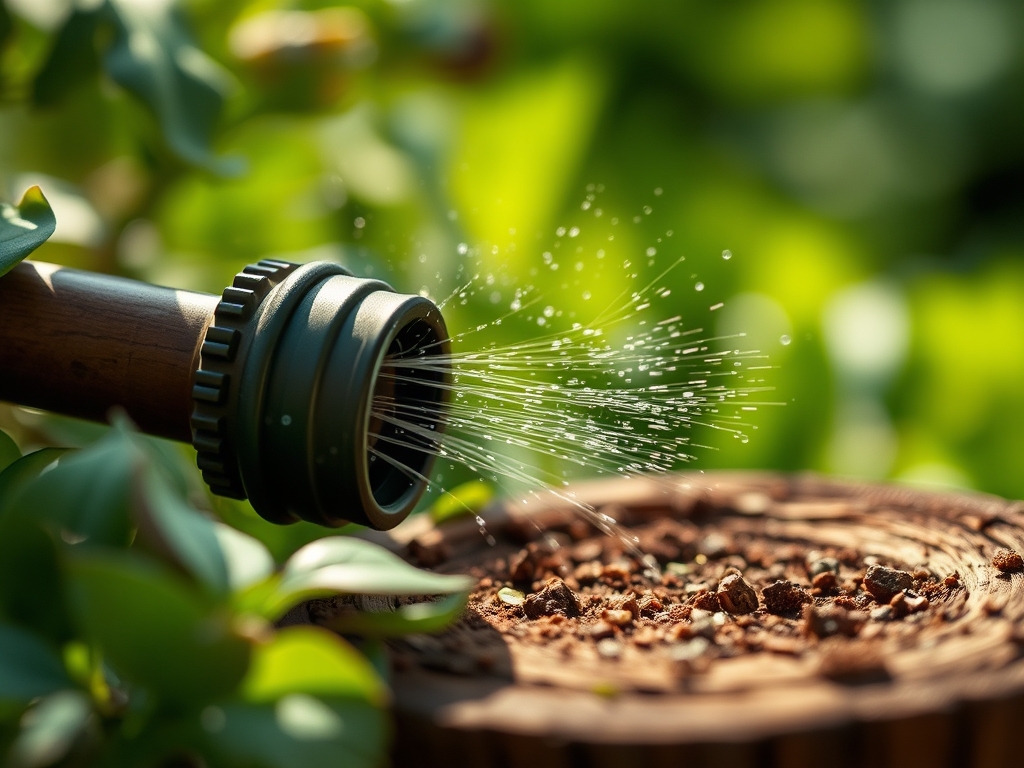
Once the plant is established in its permanent location, the mister serves as a tool for environmental consistency. Apply a fine spray until the water begins to bead but does not run off. Ensure the water temperature is within 5 degrees of the ambient air temperature to avoid thermal shock to the plant tissues.
Pro-Tip: Regular misting encourages the development of larger leaf surface areas. This supports the biological why of phototropism; increased surface area allows the plant to capture more photons in low-light environments, maximizing photosynthetic efficiency.
The Clinic:
Physiological disorders often manifest on the foliage before the rest of the plant shows distress. Use the following diagnostic guide to adjust your care routine.
- Symptom: Brown, brittle leaf tips (Necrosis).
- Solution: Increase misting frequency and check for high salt levels in the soil. Flush the medium with distilled water.
- Symptom: Yellowing of lower leaves while veins remain green (Interveinal Chlorosis).
- Solution: This indicates a Magnesium deficiency. Add 1 teaspoon of Epsom salts per gallon of water to your mister for a quick foliar feed.
- Symptom: Soft, translucent patches on leaves (Edema).
- Solution: Over-hydration. Reduce misting and improve air circulation to allow the plant to transpire more effectively.
Fix-It for Nitrogen Chlorosis: If the entire leaf turns a pale lime green, the plant lacks Nitrogen. Apply a foliar spray with a diluted 10-0-0 liquid fertilizer at 25 percent strength directly to the leaves for rapid absorption through the epidermis.
Maintenance:
Precision is the hallmark of a professional horticulturist. Use a soil moisture meter to verify that the internal substrate remains at a "Level 4" on a 10-point scale before adding more water. For outdoor plants in containers, provide 1.5 inches of water per week delivered at the drip line to ensure the root tips receive adequate hydration.
Regularly inspect the foliage for mechanical damage. Use bypass pruners to remove any yellowing or dead tissue, making cuts at a 45-degree angle just above a node to encourage new growth. If the soil becomes compacted, use a hori-hori knife to gently aerate the top two inches of the substrate, being careful not to sever primary lateral roots. Clean the nozzle of your DIY mister once a month with a weak vinegar solution to prevent calcium deposits from clogging the spray pattern.
The Yield:
If you are growing foliage for ornamental harvest or culinary herbs, timing is critical. Harvest in the early morning when turgor pressure is at its highest. Use sharp shears to make clean cuts, preventing the crushing of vascular bundles (xylem and phloem).
To maintain "day-one" freshness, immediately submerge the cut ends in cool water and mist the foliage lightly. Store the cuttings in a high-humidity environment at 40 to 45 degrees Fahrenheit. This slows the process of senescence, the biological aging of the plant tissue, by reducing the respiration rate. Proper post-harvest misting can extend the shelf life of leafy greens and decorative branches by up to 40 percent.
FAQ:
How do I prevent mold when misting plants?
Ensure adequate air circulation by using a small fan. Never mist in the evening; leaves must be dry before temperatures drop at night. Maintain a distance of 12 inches between the mister and the foliage to ensure a fine vapor.
Can I use tap water in my DIY mister?
Tap water often contains chlorine and fluoride which can cause leaf tip burn. Use filtered or distilled water. If using tap water, let it sit in an open container for 24 hours to allow chlorine to dissipate.
How often should I mist my tropical plants?
Most tropicals require misting 2 to 3 times per week. During periods of high heat or when indoor heating is active, increase this to daily applications. Monitor the leaf tips for signs of desiccation to adjust frequency.
Is misting a substitute for regular watering?
No. Misting only affects the humidity of the phyllosphere and cannot provide the volume of water required by the root system. Always maintain a consistent watering schedule based on the moisture levels of the rhizosphere as measured by a probe.