6 Aeration Steps for Repotting a Parlor Palm
Crushed volcanic rock and the metallic scent of damp peat moss signal a successful transition for Chamaedorea elegans. When you handle a healthy specimen, the turgor pressure in the fronds should feel rigid; any limpness indicates a failure in the vascular system. Mastering the steps for repotting a parlor palm requires more than moving a plant from one vessel to another. It demands an understanding of the rhizosphere and the delicate balance of gas exchange within the growing medium. This palm is a slow-growing understory species that resents frequent root disturbance, yet it eventually exhausts its substrate. Once the roots begin to circle the interior of the pot, they compress the soil and eliminate the macropores necessary for oxygen to reach the root hairs. This compaction leads to anaerobic conditions and eventual root decay. By following a systematic approach rooted in soil science, you ensure the specimen maintains its structural integrity and photosynthetic efficiency. Proper aeration during this process is the difference between a thriving palm and one that enters a state of permanent senescence.
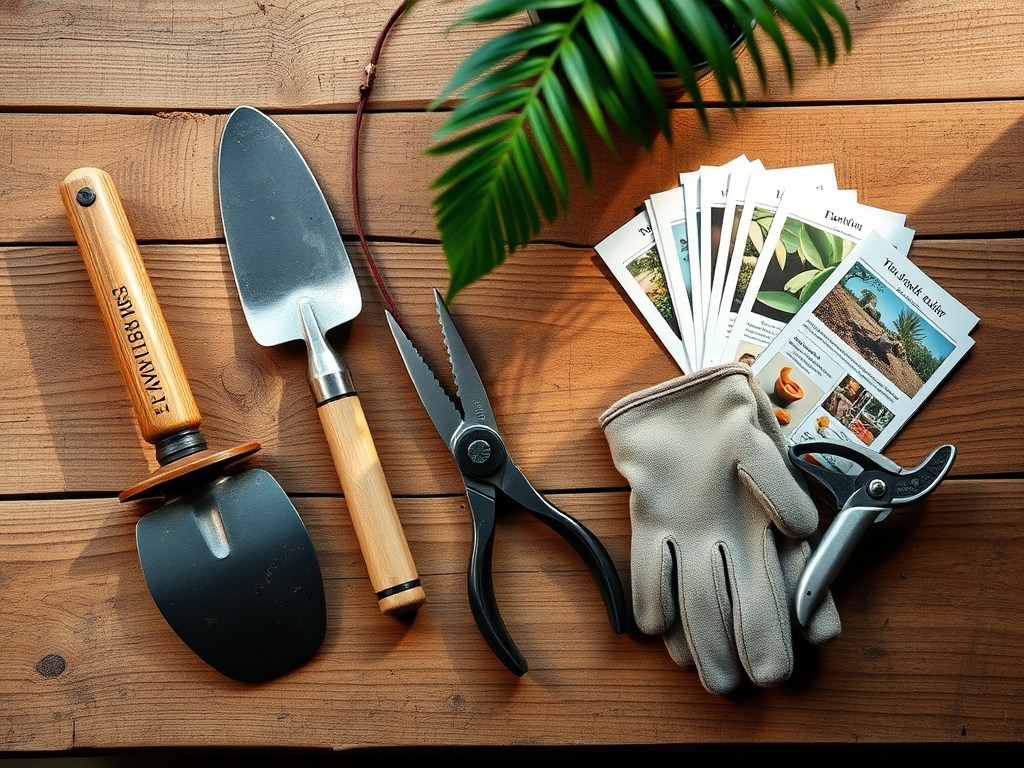
Materials:
The substrate is the most critical component of the repotting process. You must select a medium with a pH between 5.0 and 7.0 to ensure optimal nutrient availability. Parlor palms require a friable loam texture that resists compaction.
- Substrate Composition: A mix of 2 parts peat moss or coconut coir, 1 part pine bark fines, and 1 part coarse perlite. This creates the necessary Cation Exchange Capacity (CEC) to hold nutrients while maintaining drainage.
- Nutrient Profile: Incorporate a slow-release fertilizer with an NPK ratio of 3-1-2 or 12-4-8. High nitrogen levels support the vegetative growth of the fronds, while the lower phosphorus prevents salt buildup.
- The Vessel: Choose a pot only 1 to 2 inches wider than the current root ball. Use containers made of breathable materials like unglazed terra cotta or high-density plastic with at least four drainage holes.
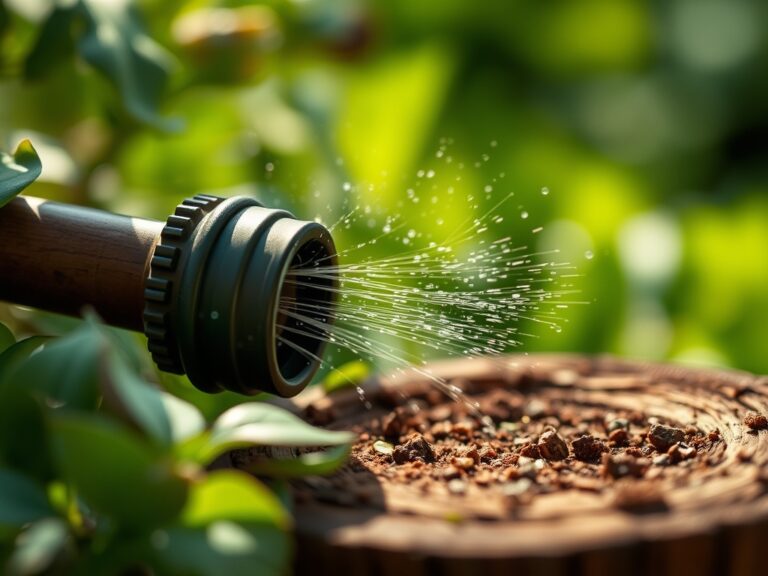
- Water Quality: Use distilled or rainwater for the initial saturation. Parlor palms are sensitive to fluoride and chlorine, which cause necrotic leaf tips.
Timing:
Parlor palms are typically grown indoors, but their biological clock remains tethered to external seasonal shifts. In Hardiness Zones 10 through 12, these palms can remain outdoors year-round, but for most growers, repotting must occur during the period of active growth. The ideal window is late spring or early summer, after the last frost date when ambient temperatures consistently stay above 60 degrees Fahrenheit.
The biological clock of the parlor palm is governed by the photoperiod. As day length increases, the plant moves from a semi-dormant winter state into a period of high metabolic activity. Repotting during this phase allows the roots to colonize the new substrate rapidly. Avoid repotting in late autumn or winter; during these months, the plant's metabolic rate drops, and disturbed roots are highly susceptible to fungal pathogens like Phytophthora due to slower water uptake.
Phases:
Sowing and Preparation
Before the palm leaves its current container, hydrate it thoroughly 24 hours in advance. This increases the turgor pressure within the cells, making the roots more flexible and less prone to snapping. Lay out your tools, including a hori-hori knife for loosening the root ball and a clean workspace.
Pro-Tip: Maintaining high cell turgor prevents transplant shock. When cells are fully hydrated, the plant can better regulate its stomata, reducing water loss through transpiration during the move.
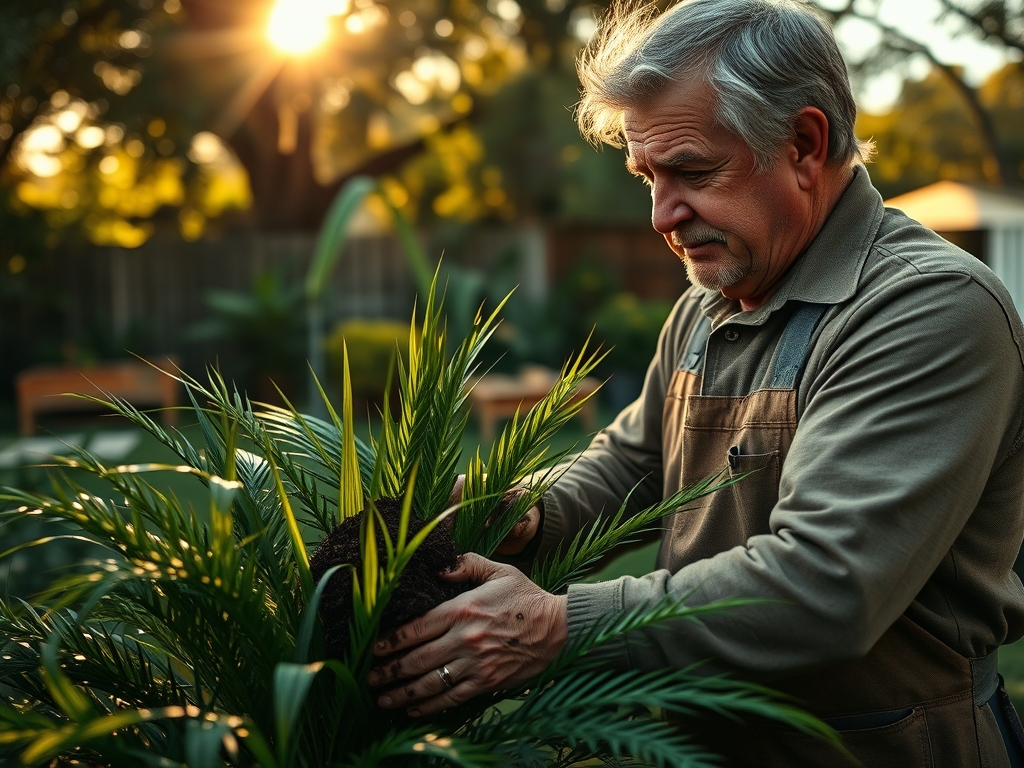
Transplanting and Aeration
Carefully slide the palm from its pot. If the roots are tightly bound, use the hori-hori knife to make three to four vertical shallow cuts around the exterior of the root mass. This breaks the "circling" habit and encourages outward growth. Place an inch of the new substrate at the bottom of the new pot. Position the palm so the top of the root ball sits 0.5 inches below the rim.
Pro-Tip: Breaking the root circling triggers a hormonal response involving auxin suppression. When the root tips are disturbed or pruned, the plant redirects auxins to stimulate the growth of new, lateral root hairs, which increases the surface area for nutrient absorption.
Establishing the Rhizosphere
Fill the gaps around the root ball with the prepared soil mix. Do not pack the soil down with your hands; this destroys the macropores. Instead, tap the pot firmly on a hard surface to settle the medium. Water the plant until liquid flows freely from the drainage holes to eliminate large air pockets while preserving the microscopic ones.
Pro-Tip: Proper settling of the soil facilitates mycorrhizal symbiosis. If the soil is too loose, the fungal hyphae cannot bridge the gap between the substrate and the root cortex. If it is too tight, oxygen deprivation kills the beneficial fungi.
The Clinic:
Monitoring the palm post-repotting is essential for identifying physiological disorders.
- Symptom: Yellowing of lower fronds (Nitrogen Chlorosis).
- Solution: Apply a liquid fertilizer with a high Nitrogen (N) ratio at half strength. Check that the soil pH has not drifted above 7.0, which locks out nitrogen.
- Symptom: Brown, crispy leaf tips.
- Solution: This indicates salt accumulation or fluoride toxicity. Flush the substrate with three volumes of distilled water for every one volume of soil.
- Symptom: Soft, blackened stems at the soil line (Root Rot).
- Solution: This is an aeration failure. Remove the plant, prune the necrotic roots, and repot in a mix with 50% perlite to increase gas exchange.
- Symptom: Pale, washed-out foliage.
- Solution: Likely Magnesium deficiency. Add 1 teaspoon of Epsom salts per gallon of water during the next irrigation cycle to restore chlorophyll production.
Maintenance:
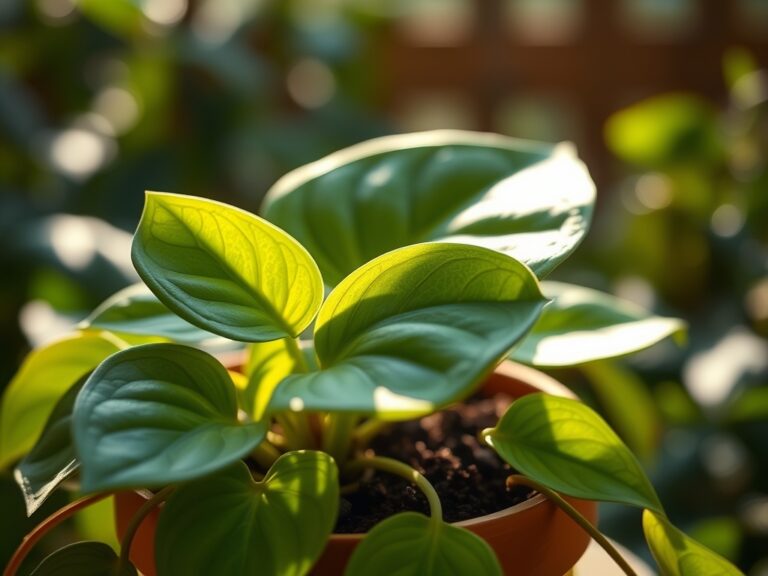
Post-repotting care requires precision. For the first month, keep the palm in a location with filtered, indirect light. Direct UV exposure will scorch the fronds before the roots can establish a sufficient water transport system.
Use a soil moisture meter to monitor the internal environment. Do not water until the meter reads "3" or the top 2 inches of soil feel dry to the touch. In a standard indoor environment, this typically equates to 1.5 inches of water per week delivered at the base of the plant. Use bypass pruners to remove any fronds that show more than 50% senescence; this allows the plant to redirect energy to new apical growth. Maintain an ambient humidity level of 40% to 60% to prevent the stomata from closing prematurely.
The Yield:
While the parlor palm is not an edible crop, its "yield" is measured in biomass and air filtration efficiency. A well-repotting palm will produce 2 to 3 new fronds per growing season. To maintain the aesthetic and functional quality of the leaves, wipe them monthly with a damp, lint-free cloth. This removes dust that clogs the stomata and inhibits the exchange of carbon dioxide and oxygen. If you are using the palm for floral arrangements, cut the fronds at the base using sterilized shears. Plunge the cut ends into 40 degree Fahrenheit water immediately to maintain turgor for up to two weeks.
FAQ:
How do I know if my parlor palm needs repotting?
Look for roots emerging from drainage holes or water sitting on the soil surface for more than ten seconds. If the plant stops producing new growth during spring, the roots are likely pot-bound and require a larger vessel.
What is the best soil for a parlor palm?
Use a well-draining, peat-based mix with a pH of 5.0 to 7.0. A ratio of two parts peat, one part perlite, and one part bark ensures the aeration and Cation Exchange Capacity necessary for healthy root development.
Can I use tap water after repotting?
Avoid tap water if it contains high levels of fluoride or chlorine. These chemicals accumulate in the leaf tips, causing necrosis. Use distilled, filtered, or rainwater to ensure the palm's vascular system remains clear of mineral salts.
How deep should I plant the palm?
Maintain the same soil level as the previous pot. Planting the palm too deep leads to stem rot at the base, while planting it too shallow exposes the delicate root crown to desiccation and physical damage.