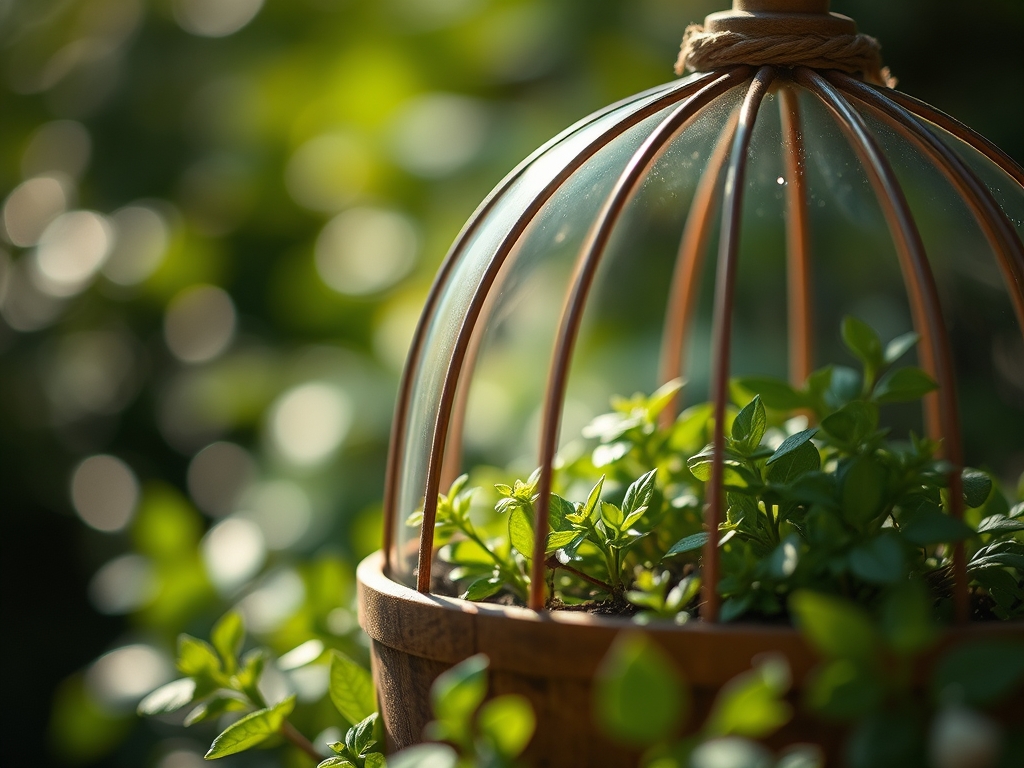
9 Humidity Steps to Prepare a DIY Plant Cloche
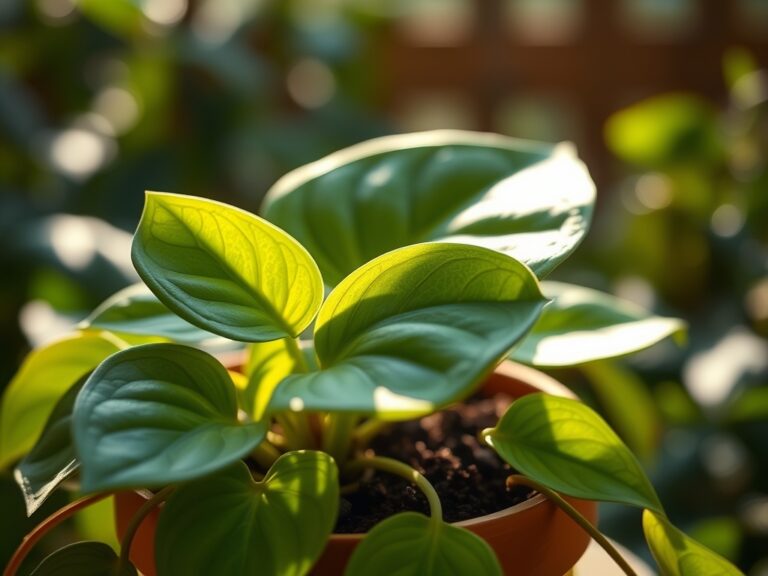
The smell of damp peat and the distinct metallic scent of wet perlite signal a controlled environment ready for propagation. In a successful nursery, a leaf maintains high turgor pressure; it is rigid to the touch and stands perpendicular to the stem. When you learn how to prepare a DIY plant cloche, you are essentially engineering a localized microclimate that arrests transpiration and stabilizes ambient temperatures. This physical barrier prevents the rapid loss of water vapor from the stomata, which is critical during the vulnerable phase of root initiation or early seedling development. Maintaining a relative humidity of 85 to 95 percent within the cloche allows the plant to focus metabolic energy on cellular division rather than hydraulic maintenance. Without this intervention, a young transplant in a low-humidity environment will experience vascular collapse within hours. Effective cloche preparation requires an understanding of thermal mass and gas exchange. You are not just covering a plant; you are managing a pressurized biological chamber where the dew point and the ambient temperature must remain in a narrow equilibrium to prevent fungal pathogens while promoting rapid vegetative growth.
Materials:

Substrate selection is the foundation of the internal cloche environment. Use a **friable loam** consisting of **40 percent sand, 40 percent silt, and 20 percent clay**. This texture ensures adequate pore space for oxygen diffusion. The soil pH must be calibrated between **6.2 and 6.8** to maximize nutrient availability. For the initial establishment phase, utilize a low-concentration NPK ratio of **5-10-5**. High nitrogen at this stage can lead to succulent growth that is overly susceptible to botrytis in high-humidity conditions. The phosphorus boost encourages robust root architecture. Ensure the substrate has a Cation Exchange Capacity (CEC) of at least **15 to 25 milliequivalents per 100 grams** to retain essential cations like calcium and magnesium. Physical materials for the cloche itself should include **UV-stabilized polyethylene or heavy-gauge glass** with a minimum thickness of **3 millimeters** to provide thermal insulation.
Timing:
Cloche deployment is most effective in Hardiness Zones 3 through 7 during the transition periods of early spring and late autumn. The primary objective is to extend the growing season by 21 to 30 days before the last frost and after the first frost. Monitor the soil temperature; do not install the cloche until the rhizosphere reaches a consistent 55 degrees Fahrenheit. The "Biological Clock" of the plant dictates that the cloche should be used primarily during the vegetative stage. Once the plant transitions to the reproductive stage, marked by the initiation of flower buds, the cloche must be removed or vented. This transition is triggered by the photoperiod; as daylight exceeds 12 to 14 hours, the plant shifts its hormonal balance from auxins to gibberellins. Failure to remove the cloche during this phase can result in heat-induced pollen sterility.
Phases:

Sowing
Direct sow seeds at a depth exactly three times the diameter of the seed. Ensure the soil is pre-moistened to field capacity. Place the cloche over the site immediately to lock in moisture.
Pro-Tip: Maintaining high humidity during germination prevents the seed coat from hardening. This is vital for epigeal germination, where the hypocotyl must physically lift the cotyledons above the soil surface without excessive friction.
Transplanting
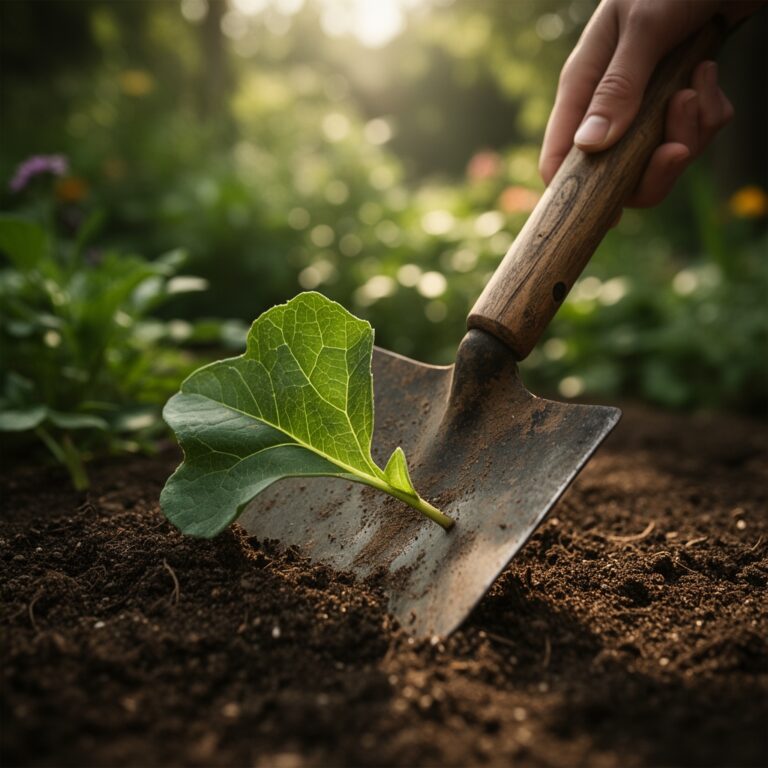
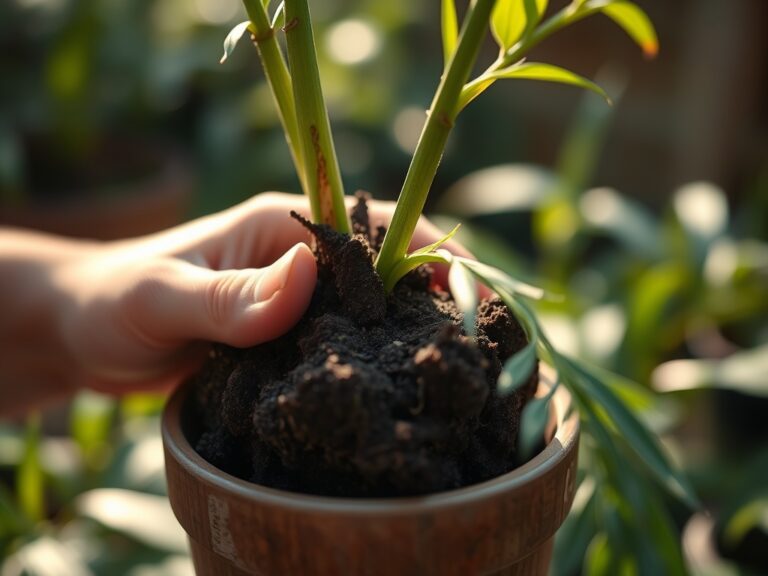
When moving starts from a tray to the ground, use a hori-hori knife to create a hole twice the width of the root ball. Set the plant so the crown is flush with the soil line. Secure the cloche over the transplant to mitigate transplant shock.
Pro-Tip: The cloche suppresses auxin degradation caused by wind stress. By providing a wind-free environment, the plant maintains higher auxin levels at the root tips, which accelerates the establishment of new lateral roots.
Establishing
During the first 14 days, monitor the internal temperature of the cloche. If the ambient temperature exceeds 75 degrees Fahrenheit, prop up one side of the cloche by 2 inches to allow for convective cooling.
Pro-Tip: This phase encourages mycorrhizal symbiosis. The stable temperature and moisture levels under the cloche allow beneficial fungi to colonize the root system faster, increasing the plant's future ability to uptake phosphorus and water.
The Clinic:
Physiological disorders under glass or plastic are often the result of poor gas exchange or nutrient imbalances.
- Symptom: Edema. Small bumps or blisters on the underside of leaves. Solution: Increase ventilation. This is caused by the plant taking up more water than it can transpire.
- Symptom: Nitrogen Chlorosis. Uniform yellowing of older leaves. Fix-It: Apply a water-soluble 10-0-0 fertilizer at half strength to the base of the plant.
- Symptom: Damping Off. Stem collapse at the soil line in seedlings. Solution: Remove the cloche immediately and reduce watering. This is a fungal issue exacerbated by stagnant, humid air.
- Symptom: Interveinal Chlorosis. Yellowing between leaf veins while veins remain green. Fix-It: Check soil pH. If pH is above 7.0, iron and manganese become insoluble. Amend with elemental sulfur to lower pH.
Maintenance:
Precision is required for long-term cloche success. Use a soil moisture meter daily to ensure the substrate remains between 60 and 80 percent of field capacity. If the meter reads below this, deliver 1.5 inches of water per week at the drip line using a targeted irrigation wand. Avoid wetting the foliage to prevent the spread of spores. Use bypass pruners to remove any necrotic tissue immediately; dead organic matter in a high-humidity cloche is a primary vector for pathogens. Every 72 hours, lift the cloche for 30 minutes to allow for a full exchange of CO2 and O2. This prevents the depletion of carbon dioxide, which is essential for the Calvin cycle during photosynthesis.
The Yield:
For edible crops grown under a cloche, harvest timing is determined by the accumulation of Growing Degree Days (GDD). Harvest leafy greens when they reach the desired size but before the onset of senescence, which is marked by the toughening of the vascular bundles. Use a sharp knife to make a clean cut at a 45-degree angle to prevent water from pooling on the remaining stem. For "day-one" freshness, harvest at dawn when the plant has maximum turgidity. Immediately submerge the cut ends in 40-degree Fahrenheit water to remove field heat and slow the metabolic rate. This preservation technique maintains the crispness of the cell walls by preventing the breakdown of pectin.
FAQ:
How do I prevent overheating inside a DIY cloche?
Monitor internal temperatures with a digital probe. If the temperature exceeds 85 degrees Fahrenheit, provide shade or vent the cloche by lifting the base 2 to 4 inches to facilitate airflow and evaporative cooling.
What is the best material for a DIY cloche?
Clear polycarbonate or heavy glass is superior for light transmission and thermal retention. Ensure the material is transparent to allow Photosynthetically Active Radiation (PAR) to reach the leaf surface for efficient glucose production.
Can I use a cloche in the summer?
Summer use is generally discouraged unless used for specialized tropical species. High solar radiation can quickly raise internal temperatures to 110 degrees Fahrenheit, causing rapid protein denaturation and irreversible cellular damage to most temperate plants.
How do I clean my plant cloche?
Sanitize the interior with a 10 percent bleach solution or isopropyl alcohol between uses. This eliminates dormant fungal spores and bacterial pathogens that can survive on surfaces and infect the next rotation of vulnerable seedlings.