8 Green-Frond Benefits of Specialized Fern Fertilizer
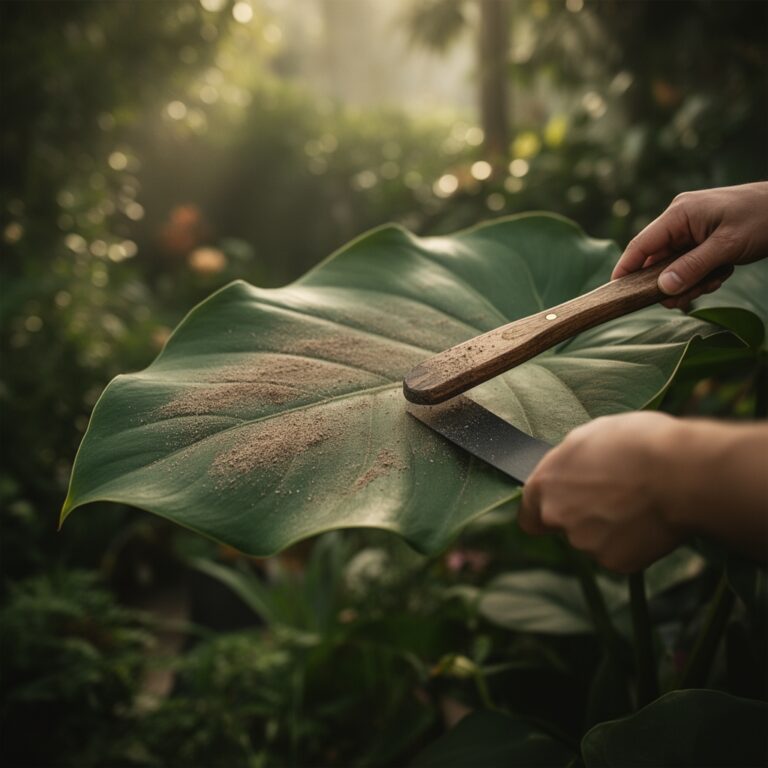
The smell of damp humus and the distinct, metallic scent of wet slate define the ideal fern habitat. When you press a finger into the substrate, it should yield with a spongy resistance; this indicates high organic matter and optimal pore space for gas exchange. Maintaining the turgor pressure of a frond requires a precise balance of hydration and mineral salts. Using a specialized fern fertilizer ensures that the delicate osmotic balance within the stipe is never compromised by heavy salt buildup. Unlike flowering perennials that demand high phosphorus for bloom production, ferns require a nitrogen-heavy, acidic-leaning profile to sustain their complex vascular systems. A healthy fern displays a matte or glossy finish depending on the species, with no necrotic tipping or brittle margins. This physiological state is only achievable when the rhizosphere is managed with surgical precision. Most general-purpose fertilizers contain urea levels that are too aggressive for the sensitive root hairs of the Polypodiopsida class. By targeting the specific metabolic pathways of non-flowering tracheophytes, you stabilize the plant against the stressors of fluctuating humidity and light intensity.
Materials:

The substrate must be a friable loam with a high Cation Exchange Capacity (CEC). This allows the soil to hold onto essential nutrients like ammonium and potassium rather than letting them leach during heavy watering. Aim for a soil pH between **5.5 and 6.5**. Most ferns thrive in a mix of two parts peat moss or coconut coir, one part perlite, and one part composted pine bark.
For the nutritional profile, look for an NPK ratio of 18-6-12 or 10-5-5. The nitrogen should be derived from slow-release sources like sulfur-coated urea or organic fish emulsion to prevent root burn. Trace elements are non-negotiable; ensure the fertilizer includes at least 0.02% Boron, 0.05% Manganese, and 0.1% Iron. These micronutrients facilitate chlorophyll synthesis and cellular respiration in low-light environments.
Timing:
Ferns operate on a strict biological clock governed by the photoperiod and soil temperature. In Hardiness Zones 4 through 8, the primary growth window opens when soil temperatures consistently hit 55 degrees Fahrenheit. This usually occurs two to three weeks after the last spring frost.
The transition from the vegetative stage to the reproductive stage (spore production) requires significant metabolic energy. You must initiate the first application of specialized fertilizer in early spring as the "fiddleheads" or crosiers begin to unfurl. Cease all fertilization by August 15th in northern climates. This allows the plant to enter a state of hardened senescence before the first hard freeze; late-season nitrogen spikes can force tender new growth that will succumb to frost necrosis, potentially inviting fungal pathogens into the crown.
Phases:
Sowing and Spore Propagation
Propagating ferns from spores requires a sterile, mineral-poor medium. Do not use fertilizer at this stage. The prothallus (the gametophyte stage) is extremely sensitive to salinity. Maintain a constant humidity of 90% and a temperature of 70 degrees Fahrenheit.
Pro-Tip: Avoid nutrients during the gametophyte stage because high nitrogen levels can trigger algal blooms that outcompete the developing fern for oxygen and light.
Transplanting
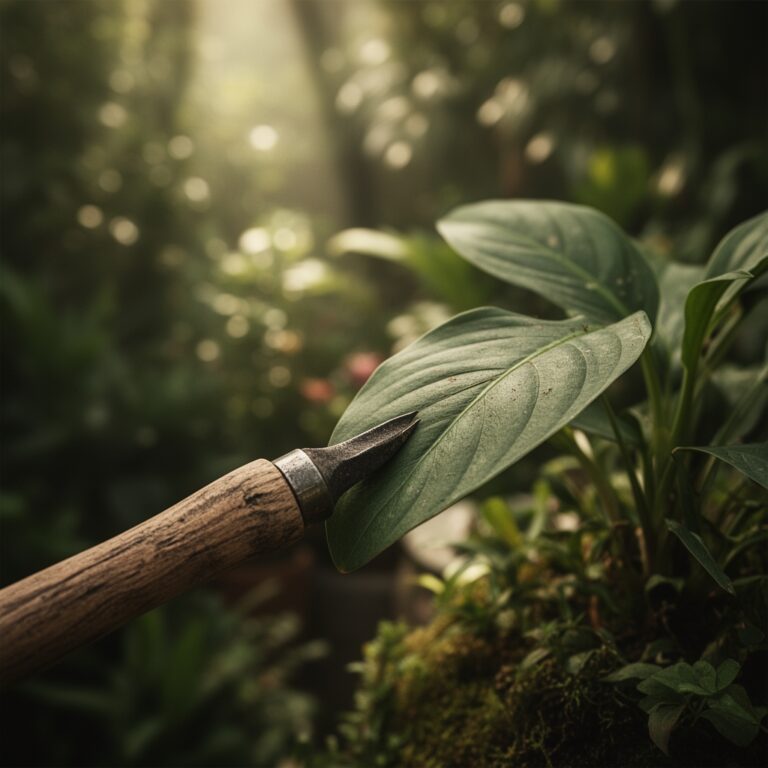
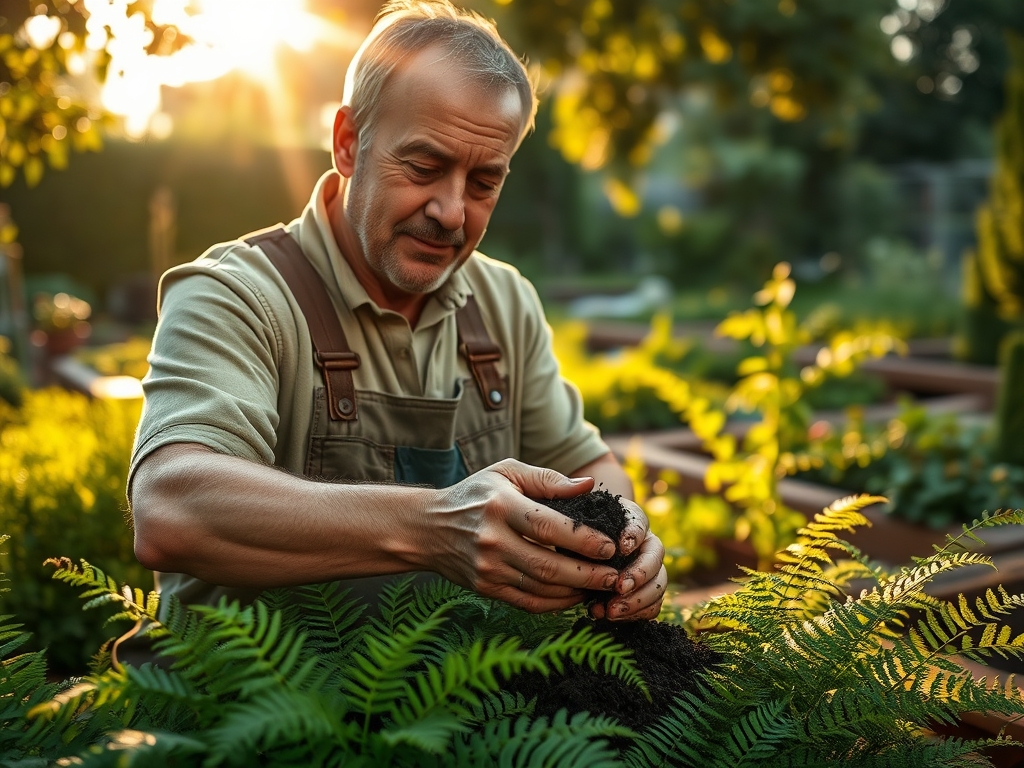
When moving a fern into its permanent location, use a hori-hori knife to slice through any circling roots. Set the crown exactly level with the soil surface. Deep planting leads to crown rot; shallow planting leads to desiccation. Apply a half-strength dose of specialized liquid fertilizer to the surrounding soil to encourage immediate root colonization.
Pro-Tip: Use a mycorrhizal inoculant during transplanting to establish a symbiotic relationship. This fungal network increases the effective root surface area by up to 1,000 times, enhancing phosphorus uptake through biological synergy.
Establishing
During the first full growing season, the fern focuses on rhizome expansion. Apply fertilizer every four to six weeks. Monitor the fronds for signs of over-fertilization, such as downward curling or a dark, bluish-green tint.
Pro-Tip: Maintain consistent soil moisture to prevent "salt shock." If the soil dries out completely, the concentration of fertilizer salts in the remaining water can spike, leading to osmotic dehydration of the root cells.
The Clinic:
Physiological disorders in ferns often mimic pest damage, but they are usually rooted in chemistry.
-
Symptom: Interveinal chlorosis (yellowing between green veins) on new growth.
Solution: This indicates an Iron or Magnesium deficiency. Check the soil pH. If the pH is above 7.0, the plant cannot uptake these minerals. Lower the pH using elemental sulfur or chelated iron drench.
Fix-It: Apply a foliar spray of 0.1% Magnesium Sulfate (Epsom salts) for immediate relief. -
Symptom: Brown, crispy frond margins despite high humidity.
Solution: This is often "Fertilizer Burn" caused by excess sodium or potassium salts.
Fix-It: Flush the pot or garden bed with three times the container volume of distilled water to leach the accumulated salts from the rhizosphere. -
Symptom: Stunted growth and pale green overall color.
Solution: Nitrogen deficiency.
Fix-It: Increase the frequency of your specialized fern fertilizer applications, ensuring the NPK has at least a 2:1 ratio of Nitrogen to Phosphorus.
Maintenance:
Precision hydration is the backbone of fern health. Provide 1.5 inches of water per week at the drip line. Do not water the crown directly, as trapped moisture encourages Botrytis or crown rot. Use a soil moisture meter to ensure the root zone stays at a "moist but not saturated" level, typically a reading of 6 or 7 on a standard 10-point scale.
Use bypass pruners to remove dead fronds at the base. This improves airflow and reduces the habitat for slugs or snails. If the fern becomes center-dead or overcrowded, use a sharp spade to divide the rhizome in early spring. Each division must have at least three healthy fronds and a robust root mass to survive the transition.
The Yield:
While most ferns are ornamental, some species like the Ostrich Fern (Matteuccia struthiopteris) produce edible fiddleheads. Harvest these when they are no more than 2 to 6 inches tall and still tightly coiled. Never harvest more than one-third of the fiddleheads from a single crown to ensure the plant has enough photosynthetic capacity to recharge its rhizome for the following year.
To maintain "day-one" freshness, plunge the harvested fiddleheads into an ice-water bath immediately. This halts the metabolic process of lignification (the hardening of cell walls), keeping the tissue tender. Store them in a sealed container at 34 degrees Fahrenheit for up to five days.
FAQ:
Can I use standard 10-10-10 fertilizer on my ferns?
No. Standard 10-10-10 often contains high concentrations of urea and salts that can dehydrate sensitive fern roots. Using a specialized fern fertilizer provides the correct nitrogen-to-phosphorus ratio and slow-release minerals necessary for delicate frond development.
How do I know if my soil pH is too high?
If your fern shows yellowing leaves with green veins (interveinal chlorosis), your pH likely exceeds 7.0. Ferns require an acidic environment to mobilize iron. Use a digital pH probe to confirm the levels in the root zone.
What is the best way to apply liquid fertilizer?
Always apply liquid fertilizer to pre-moistened soil. Applying nutrients to bone-dry soil causes the roots to absorb the salts too rapidly, leading to cellular collapse and marginal leaf burn. Dilute to half-strength for indoor or container-grown specimens.
Why are the tips of my ferns turning brown?
This is typically caused by low humidity or salt accumulation from tap water. Ensure humidity stays above 50% and flush the soil with rainwater or distilled water once a month to remove excess minerals left behind by fertilizers.