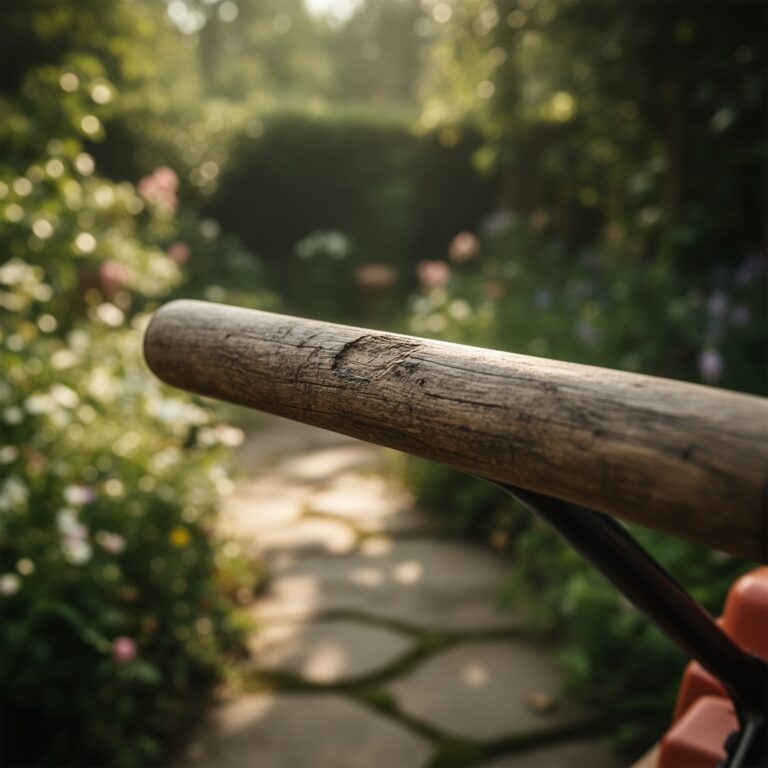
8 Steps to Prepare for Artistic Trellis Installation
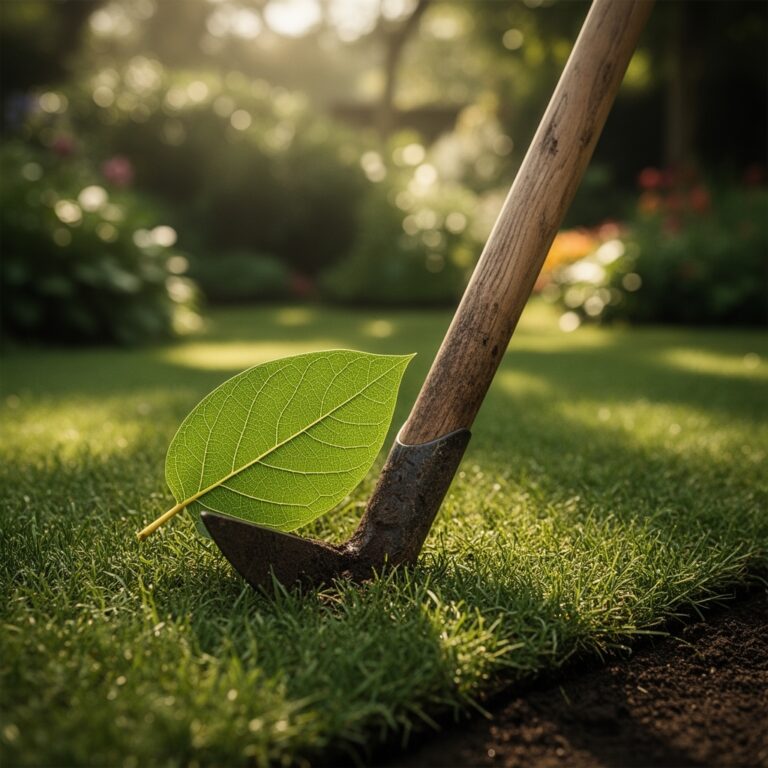
The smell of damp earth and the firm turgor of a healthy leaf indicate a garden ready for vertical expansion. When learning how to prepare a garden for a trellis, the primary objective is to stabilize the rhizosphere before the plant undergoes significant vertical growth. Success requires more than a hammer and nails; it demands a precise calibration of soil density, nutrient availability, and structural integrity to support the massive biomass of climbing species.
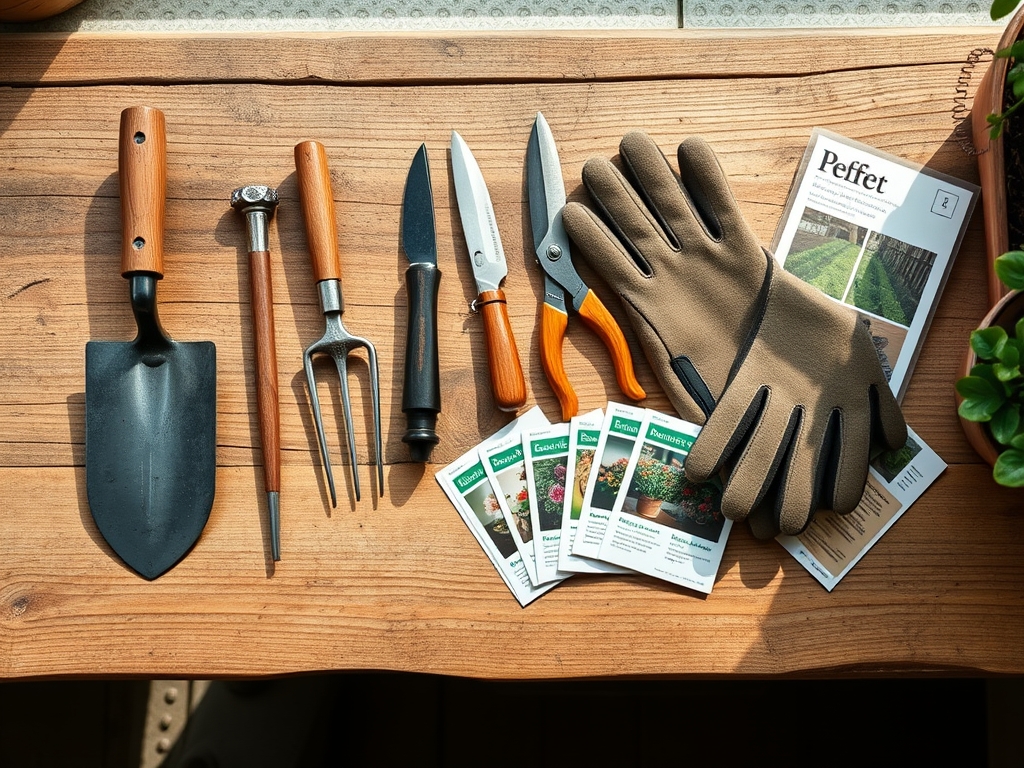
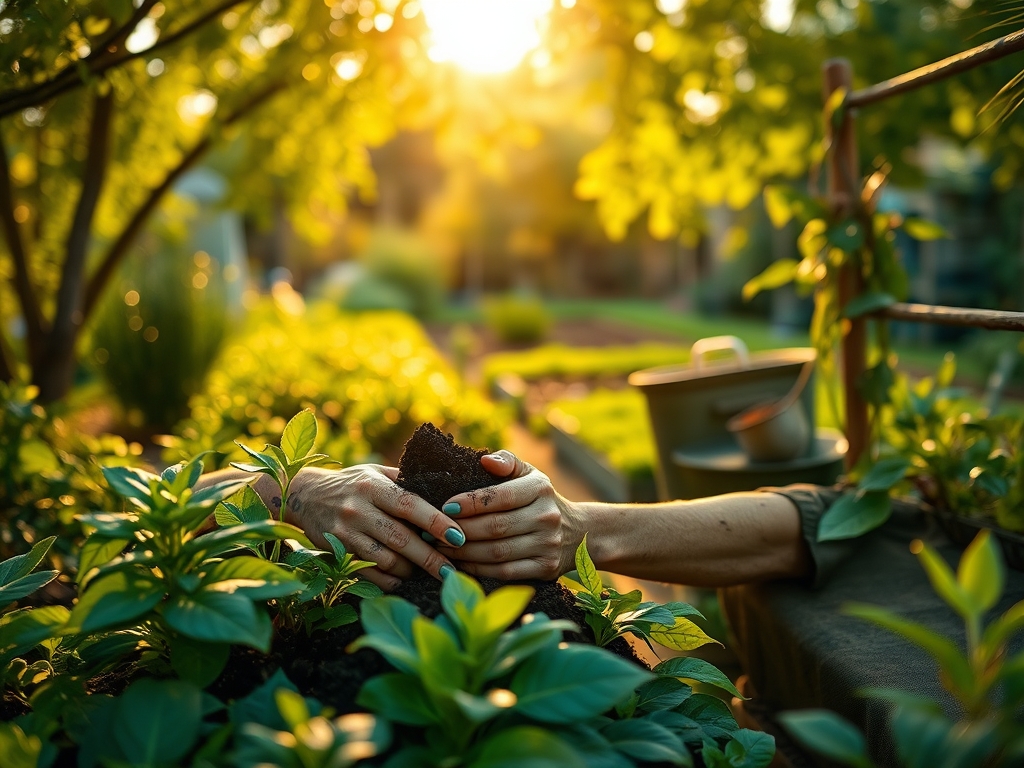
Materials:
A trellis installation fails if the substrate cannot anchor the hardware or sustain the plant. The ideal substrate is a **friable loam** with a Cation Exchange Capacity (CEC) above 15. This ensures the soil can hold and exchange essential cations like potassium and magnesium. Aim for a **soil pH between 6.2 and 6.8** to maximize nutrient bioavailability.
For heavy feeders like Clematis or indeterminate tomatoes, incorporate a pre-planting fertilizer with an NPK ratio of 5-10-10. The higher phosphorus content promotes robust root development, which is critical for plants that will eventually exert high leverage on the trellis. You will also need galvanized steel anchors or pressure-treated timber posts, a soil moisture meter, and heavy-gauge copper wire for guiding initial tendrils.
Timing:
The biological clock of your garden dictates the installation window. In USDA Hardiness Zones 5 through 7, the ideal time to prepare the site is four weeks before the last frost date. This allows the soil to settle after the initial disturbance.
Installation must occur during the vegetative stage, before the plant transitions to the reproductive stage. Once a plant shifts its energy toward flowering, its ability to recover from root disturbance significantly decreases. Monitor the photoperiod; as days lengthen, the increase in auxin production triggers rapid elongation. You must have the structure in place before the first set of true leaves appears to avoid damaging the delicate apical meristem during later handling.
Phases:
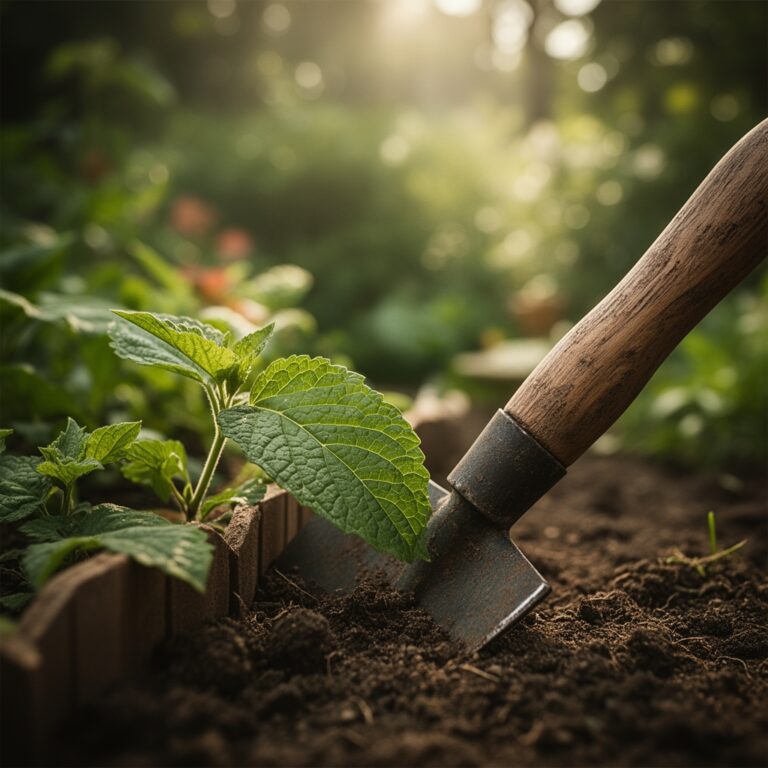
Sowing and Site Preparation
Clear a radius of 24 inches around the intended trellis base. Remove all competitive biomass. Excavate a hole 18 inches deep for the main supports to ensure the structure survives wind loads. Backfill with a mixture of native soil and aged compost to improve the soil structure.
Pro-Tip: Incorporate mycorrhizal fungi inoculants into the sowing hole. This establishes a symbiotic relationship where the fungi extend the root system's reach, increasing water uptake by up to 30 percent.
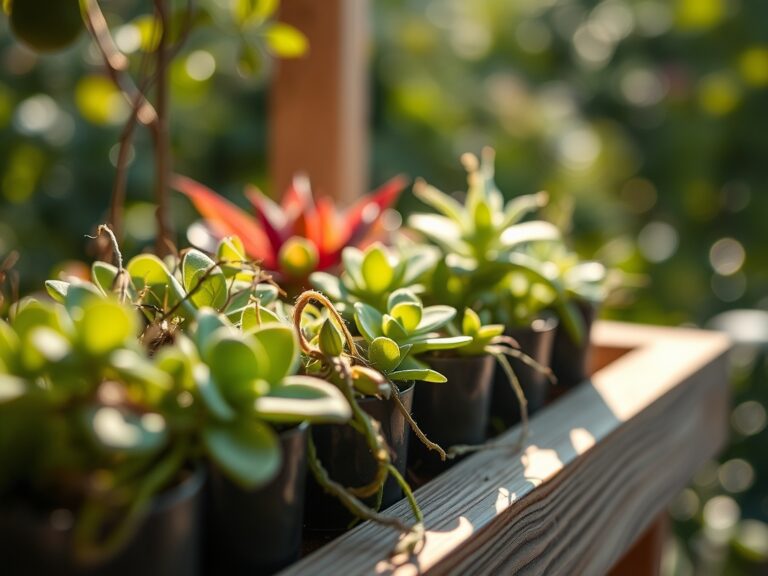
Transplanting
When moving seedlings to the trellis base, ensure the root ball is saturated to maintain high turgor pressure. Dig a hole twice the width of the root ball. Position the plant 6 inches from the trellis to allow for secondary thickening of the stem as the plant matures.
Pro-Tip: Angle the root ball slightly toward the trellis. This utilizes thigmotropism, the biological response where plants alter their growth direction in response to physical contact, encouraging the plant to find the support faster.
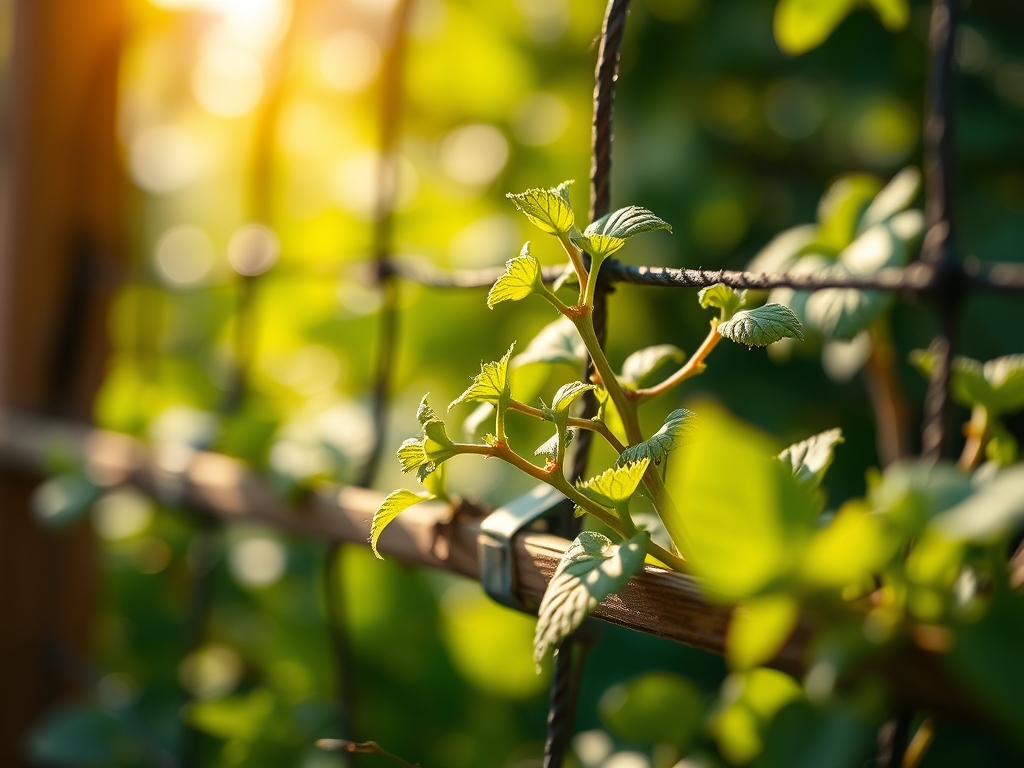
Establishing and Training
Use soft horticultural tape to loosely secure the main lead to the trellis. Do not use wire directly against young tissue, as it can cause girdling. Monitor the plant daily for the first 14 days to ensure it is successfully navigating the vertical plane.
Pro-Tip: Prune the lower lateral buds to suppress apical dominance. This redirects auxins to the main leader, forcing the plant to prioritize vertical height over bushy lateral growth during the early season.
The Clinic:
Physiological disorders often manifest when vertical plants are stressed by poor installation or environmental shifts.
Symptom: Interveinal chlorosis (yellowing between leaf veins).
Solution: This indicates a Magnesium deficiency or high pH blocking uptake.
Fix-It: Apply a foliar spray of Epsom salts (1 tablespoon per gallon of water) to bypass soil lockout and restore chlorophyll production.
Symptom: Leaf curl and stunted terminal growth.
Solution: Likely calcium deficiency or inconsistent moisture.
Fix-It: Maintain a consistent watering schedule and ensure soil pH is not below 6.0. Add liquid calcium nitrate if the soil test confirms a deficit.
Symptom: Sudden wilting despite moist soil.
Solution: Root rot or physical damage to the vascular system during trellis anchoring.
Fix-It: Improve drainage by adding perlite to the base and ensure anchors are not piercing the primary root mass.
Maintenance:
A vertical garden has higher evaporation rates due to increased airflow. Provide 1.5 inches of water per week delivered directly at the drip line. Use a soil moisture meter to check the depth of hydration; the top 8 inches of soil should remain consistently moist but not anaerobic.
Utilize a hori-hori knife to remove deep-rooted weeds that compete for nitrogen. Every three weeks, use bypass pruners to remove any necrotic tissue or "suckers" that divert energy from the main climbing leads. Sterilize your tools with 70 percent isopropyl alcohol between plants to prevent the spread of pathogens.
The Yield:
For vining crops, harvest timing is critical to prevent the weight of the fruit from compromising the trellis. Harvest legumes when the pods are firm but before the seeds bulge significantly. For floral climbers, cut stems early in the morning when turgor pressure is at its peak.
To maintain "day-one" freshness, immediately plunge cut stems into 40-degree Fahrenheit water. This rapid cooling slows down the rate of respiration and senescence. For edible yields, keep the produce in a high-humidity environment to prevent the loss of cellular moisture through the skin.
FAQ:
How deep should trellis posts be buried?
Bury posts at least 18 to 24 inches deep. For heavy perennial vines, use concrete footings. This depth prevents the structure from leaning as the plant's biomass increases and wind resistance rises during the peak growing season.
What is the best NPK ratio for trellis plants?
Use a 5-10-10 ratio during the establishment phase. The lower nitrogen prevents excessive, weak foliage growth. The higher phosphorus and potassium levels support the strong root systems and sturdy vascular tissue required for vertical climbing.
Can I install a trellis after the plant is grown?
It is not recommended. Installing a trellis near an established plant risks damaging the rhizosphere and severing primary roots. Late installation also forces the gardener to manipulate brittle, mature stems, which often leads to vascular breakage.
How do I prevent the trellis from rotting?
Use rot-resistant woods like cedar or pressure-treated lumber. Ensure the base of the trellis sits on a 2-inch layer of gravel to facilitate drainage. This prevents constant moisture contact with the wood, extending the structural life significantly.