7 Steps to Install an Artistic Garden Arbor
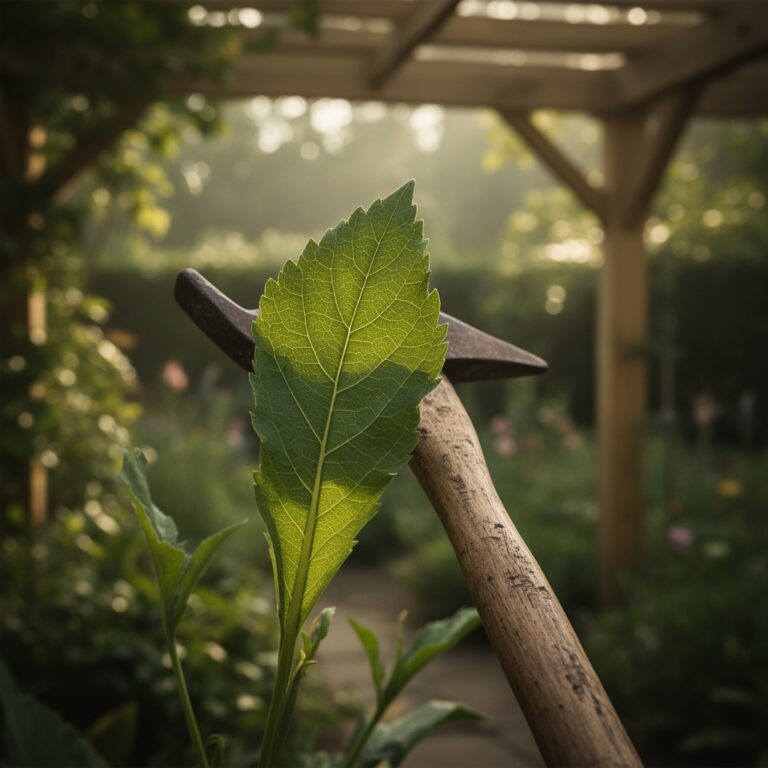
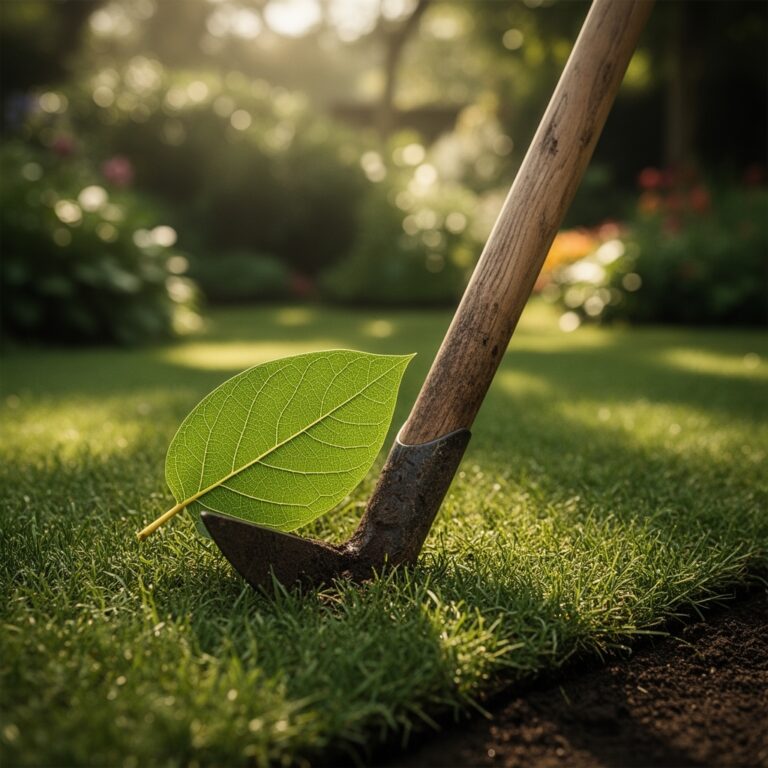
Damp earth releases a sharp, geosmin-rich scent when the spade first breaks the sod. A healthy leaf maintains high turgor pressure; it feels cool and firm to the touch because the vacuoles are fully hydrated. Establishing a structural focal point requires more than aesthetic placement. You must master the technical steps for installing a garden arbor to ensure structural integrity and plant health. This process demands precise measurements and an understanding of how weight loads interact with the rhizosphere.
Materials:
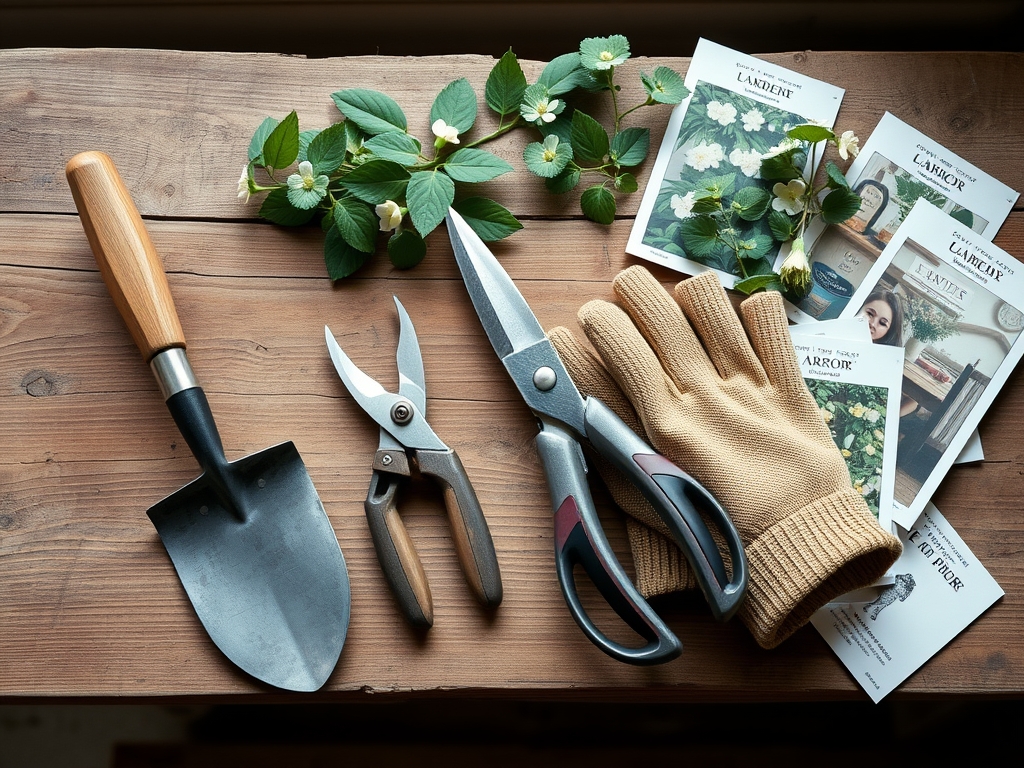
The foundation of any arbor installation begins with the soil substrate. You require a **friable loam** that allows for both drainage and structural stability. This soil should ideally test at a **pH of 6.2 to 6.8** to maximize nutrient availability. Before setting posts, analyze your soil Cation Exchange Capacity (CEC). A high CEC indicates the soil can hold onto essential positively charged ions like Calcium and Magnesium.
For the botanical elements surrounding the arbor, use a balanced 10-10-10 NPK ratio for initial establishment. If you are planting heavy-flowering climbers like Clematis or Wisteria, shift to a 5-10-10 ratio once the plant reaches its reproductive stage to prioritize phosphorus for bloom development over nitrogen for foliage. You will also need ASTM C33 compliant gravel for the base of your post holes to prevent anaerobic conditions and root rot.
Timing:
Installation should occur during the dormant season or early spring, specifically in Hardiness Zones 4 through 8. The ideal window opens when the soil temperature consistently reaches 45 degrees Fahrenheit but before the local "last frost date." This timing respects the biological clock of your climbing plants.
By installing the structure before the transition from the vegetative stage to the reproductive stage, you allow the root system to colonize the rhizosphere without the metabolic stress of supporting rapid upward growth. In Zone 9 and higher, autumn installation is preferred to avoid the high transpiration rates of mid-summer which can lead to permanent wilting point in new transplants.
Phases:
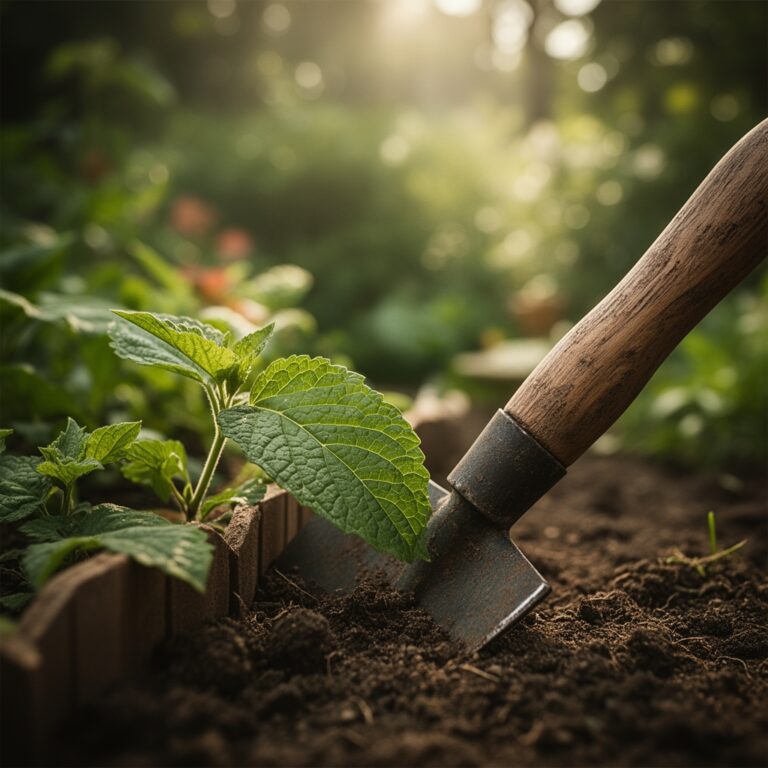
Sowing and Site Prep
Clear a radius of 36 inches around each post location. Remove all competitive turf to reduce nutrient leaching. Excavate holes to a depth of 24 to 36 inches, ensuring you are below the frost line for your specific latitude.
Pro-Tip: Use a hori-hori knife to scarify the sides of the hole. This prevents "pot-binding" in heavy clay soils, allowing roots to penetrate the surrounding soil matrix rather than circling the hole. This encourages mycorrhizal symbiosis, where fungal filaments extend the root system's reach for phosphorus.
Transplanting and Anchoring
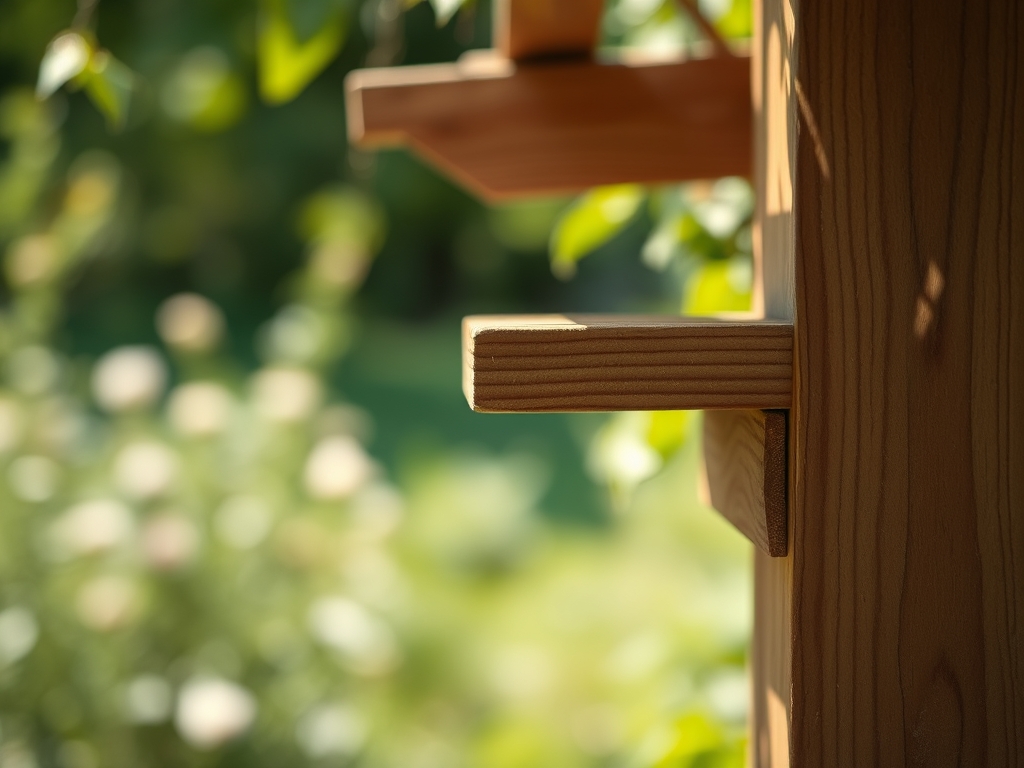
Set your posts using a level. Backfill with 6 inches of crushed stone followed by concrete or compacted soil. When placing your climbing plants at the base, ensure the root flare is exactly at the soil surface. Planting too deep leads to stem suffocation and fungal infection.
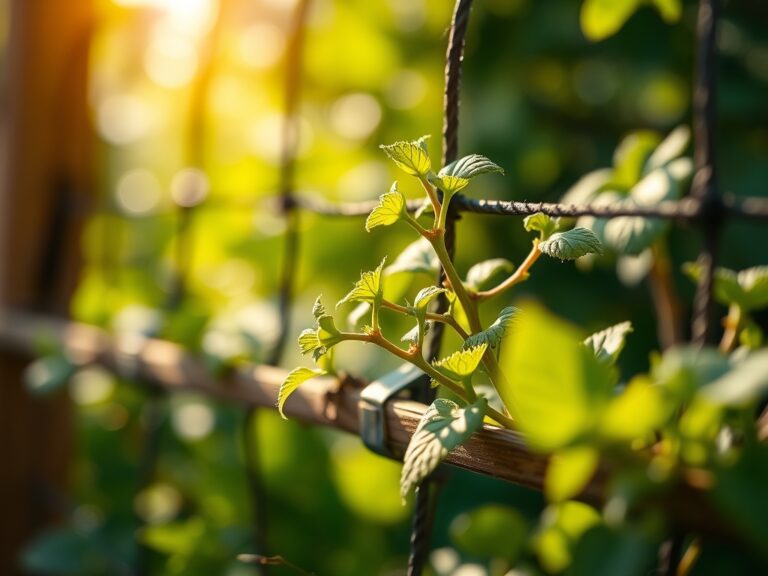
Pro-Tip: Angle the root ball slightly toward the arbor frame. This utilizes thigmotropism, the biological response where a plant changes its growth direction in response to physical contact. By placing the stem near the structure, you trigger the plant's natural tendency to climb sooner.
Establishing the Canopy
As the plant begins its upward trajectory, use soft ties to secure the main leaders to the arbor. Do not over-tighten; the vascular system (xylem and phloem) needs space to expand as the plant matures. Monitor the photoperiod requirements of your specific species to ensure the arbor location receives at least six hours of direct solar radiation.
Pro-Tip: Prune the terminal buds of lateral branches to encourage auxin suppression. When you remove the lead tip, the plant redirects growth hormones to lateral buds, resulting in a fuller, bushier appearance that covers the arbor more effectively.
The Clinic:
Physiological disorders often manifest through the foliage. Use this diagnostic guide to troubleshoot your arbor plantings.
-
Symptom: Interveinal chlorosis (yellowing between green veins) on young leaves.
-
Solution: This indicates an Iron deficiency, often caused by high soil pH. Apply chelated iron and adjust soil pH to 6.5.
-
Symptom: Stunting and purple tinting on the underside of older leaves.
-
Solution: This is a Phosphorus deficiency. Incorporate bone meal or a high-P fertilizer into the top 3 inches of the soil.
-
Symptom: Marginal leaf burn or "scorching" on the edges of mature foliage.
-
Solution: This typically signals Potassium deficiency or high salinity. Flush the soil with 2 inches of water to leach salts and apply a sulfate of potash.
Fix-It for Nitrogen Chlorosis: If the entire leaf turns a uniform pale yellow, the plant lacks Nitrogen. Apply a quick-release 20-0-0 fertilizer to restore chlorophyll production and increase photosynthetic efficiency.
Maintenance:
Precision is required to maintain the structural and biological integrity of the installation. Provide 1.5 inches of water per week delivered at the drip line rather than the base of the post to prevent wood rot. Use a soil moisture meter to verify that the moisture has penetrated 8 inches deep.
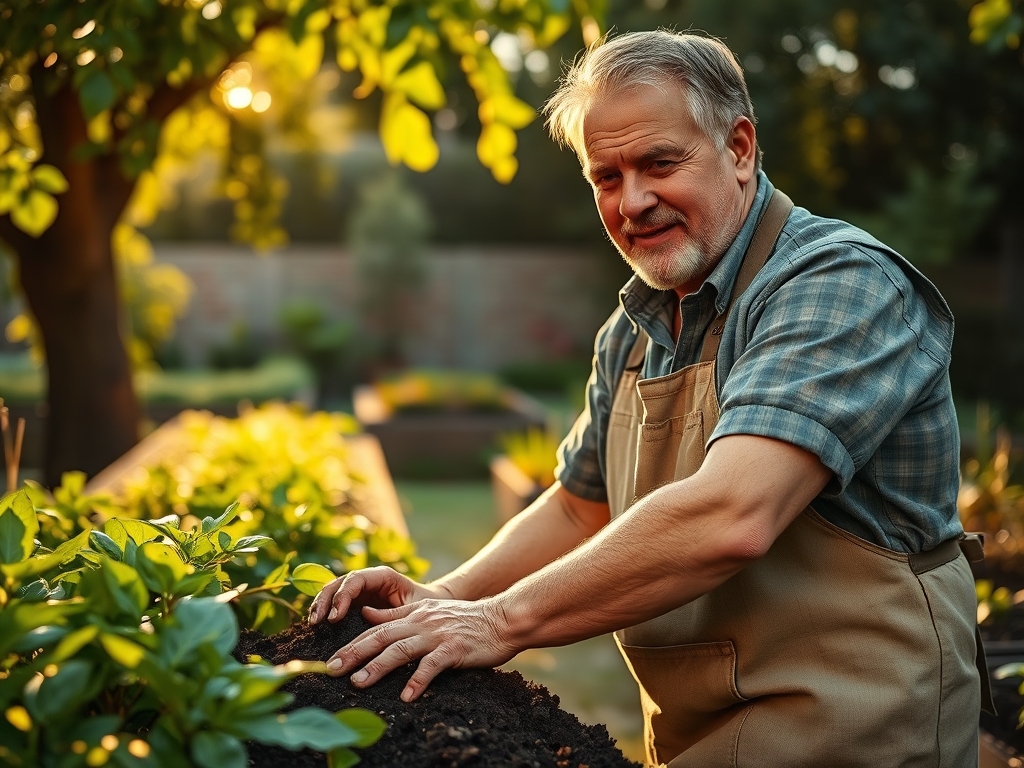
Pruning must be performed with sterilized bypass pruners to prevent the spread of pathogens. Remove any "suckers" or water sprouts that emerge from the base of the plant, as these consume energy without contributing to the aesthetic canopy. Every three years, check the tension of any support wires. If the plant has achieved senescence in certain branches (natural aging and death), prune them back to the main trunk to allow for new, vigorous growth.
The Yield:
If your arbor features flowering species like Jasmine or climbing roses, harvest blooms when they are in the "tight bud" stage or just as the first petals unfurl. For maximum "day-one" freshness, harvest at 6:00 AM when the plant's turgor pressure is at its peak.
Immediately plunge the stems into 100-degree Fahrenheit water to break any air bubbles in the xylem. Store the cuttings in a cool, dark location for two hours before moving them to a decorative vase. This "hardening off" process ensures the blooms remain hydrated and vibrant for several days.
FAQ:
How deep should arbor posts be buried?
Posts should be buried at least 24 to 36 inches deep. In colder climates, you must ensure the base of the post sits below the local frost line to prevent "heaving" during freeze-thaw cycles.
What is the best fertilizer for a new arbor plant?
Use a balanced 10-10-10 NPK starter fertilizer. This provides equal parts nitrogen for leaf growth, phosphorus for root development, and potassium for overall cellular health and disease resistance during the first growing season.
How do I prevent the wood from rotting in the soil?
Ensure the post hole has 6 inches of drainage gravel at the bottom. Use pressure-treated lumber rated for ground contact and slope the concrete or soil away from the post at the surface to prevent water pooling.
Why are my climbing roses not blooming on the arbor?
This is often due to excessive nitrogen, which promotes foliage over flowers. Switch to a fertilizer with a higher middle number (Phosphorus) and ensure the plant receives at least six hours of full sun daily.