9 Tips to Use a Sharp Spade for Artistic Edging
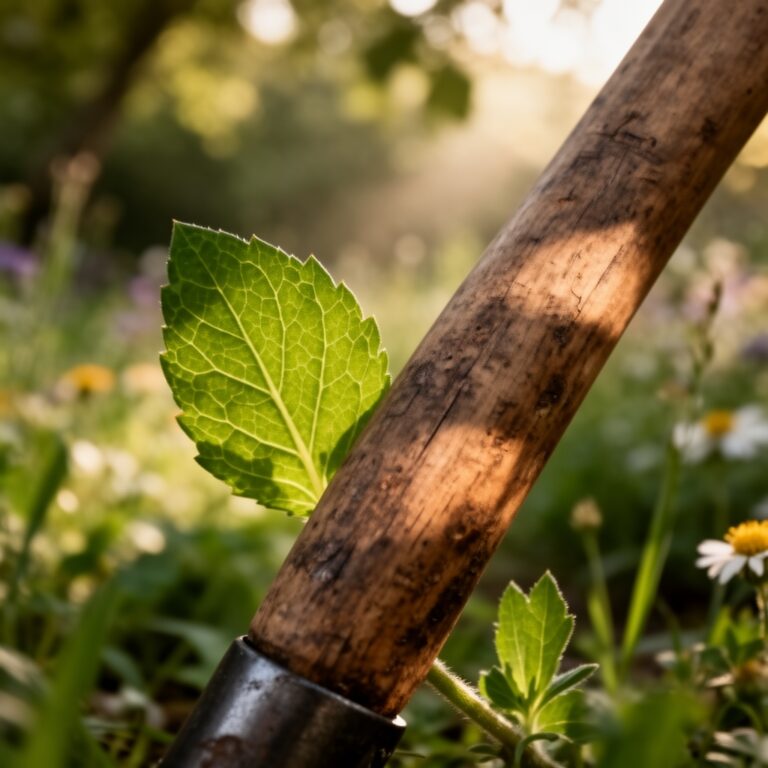
The scent of damp, disturbed earth signals the beginning of a structural shift in the garden. When the blade shears through a dense mat of Kentucky Bluegrass, it releases geosmin; this organic compound marks the disruption of the topsoil layer. Precision in the rhizosphere is not merely an aesthetic choice. Using a spade for artistic landscaping serves as a mechanical intervention that prevents stoloniferous grasses from invading high-value ornamental beds. A sharp edge maintains the turgor pressure of the remaining turf by creating a clean cellular break rather than a ragged tear. Ragged edges lead to rapid desiccation and increased pathogen susceptibility. By establishing a vertical boundary, the horticulturist manages the competition for pore space and capillary water between the lawn and the specimen plants. This process requires more than physical force; it demands an understanding of soil physics and the structural integrity of the root zone. A well-executed edge defines the visual plane while simultaneously protecting the delicate balance of the soil food web from encroachment.
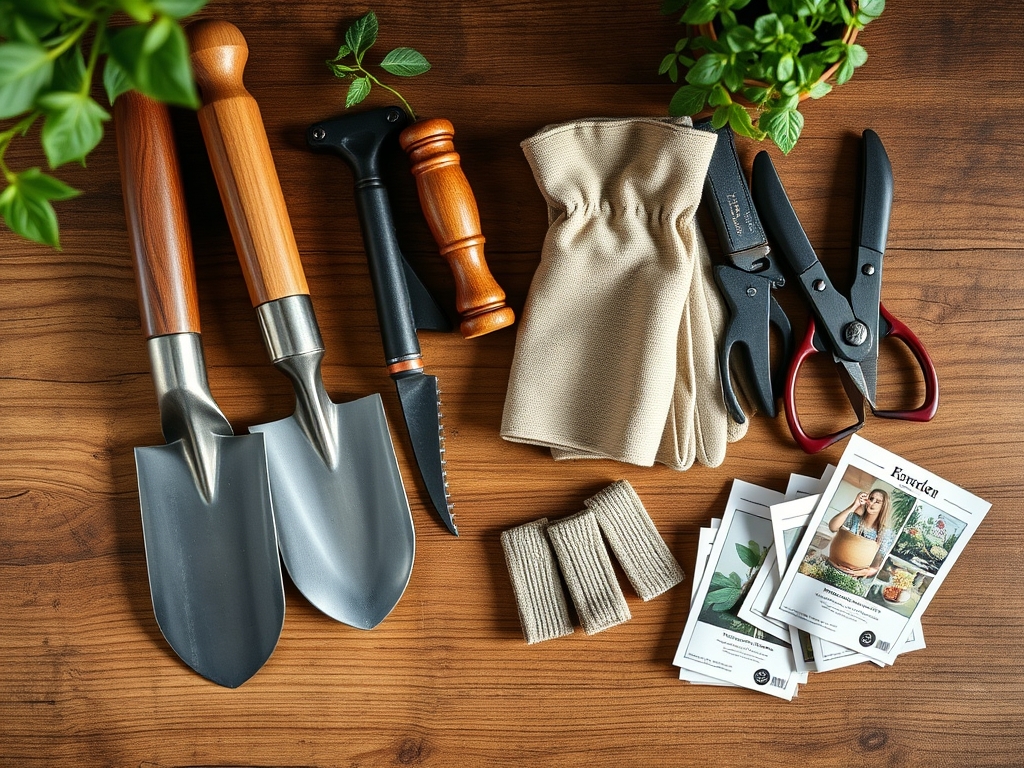
Materials:
Artistic edging requires a substrate with high structural stability. The ideal medium is a **friable loam** consisting of **40 percent sand, 40 percent silt, and 20 percent clay**. This ratio ensures a high Cation Exchange Capacity (CEC), typically ranging from **15 to 25 meq/100g**, allowing the soil to retain essential nutrients like ammonium and potassium. For the turf side of the edge, maintain a soil pH between **6.2 and 7.0**.
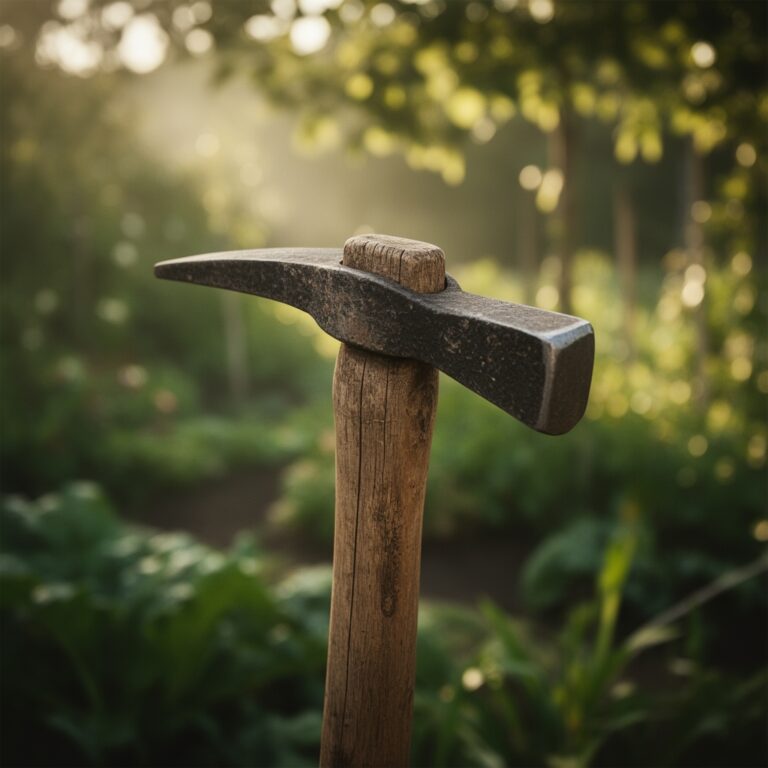
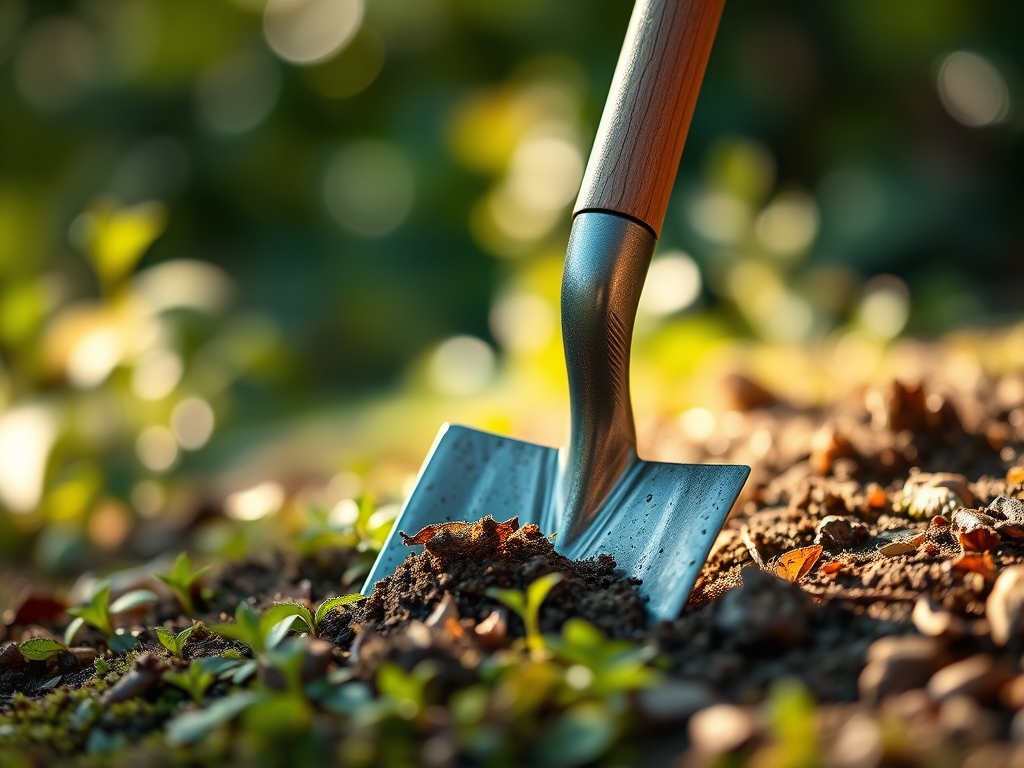
If the soil is overly compacted with a bulk density exceeding 1.6 g/cm3, the spade will not track straight. Amend the area with organic matter to improve the tilth before attempting complex curves. For the ornamental side of the edge, target an NPK ratio of 10-10-10 for general maintenance or 5-10-10 if the bed contains established woody perennials that require phosphorus for root development rather than excessive nitrogen for vegetative surge. Use a high-carbon steel half-moon spade or a sharpened trenching spade to achieve the necessary shearing force.
Timing:
The biological clock of the garden dictates the window for edging. In Hardiness Zones 4 through 7, the primary window opens during the spring thaw when soil moisture is at field capacity but not saturated. Attempting to edge in frozen ground or during the heat of the summer induces physiological stress. In Zones 8 through 10, edging should coincide with the transition from the vegetative stage to the dormant period of warm-season grasses.
Avoid edging during the "Spring Flush" when the plant is diverting all available carbohydrates to leaf production. Instead, wait for the period just after the first mow of the season. This timing ensures that the grass has sufficient energy reserves in its crown to recover from the root pruning. Monitor the 10 day frost-date window; if a hard freeze is predicted within 48 hours, delay the work. Cold air penetrating the newly exposed root zone can cause frost heaving and damage the delicate meristematic tissues at the edge of the turf.
Phases:

Sowing the Line
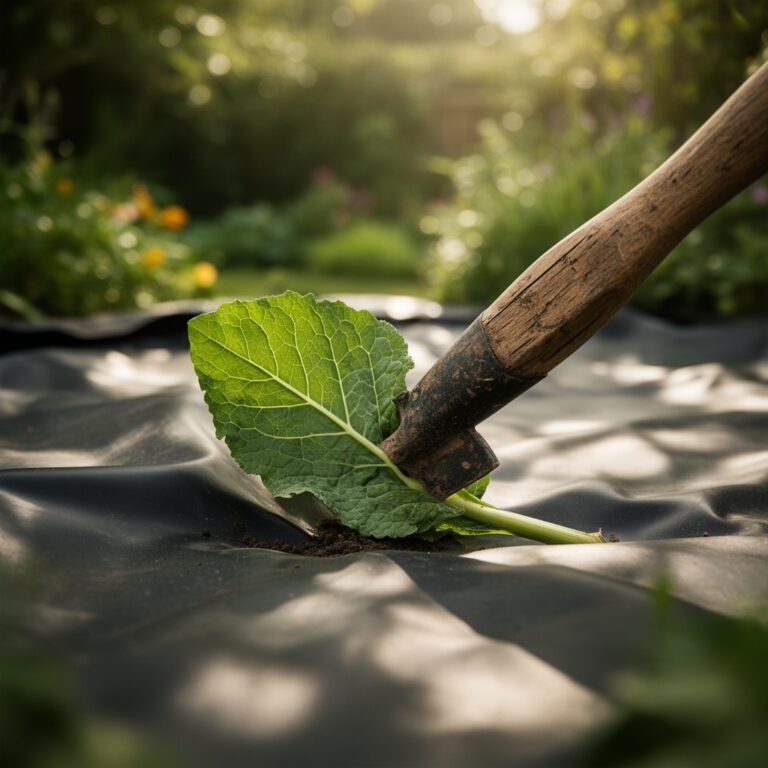
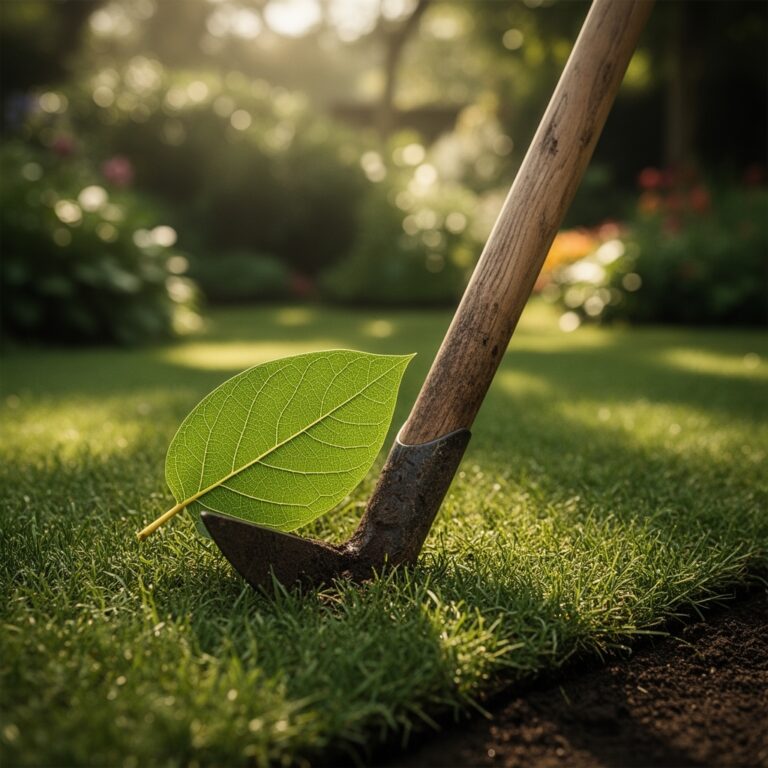
Before the first cut, use a flexible garden hose or a heavy gauge rope to map the curve. This line represents the geometric boundary of the bed. Ensure the line accounts for the mature spread of the plants to avoid future pruning stress. Using a spade for artistic landscaping requires a steady hand and a 90-degree vertical approach.
Pro-Tip: Proper alignment prevents phototropism issues where plants on the edge lean toward the light because the bed was cut too narrow. By providing a wide, clean edge, you ensure the root systems have adequate space to expand without competing for the light-rich perimeter.
Transplanting the Turf
If you are expanding a bed, the removed sod should be treated as a resource. Cut the sod into 12-inch by 12-inch squares at a depth of 3 inches. This depth captures the majority of the fibrous root system. These segments can be transplanted to bare spots in the lawn if kept moist.
Pro-Tip: When moving sod, preserve the mycorrhizal symbiosis by keeping the root ball intact. These fungi increase the surface area of the roots, helping the transplanted turf recover faster by improving phosphorus uptake.
Establishing the Trench
The final edge should be a "V" shaped trench approximately 4 to 6 inches deep. This depth is critical as it serves as a physical barrier to rhizomes. A shallow edge will be breached by aggressive grass species within a single growing season.
Pro-Tip: Maintaining a deep trench utilizes auxin suppression. When the lateral roots of the grass are severed by the spade, the plant redirects growth hormones away from the edge, temporarily slowing the encroachment into the ornamental bed.
The Clinic:
Physiological disorders often manifest at the interface of the lawn and the garden bed.
- Symptom: Leaf margins of the grass at the edge turn brown and brittle.
- Solution: This is localized desiccation. After edging, apply a light dusting of fine compost to the exposed soil face to reduce evaporation.
- Symptom: Yellowing of the turf (chlorosis) within 6 inches of the new edge.
- Solution: Nitrogen deficiency caused by leaching at the exposed cut. Apply a slow-release nitrogen fertilizer with a 20-0-0 ratio to the edge to stabilize the nitrogen cycle.
- Symptom: Soil slumping or "caving in" of the vertical wall.
- Solution: This indicates low soil plasticity or excessive sand content. Incorporate bentonite clay or organic matter to increase the structural cohesion of the soil.
Fix-It for Nitrogen Chlorosis: If the edge appears pale, the plant is failing to produce chlorophyll. Apply 0.5 pounds of actual nitrogen per 1,000 square feet. This will restore the green pigment and provide the energy needed for root repair.
Maintenance:
A professional edge requires consistent monitoring. Use a soil moisture meter to ensure the edge does not dry out significantly faster than the rest of the bed. Aim for 1.5 inches of water per week delivered at the drip line of the plants. Use a hori-hori knife to hand-pull any weeds that germinate in the open soil of the trench.
Every three months, inspect the verticality of the cut. If the soil has settled, use bypass pruners to snip any grass blades that are overhanging the edge, as these can provide a bridge for stolons to cross into the mulch. Re-cut the edge once per year, typically in early spring, to maintain the 90-degree angle and clear out accumulated organic debris.
The Yield:
While edging is primarily a structural task, it directly impacts the yield of flowering perennials and shrubs. By eliminating grass competition, you increase the available soil volume for the ornamental plants. Post-maintenance, apply a 2-inch layer of hardwood mulch or pine bark. This mulch should be kept 1 inch away from the stems of plants to prevent crown rot. This layer maintains "day-one" freshness by suppressing weed seeds and regulating soil temperature fluctuations.
FAQ:
How deep should I cut an artistic edge?
Aim for a depth of 4 to 6 inches. This depth effectively severs the rhizomes of most common turfgrasses and creates a physical air gap that prevents roots from crossing into the ornamental garden beds.
How often should I sharpen my spade?
Sharpen the blade every 50 to 100 linear feet of edging. A dull blade crushes plant tissues and requires more physical force; a sharp edge ensures a clean, surgical cut that promotes rapid healing of the root systems.
Can I edge when the soil is wet?
Avoid edging in saturated soil. When soil moisture exceeds field capacity, the spade compresses the soil particles, destroying the macro-pore space. This leads to compaction and anaerobic conditions in the rhizosphere, which can kill beneficial soil microbes.
What is the best tool for curved edges?
A half-moon edger or a narrow trenching spade is best for curves. These tools allow for incremental adjustments in the angle of the cut, ensuring a smooth, fluid line that follows the natural contours of the landscape.