7 Steps to Sharpen a Lopper with a Mill File
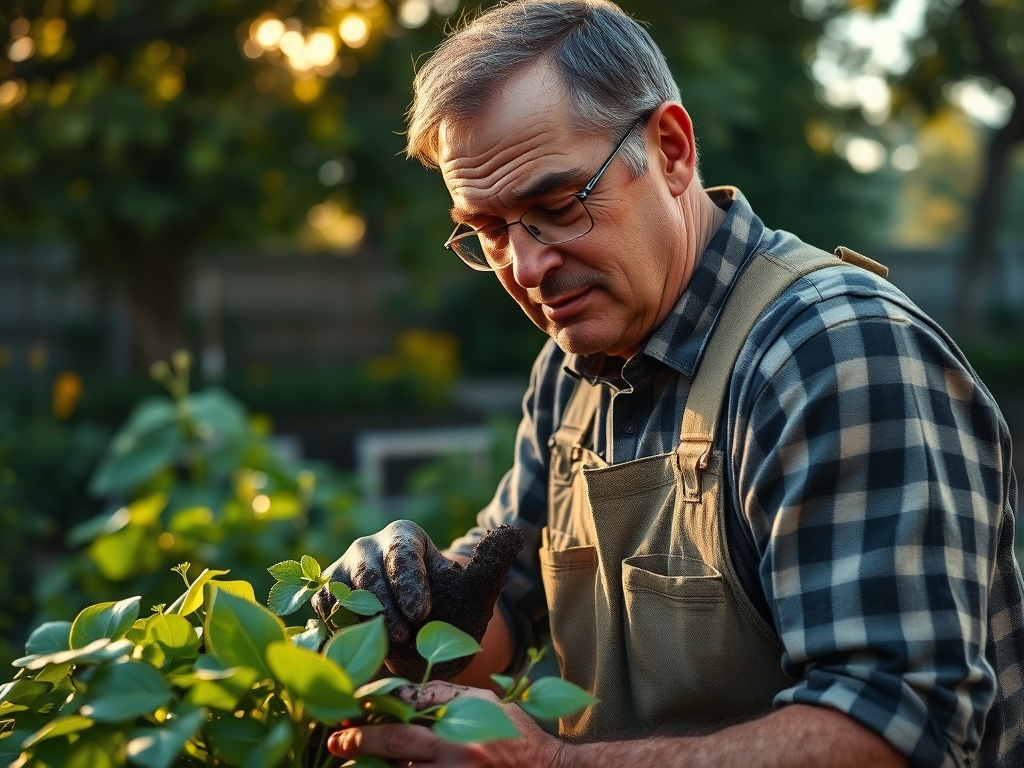
The smell of damp earth and the high turgor pressure of a healthy leaf signify a garden in peak physiological activity. When you move to prune a woody stem, a dull blade crushes the vascular cambium instead of severing it. This creates jagged wounds that invite fungal pathogens and impede callusing. Mastering the steps for sharpening a garden lopper with a file ensures a surgical strike that preserves the structural integrity of the plant.
Clean cuts facilitate rapid compartmentalization of decay in woody species. A dull lopper requires excessive force, which often results in the tearing of the epidermis and the underlying phloem. By maintaining a razor-sharp edge, you reduce the physical stress on the operator and the biological stress on the specimen. Precision sharpening is not merely a maintenance task; it is a fundamental requirement for maintaining the long-term health and disease resistance of your arboretum or orchard.
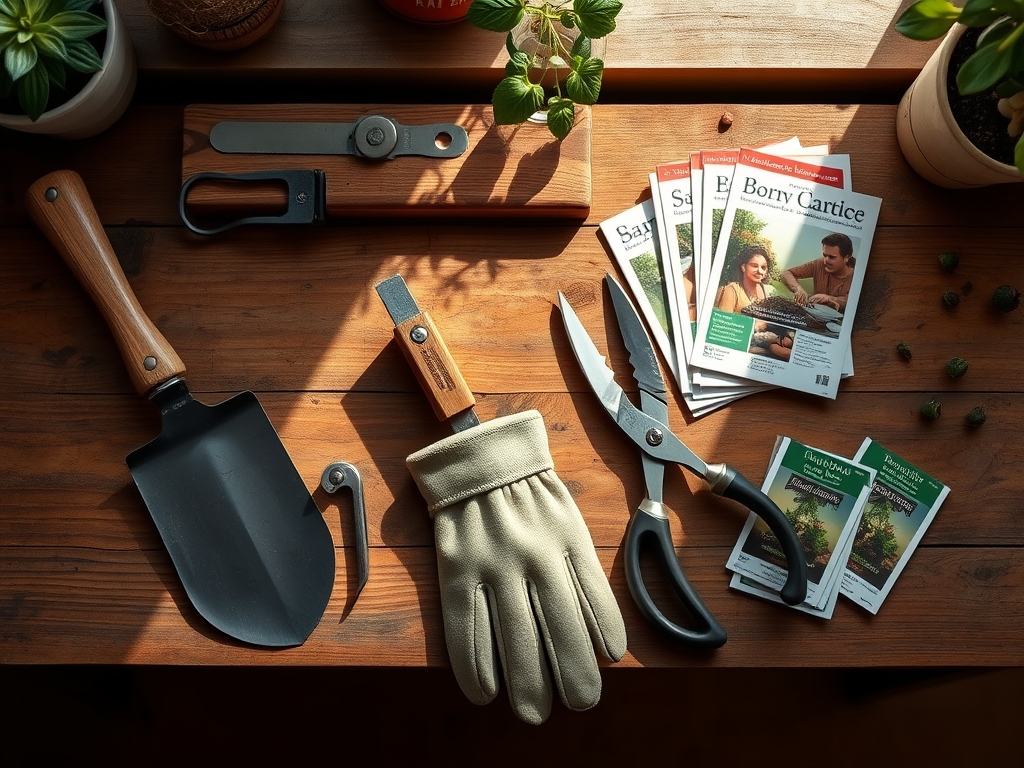
Materials:
While tool maintenance occurs in the workshop, the efficacy of your pruning impacts the plant’s ability to process nutrients within the soil. Ideal plant health begins in a **friable loam** with a **Cation Exchange Capacity (CEC) above 15**. To support the rapid healing of pruning wounds, ensure your soil maintains a **pH between 6.2 and 6.8**. This range optimizes the bioavailability of Phosphorus, essential for cellular repair.
For woody perennials, a balanced NPK ratio of 10-10-10 applied at the drip line supports general vigor. If you are pruning fruit-bearing wood, a shift to a 5-10-15 ratio provides the Potassium necessary for regulating stomatal conductance and water potential. High-carbon organic matter should be integrated into the substrate to maintain a porous structure, allowing for oxygen diffusion to the rhizosphere after the stress of a heavy pruning session.
Timing:
Pruning and tool sharpening should be synchronized with the biological clock of the plant. In Hardiness Zones 5 through 7, the optimal window for heavy structural pruning occurs during late dormancy, typically between February and March. This precedes the "bud break" phase when the plant transitions from a dormant state to active vegetative growth.
Sharpening your tools before the first frost-date window ensures you are prepared for the removal of dead or diseased wood. Avoid pruning during the late summer senescence phase, as this can stimulate new growth that will not harden off before sub-freezing temperatures arrive. By timing your sharpening and subsequent cuts to the period of lowest sap flow, you minimize the loss of vital carbohydrates stored in the trunk and root system.
Phases:
The process of restoring an edge requires technical precision and an understanding of metallurgy.
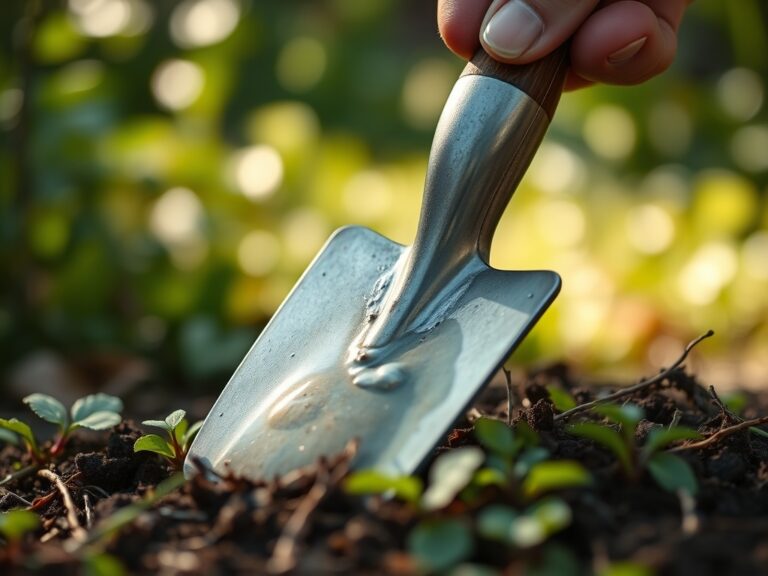
Sowing the Edge: Cleaning and Inspection
Before the file touches the metal, remove all organic residue and oxidized steel. Use a wire brush and a solvent to strip away dried sap and resin. Inspect the blade for "nicks" or deep burrs. A clean surface allows the file to bite into the steel rather than sliding over accumulated debris.
Pro-Tip: Removing sap prevents the transmission of pathogens like Erwinia amylovora. This biological safeguard ensures that your sharp tool does not become a vector for systemic infection during the pruning process.
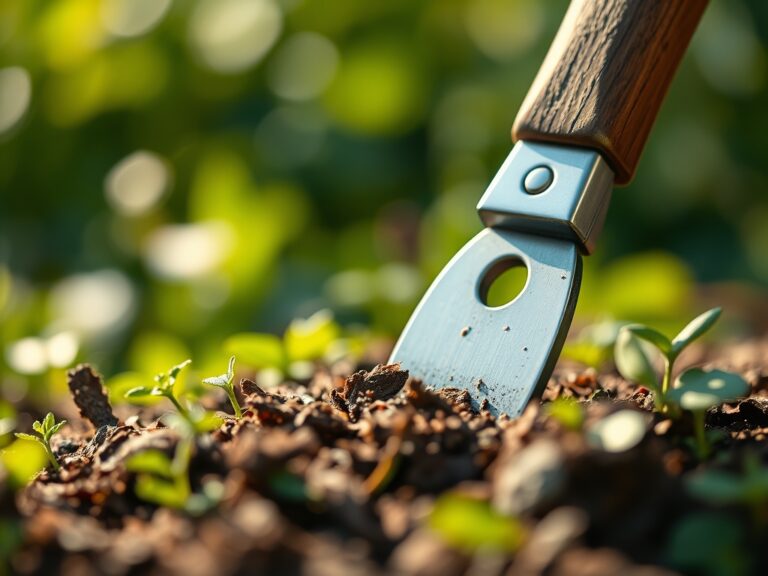
Transplanting the Angle: Establishing the Bevel
Secure the lopper in a bench vise with the beveled edge facing upward. Identify the factory grind angle, which is typically between 20 and 25 degrees. Use a 10-inch mill file and apply steady, one-way strokes from the base of the blade toward the tip. Do not use a back-and-forth sawing motion; this creates heat that can draw the temper out of the steel.
Pro-Tip: Maintaining the exact factory bevel preserves the mechanical advantage of the tool. Altering this angle changes the physics of the cut, potentially leading to "crush zones" in the plant's xylem, which disrupts upward water transport.
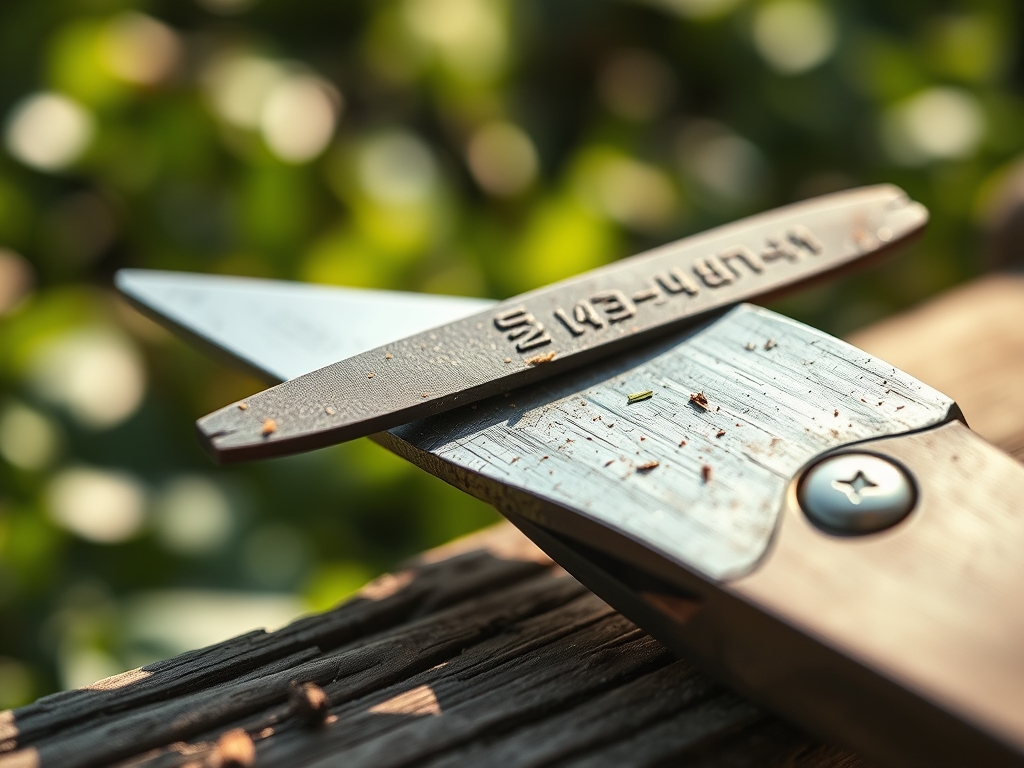
Establishing the Finish: Honing and Lubrication
After establishing the primary edge, a small burr or "wire edge" will form on the flat side of the blade. Lightly run the file flat against the back of the blade to remove this metal fringe. Finish the process by applying a thin layer of 3-in-One oil or a specialized tool lubricant to prevent oxidation.
Pro-Tip: A smooth, honed surface reduces friction during the cut. This minimizes the "tearing" of the periderm, allowing the plant to utilize its auxin supply to quickly initiate the formation of wound wood over the cut surface.
The Clinic:
Even with sharp tools, plants may exhibit physiological distress if environmental conditions are sub-optimal.
- Symptom: Interveinal chlorosis on young leaves.
Solution: This indicates an Iron deficiency, often caused by high soil pH. Apply chelated iron to the rhizosphere to restore chlorophyll production. - Symptom: "Dieback" at the tips of newly pruned branches.
Solution: This is often a result of pruning too close to a node or using a dull blade. Re-cut the branch at a 45-degree angle approximately 1/4 inch above a lateral bud. - Symptom: Stunted growth and purplish leaf undersides.
Fix-It: This is a classic Phosphorus deficiency. Incorporate bone meal or a 0-20-0 fertilizer into the soil to support ATP production and root development.
Maintenance:
Post-sharpening maintenance is critical for tool longevity and plant health. After every use, wipe the blades with a disinfectant solution of 70 percent isopropyl alcohol. This prevents the cross-contamination of fungal spores between different specimens.
Monitor the hydration of your plants following a heavy prune. Provide 1.5 inches of water per week at the drip line, using a soil moisture meter to ensure the water penetrates at least 6 inches deep. Use a hori-hori knife to remove any competing weeds that might steal nutrients from the recovering plant. Regular use of bypass pruners for smaller stems will reduce the wear on your larger loppers, keeping the heavy-duty edge ready for significant structural work.
The Yield:
When pruning fruit-bearing trees, the "yield" is measured in the quality of the harvest. A clean cut allows the plant to redirect energy from wound repair to fruit maturation. For pome fruits, harvest when the base color of the skin shifts from green to yellow. Use a "lift and twist" motion to avoid damaging the fruiting spur.
To maintain "day-one" freshness for harvested herbs or flowers, submerge the stems immediately in 40-degree Fahrenheit water. This sudden drop in temperature slows the respiration rate and preserves the turgor of the cells. Sharp tools ensure the vascular bundles remain open, allowing for maximum water uptake post-harvest.
FAQ:
How often should I sharpen my loppers?
Sharpen your loppers every 10 to 15 hours of active use. If you notice the blade slipping or crushing the wood rather than slicing it, immediate sharpening is required to prevent plant tissue damage and pathogen entry.
Can I use a bench grinder instead of a mill file?
Avoid bench grinders for garden tools. The high-speed friction generates excessive heat, which destroys the steel's temper and makes the blade brittle. A mill file allows for precise control and preserves the structural integrity of the metal.
What is the best way to remove rust before sharpening?
Submerge the blades in white vinegar for 12 hours, then scrub with a steel wool pad. This chemical reaction dissolves iron oxide without damaging the underlying steel. Thoroughly dry and oil the tool immediately after cleaning to prevent flash rusting.
Why do my loppers keep getting stuck in the wood?
Sticking usually indicates a dull blade or a bent pivot bolt. If the blade is sharp, check the tension of the center nut. A loose pivot allows the blades to twist, causing them to bind within the xylem of the branch.