9 Steps to Prepare a Shed for a Tool Care Check
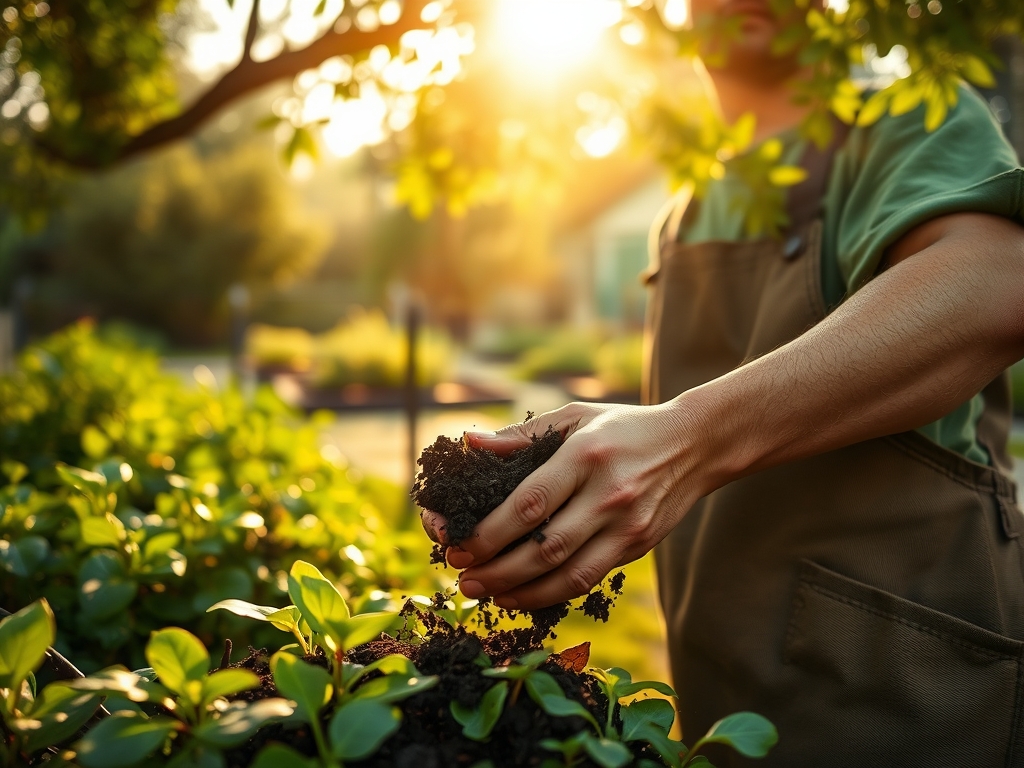
The smell of damp earth and the turgor of a healthy leaf define the success of a season; however, the mechanical integrity of your equipment dictates the efficiency of that growth. To maintain a high-functioning landscape, you must understand how to prepare a garden for a tool care check by clearing the workspace and auditing the soil impact of your implements. Neglected blades tear through vascular tissue, inviting pathogens into the xylem and phloem. A systematic preparation ensures your tools are calibrated for the specific physical demands of your local geology and plant physiology.
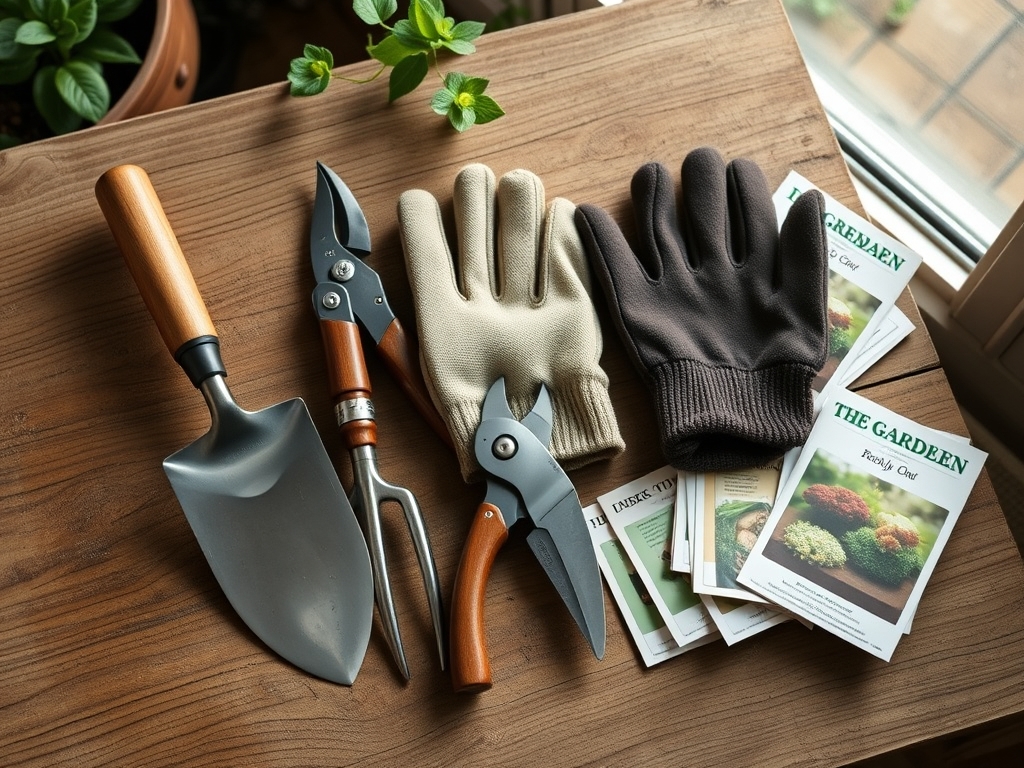
Materials:
Before evaluating your tools, you must understand the substrate they penetrate. Ideal garden soil is a **friable loam** consisting of approximately 40 percent sand, 40 percent silt, and 20 percent clay. This texture ensures a high **Cation Exchange Capacity (CEC)**, allowing the soil to hold and release essential nutrients.
For vegetative growth, maintain a soil pH between 6.2 and 6.8. If the pH drops below 5.5, aluminum toxicity can occur, stunted root development follows. Your nutrient management plan should include specific NPK ratios based on the growth stage. Use a 10-10-10 balanced fertilizer for general maintenance; however, switch to a 5-10-15 ratio for root crops or flowering perennials to prioritize phosphorus and potassium over nitrogen-driven foliage. High-quality compost should be integrated to improve the rhizosphere, providing the biological foundation for mycorrhizal symbiosis.
Timing:
The biological clock of the garden is dictated by the photoperiod and the thermal accumulation of Growing Degree Days (GDD). In Hardiness Zones 5 through 7, the primary window for a tool care check occurs during the transition from late winter dormancy to the first flush of spring growth. This period usually falls between the last hard freeze and the date when soil temperatures consistently reach 50 degrees Fahrenheit.
For those in Zones 8 through 10, the window shifts to the late summer senescence period when perennial plants enter a secondary dormancy. Timing your tool maintenance to coincide with these physiological shifts ensures that when the "Biological Clock" triggers the transition from vegetative to reproductive stages, your equipment is sharp enough to make clean, non-jagged cuts that heal rapidly.
Phases:
Sowing and Soil Preparation
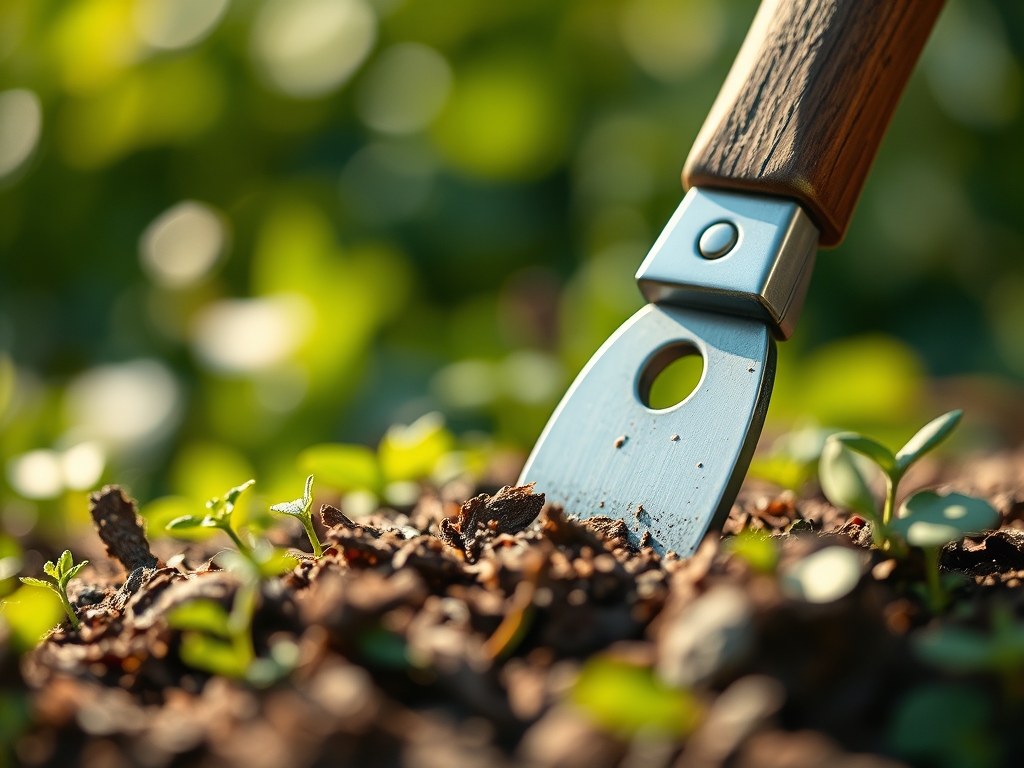
Before seeds hit the dirt, the soil must be aerated to a depth of 8 to 12 inches. Use a broadfork or a sharpened spade to fracture the soil crust without over-turning the horizons. This preserves the existing fungal networks.
Pro-Tip: Avoid tilling when the soil is overly saturated. Compaction at the molecular level reduces pore space, leading to anoxia in the root zone. Maintaining soil structure allows for proper gas exchange, which is vital for aerobic microbial activity.
Transplanting and Root Management
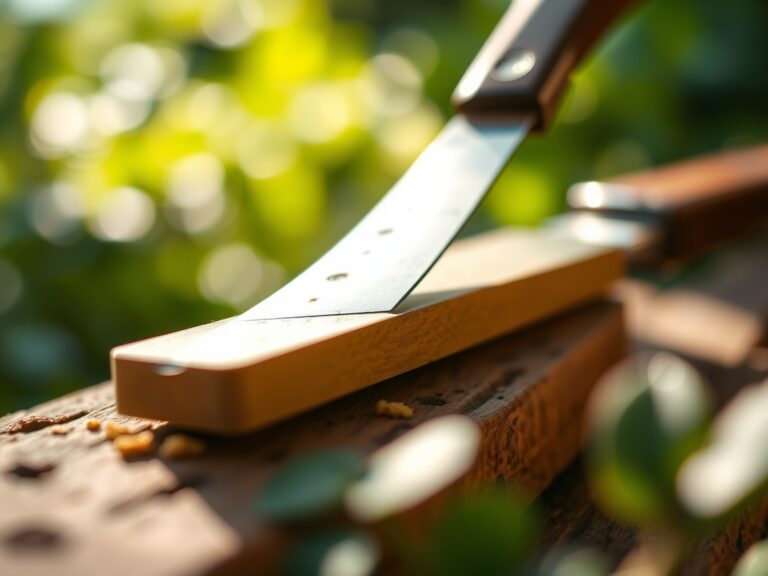
When moving seedlings, use a hori-hori knife to slice cleanly through any circling roots. This stimulates the production of lateral roots through the suppression of apical dominance in the root tips. Ensure the transplant hole is twice as wide as the root ball to facilitate easy expansion into the surrounding rhizosphere.
Pro-Tip: Apply a seaweed-based solution during transplanting to reduce "transplant shock." This provides cytokinins that encourage cell division and stabilize turgor pressure during the critical 48-hour period following the move.
Establishing and Pruning
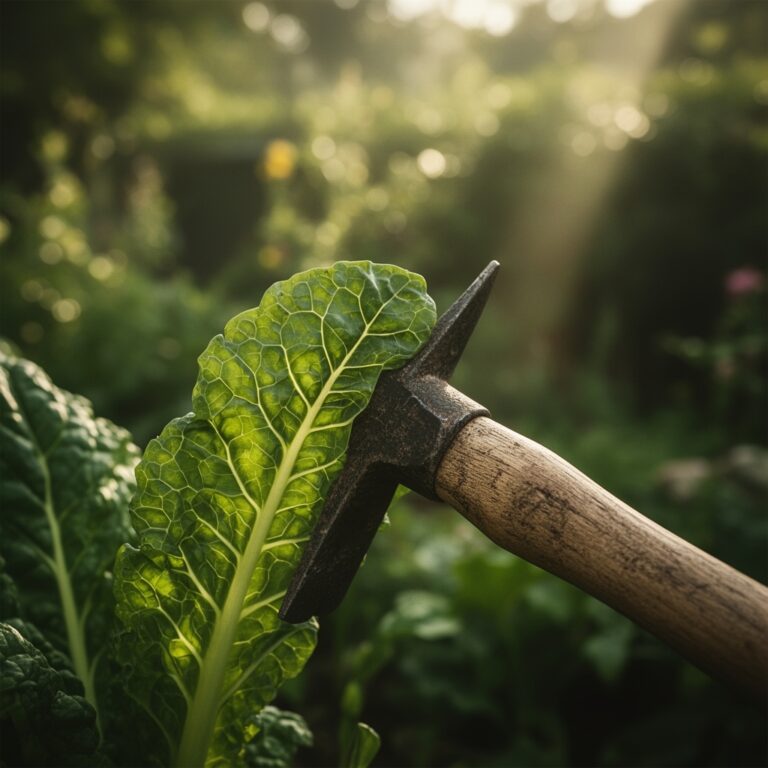
Once plants are established, use bypass pruners to remove crossing branches. A clean cut at a 45-degree angle just above a lateral bud prevents water from pooling on the wound, which reduces the risk of fungal infection.
Pro-Tip: Always prune back to a "node." This utilizes the plant's natural auxin suppression to direct energy toward the desired growth point rather than allowing "water sprouts" or weak epicormic shoots to form from dormant buds.
The Clinic:
Physiological disorders often mimic disease but are frequently the result of tool-inflicted damage or nutrient imbalances.
-
Symptom: Nitrogen Chlorosis. The older leaves turn a uniform pale yellow while the veins remain slightly darker.
Solution: Apply a quick-release nitrate-based fertilizer. Check your spade for rust; iron oxide can occasionally interfere with localized nutrient uptake if it contaminates a fresh root wound. -
Symptom: Blossom End Rot. A dark, sunken leathery spot appears on the bottom of the fruit (common in tomatoes and peppers).
Solution: This is a calcium deficiency often caused by inconsistent moisture. Use a soil moisture meter to ensure the root zone stays at a consistent 60 percent field capacity. -
Symptom: Bacterial Canker. Oozing sores on woody stems following a pruning event.
Solution: This is often caused by dull, dirty tools. Sterilize your bypass pruners with a 10 percent bleach solution or 70 percent isopropyl alcohol between every cut to prevent the mechanical transfer of pathogens. -
Symptom: Interveinal Chlorosis. Yellowing between the veins of young leaves, often indicating Magnesium or Iron deficiency.
Solution: Check the soil pH. If the pH is above 7.0, iron becomes insoluble. Lower the pH using elemental sulfur at a rate of 5 pounds per 1,000 square feet.
Maintenance:
Precision maintenance is the difference between a surviving garden and a thriving one. Deliver 1.5 inches of water per week directly at the drip line. Avoid overhead irrigation, which increases leaf wetness duration and promotes fungal sporulation. Use a soil moisture meter to verify that moisture has penetrated at least 6 inches below the surface.
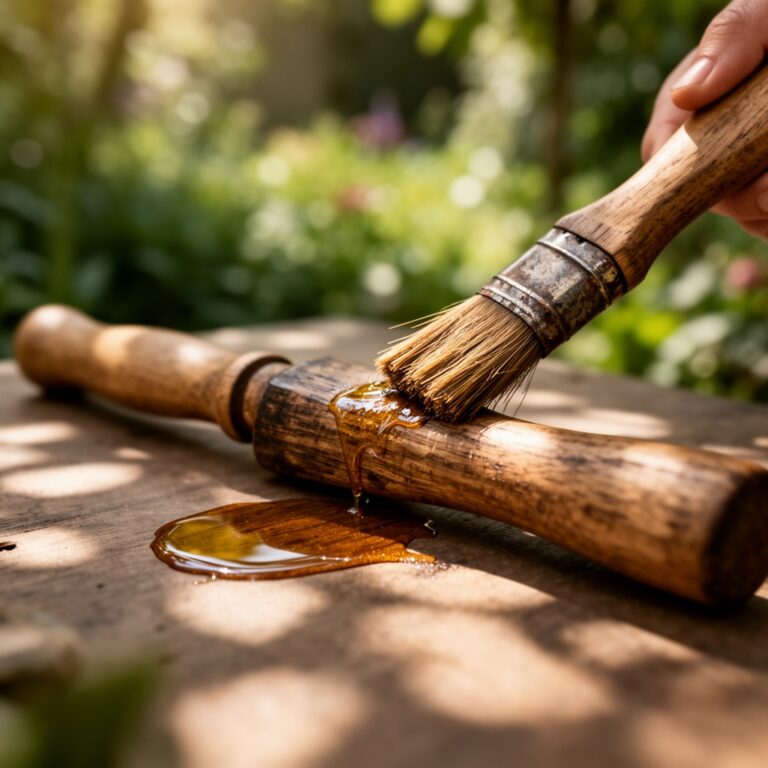
For tool longevity, wipe down metal surfaces with a thin coat of linseed oil after every use. Inspect the tension on your bypass pruners; the blades should pass each other with no visible gap to ensure a "shear" cut rather than a "crush" cut. If you encounter heavy clay, use your hori-hori knife to scrape away debris immediately; dried clay accelerates the oxidation of high-carbon steel.
The Yield:
Harvesting is the final mechanical interaction between tool and plant. For leafy greens, harvest in the early morning when turgor pressure is at its peak. This ensures the cells are fully hydrated, extending the shelf life of the produce. For fruiting bodies, use a sharp floral snip to cut the pedicel rather than pulling the fruit, which can cause "stripping" of the outer bark.
Post-harvest, submerge greens in 40-degree Fahrenheit water to remove field heat. This process, known as hydro-cooling, slows down the rate of senescence and respiration, preserving the sugars and acids within the plant tissue for "day-one" freshness.
FAQ:
How often should I sharpen my garden tools?
Sharpen blades every 10 to 15 hours of active use. Dull edges crush the vascular bundles of the plant, leading to slow healing and increased susceptibility to opportunistic pathogens. Use a diamond file for the best results.
What is the best way to clean tools after use?
Remove all organic matter with a stiff brush. Disinfect with 70 percent isopropyl alcohol to kill soil-borne pathogens. Dry the metal completely and apply a light layer of mineral oil to prevent oxidation and pitting.
Does soil pH affect how tools wear down?
Yes. Highly acidic soils (pH below 5.0) can accelerate the corrosion of low-quality steel. In these environments, stainless steel or coated tools are preferable to prevent chemical reactions that degrade the integrity of the metal over time.
Why is turgor pressure important for pruning?
High turgor pressure ensures the plant tissue is taut. This allows for a cleaner, more precise cut. Pruning a wilted plant often results in ragged edges and "tearing" of the epidermis, which takes significantly longer for the plant to compartmentalize.