10 Essential Steps to Build a Durable Raised Garden Bed and the Tools You’ll Need
You can feel the difference with a raised bed. Push your trowel into its soil—it’s loose, dark, and crumbles like chocolate cake. It’s warm. Mycorrhizal fungi thread through it, partnering with roots. This is real control. The core steps to build a raised garden bed are about engineering this perfect environment. You’re not just planting; you’re crafting the foundation for a hyper-productive system.
Materials & Supplies

Frame Materials:
- Untreated, rot-resistant lumber: Use cedar, redwood, or juniper. Minimum 2×6 inches (1.5” x 5.5” actual) for 12” of soil depth.
- Concrete blocks or bricks: Ensure they are not fly ash-based for food safety.
- Corner hardware: 3.5-inch galvanized corner braces (4 per corner) or threaded rods for stone.
Tools:
- Cordless drill/driver with a #2 Phillips bit and a 7/64-inch pilot bit.
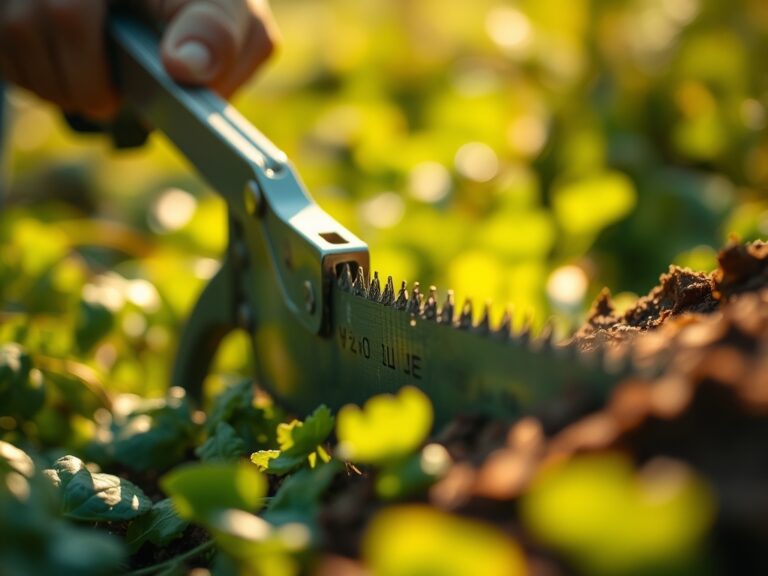
- Circular saw or handsaw.
- Carpenter’s square, 48-inch level, 25-foot measuring tape.
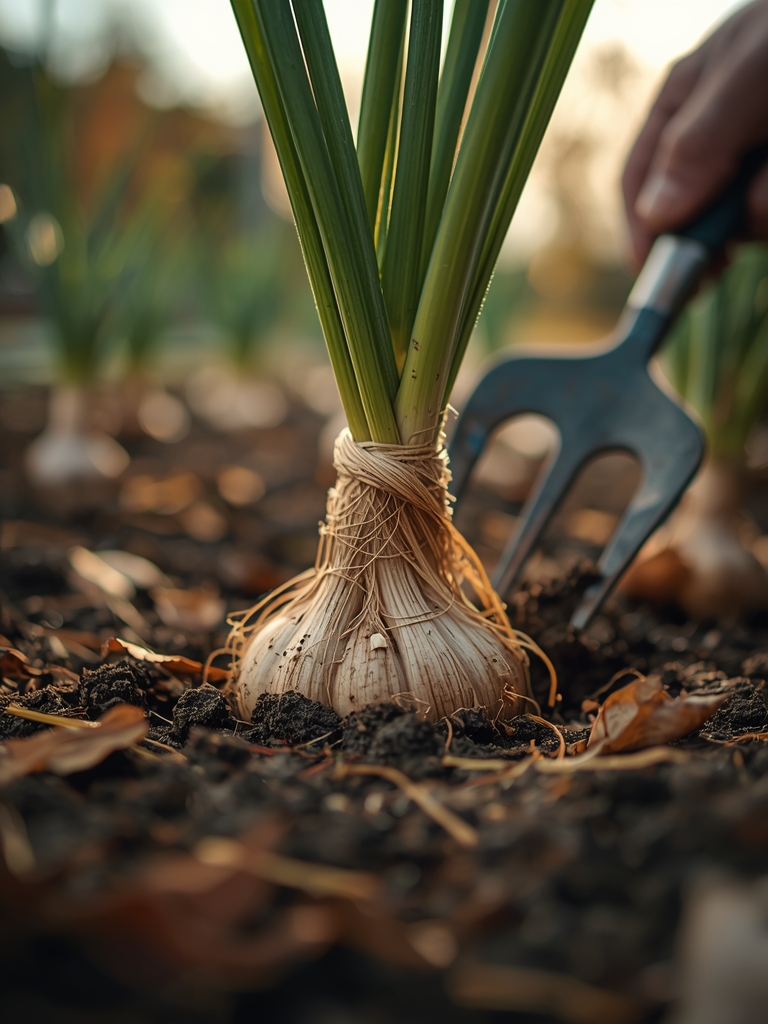
- Mallet, shovel, garden fork, wheelbarrow.
Soil & Amendments:
- Base soil: A well-draining topsoil or compost blend. Calculate volume: Length x Width x Height (in feet) = cubic feet.
- Compost: 30% of total volume. Get it steaming at 130°F+ to kill weed seeds.
- Aeration: 1-2 bags (2 cubic feet) of coarse horticultural perlite or parboiled rice hulls per 4’x8’ bed.
- Mineralization: 5 pounds of granite dust (for potassium) and 3 pounds of rock phosphate per 4’x8’ bed, mixed thoroughly.
Timing / Growing Schedule
For bed construction, fall is ideal. The soil settles over winter, and microbes establish. For immediate spring planting, build 4-6 weeks before your last average frost date.
Your Hardiness Zone dictates the schedule. In Zones 5-7, build in March-April for a May 1st planting. In Zones 8-10, you can build and plant almost year-round, avoiding peak summer heat.
This schedule unlocks succession planting. Start cool-season crops (spinach, peas) 4-6 weeks before last frost. Follow with warm-season transplants (tomatoes, peppers) after frost danger passes. Calculate “Days to Maturity” on seed packs to slot in a third crop, like bush beans (50 days) after garlic harvest.
Step-by-Step Instructions

Phase 1: Site & Frame
- Choose Full Sun: Mark a site receiving 8+ hours of direct sun. Run beds north-south for even light.
Pro-Tip: Lay a garden hose to outline the bed shape. Walk around it for a day to test the layout. - Clear & Level: Strip sod. Don’t till. Lay a double layer of heavy-duty cardboard to smother grass and deter quackgrass rhizomes.
- Assemble the Frame: Cut lumber to size. Drill two pilot holes at each joint. Fasten with 3.5-inch galvanized deck screws. Use a level diagonally across the frame to check for twist.
Pro-Tip: Sink 18-inch lengths of ½-inch rebar inside the corners with a mallet to anchor the frame without visible stakes.
Phase 2: The Soil Engine
4. Calculate & Mix Soil: For a 4’x8’x1’ bed, you need 32 cubic feet of total mix. In your wheelbarrow, combine 60% topsoil, 30% finished compost, and 10% aeration amendment. Add mineral amendments as specified.
5. Fill and Hydrate: Dump the mix into the frame. Do not compact it. Water it deeply—until water runs from the bottom edges—to settle the soil and activate microbial life. Top off as needed.
Nutritional & Environmental Benefits
A raised bed’s soil, teeming with life, creates nutrient-dense food. Leafy greens pump out higher levels of antioxidants like lutein. Tomato fruits show increased lycopene content in well-aerated, mineral-rich soil.
Ecologically, you’re building a sanctuary. Untreated wood and diverse plantings harbor ground beetles that devour slug eggs. Umbels of dill and cilantro attract parasitic wasps that control tomato hornworms. Deep-rooted parsnips break up subsoil, and bean rhizobia fix atmospheric nitrogen, feeding neighboring corn.
Advanced Methods & Variations
Small Space/Containers: Use fabric pots (15-gallon minimum for tomatoes). Mix is critical: 1:1:1 ratio of compost, coconut coir, and vermiculite. Feed weekly with a liquid 5-1-1 fish emulsion.
Organic/Permaculture: Layer a “Hugelkultur” base. Fill the bottom 1/3 of the frame with rotten hardwood logs, twigs, and leaves. This woody core acts as a sponge, reducing watering by 50% as it slowly decomposes.
Season Extension: In spring, bend ½-inch PVC hoops over the bed every 4 feet. Drape 4-mil clear plastic or row cover fabric. You’ll gain 4-6 weeks on each end of the season. In winter, mulch with 12 inches of straw to overwinter carrots and leeks.
Troubleshooting: Common Mistakes
Mistake: Using pressure-treated lumber from before 2003 or modern railroad ties.
- Symptom: Arsenic or creosote leaching into soil, stunted plant growth, odd leaf chlorosis.
- Solution: Line the interior walls with 6-mil polyethylene plastic as a barrier, or rebuild with safe materials.
Mistake: Filling with pure bagged “garden soil” or native clay.
- Symptom: Soil becomes a dense, waterlogged brick. Roots suffocate.
- Solution: Amend immediately with 3 inches of compost and 2 inches of perlite, forked in 8 inches deep.
Mistake: Skipping crop rotation in the bed.
- Symptom: Annual soil-borne diseases like fusarium wilt or rampant root-knot nematodes.
- Solution: Practice a 3-year rotation. Never plant tomatoes, peppers, or potatoes in the same spot two years running.
Storage & Ongoing Maintenance
Watering: Provide 1 inch of water per week. Use a rain gauge. In summer heat, check soil moisture by pushing a finger 3 inches down—if it’s dry, water deeply in the morning.
Fertilizing: Top-dress with 1/2 inch of compost every spring. Side-dress heavy feeders (corn, tomatoes) with a balanced organic 4-4-4 fertilizer at flowering. For fruiting, switch to a 2-8-4 blend for phosphorus and potassium.
Post-Harvest: Clean plant debris to disrupt pest cycles. Sow a cover crop of winter rye or crimson clover to protect and nourish the soil.
Conclusion
Success requires a solid frame, a living soil engine, and intelligent timing. This system saves your back, outproduces in-ground plots, and turns gardening into a controlled science. Now, get your tools. Your first bed is waiting.
Call to Action: Post a picture of your framed bed before filling in our community forum. Tell us your zone and what you’re planting first—let’s compare notes.
Expert FAQs
What is the cheapest way to build a raised bed?
Source free, untreated pallets marked “HT” (heat-treated). Dismantle them, sand off splinters, and use the boards for your frame. Cost is only screws and time.
How deep should a raised bed be for carrots?
Carrots need 12 inches of loose, stone-free soil. For full-length Danvers types, go 16 inches deep. Mix in sharp sand to improve root penetration.
Can you put a raised bed on concrete?
Yes. Depth is critical—make it at least 18 inches to provide adequate root volume and insulation. Ensure 100% perfect drainage with a bottom layer of 3 inches of coarse gravel and a commercial potting mix, not garden soil.
Do I need to line my wooden raised bed with plastic?
Only for two reasons: if using questionable wood as a barrier, or if placing it on a treated wood deck. Lining the sides can reduce soil contact and accelerate wood drying and rot.
Why is my raised bed soil sinking so much?
Organic matter decomposition. It’s normal. Top it off each season with a fresh compost blend. A 2-inch sink per year indicates active, healthy soil biology.