6 Critical Steps to Repot a Rootbound Fiddle Leaf Fig Safely
The smell of wet, compacted potting mix is the first warning sign. When you lift a fiddle leaf fig and feel the weight of a root-packed container, you know you're holding a plant gasping for resources. Circling roots create a stranglehold that blocks water uptake and nutrient absorption. Learning the steps to repot a rootbound fiddle leaf fig correctly can mean the difference between a thriving specimen and a slow decline into brown-spotted foliage. This process demands precision, timing, and an understanding of root architecture that goes beyond simply dumping soil into a bigger pot.
Materials & Supplies
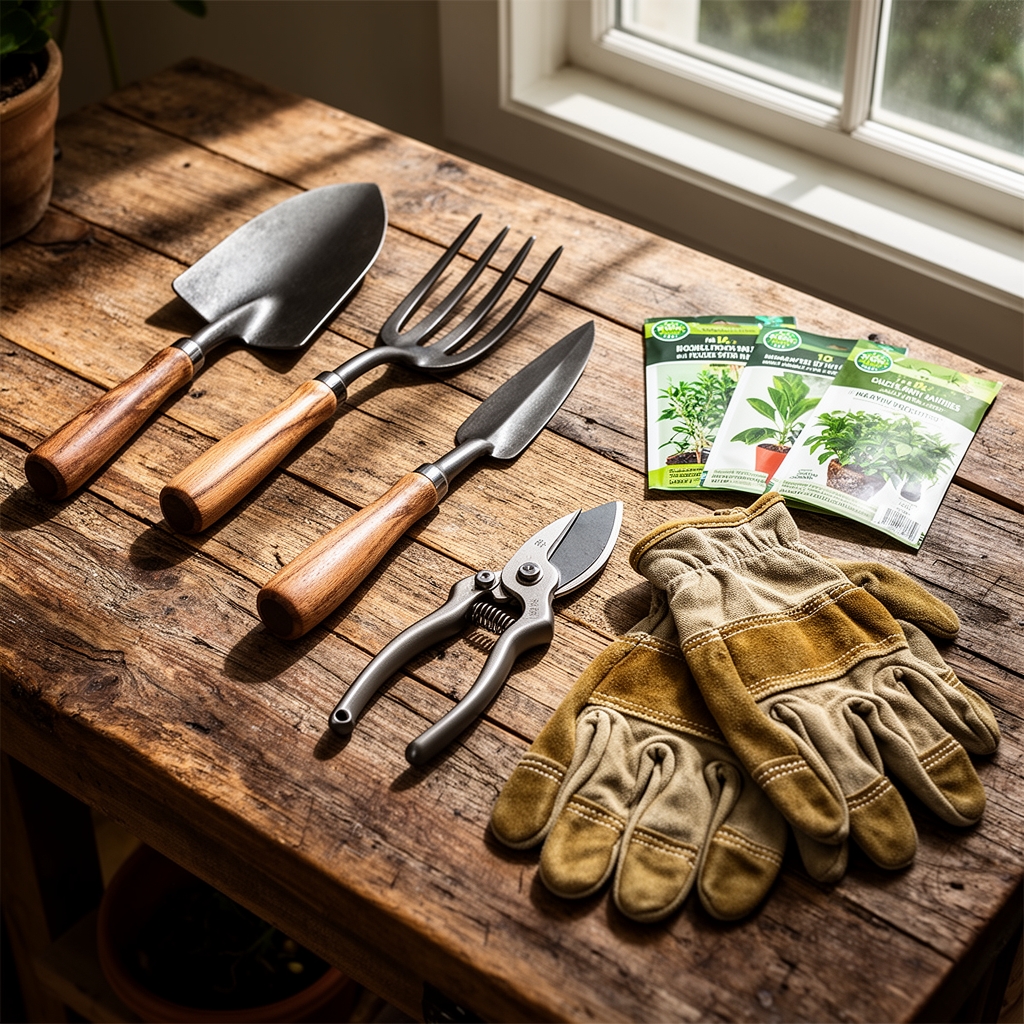
Container Selection:
Select a pot 2 to 3 inches larger in diameter than the current container. Ceramic or terracotta allows airflow. Drainage holes are non-negotiable.
Soil Components:
Use a well-draining mix with pH 6.0 to 6.5. Combine 40% peat moss or coco coir, 30% pine bark fines, 20% perlite, and 10% worm castings. Avoid standard potting soil, which retains excessive moisture.
Fertilizer Specifications:
Apply a balanced 3-1-2 NPK ratio fertilizer (such as 6-2-4) two weeks after repotting. Fiddle leaf figs require moderate nitrogen for foliage development without promoting weak, leggy growth.
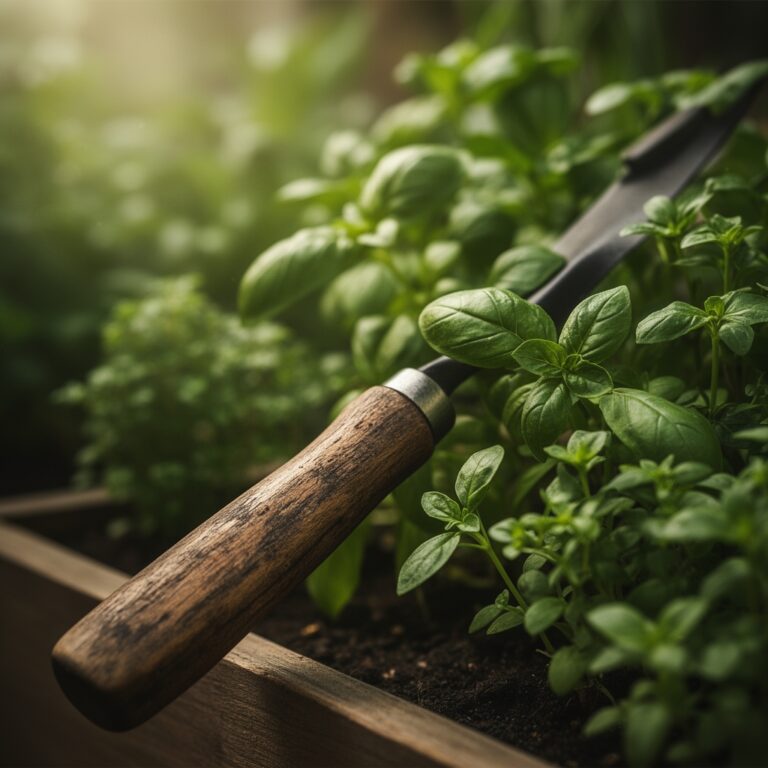
Tools & Amendments:
Keep pruning shears sterilized with 70% isopropyl alcohol. Have a root rake or chopstick for teasing apart compacted roots. Add mycorrhizal fungi inoculant at transplant to accelerate root colonization and nutrient uptake.
Safety Equipment:
Wear nitrile gloves. Fiddle leaf fig sap contains latex and can irritate skin.
Timing & Growing Schedule
Fiddle leaf figs (Ficus lyrata) are native to USDA Hardiness Zones 10 to 12 but thrive indoors across all zones. Schedule repotting during the active growth phase from March through June. Avoid repotting during dormancy (November through February) when root growth slows and transplant shock intensifies.
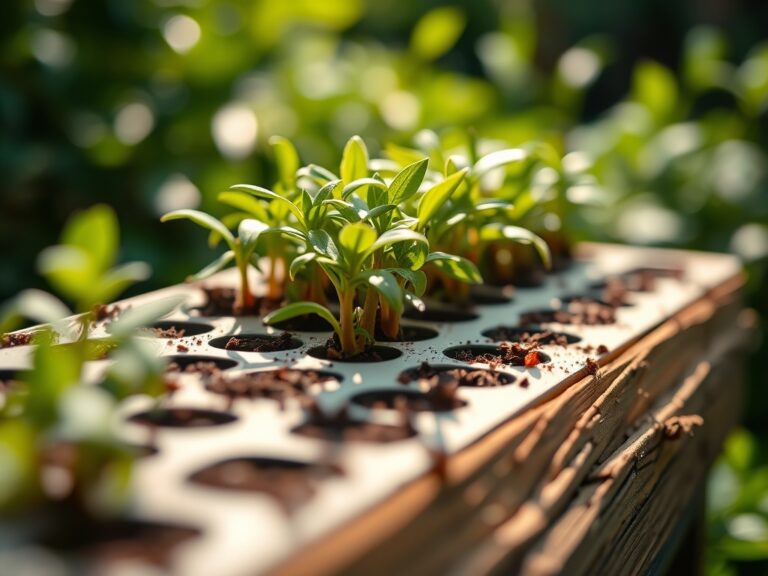
Root establishment takes 4 to 6 weeks post-repotting. During this window, new feeder roots colonize fresh substrate. If purchasing a nursery plant, allow 2 weeks of acclimation to your indoor light conditions before repotting.
Indoor specimens grown in consistent temperatures (65°F to 75°F) show year-round growth, but spring repotting aligns with increased daylight hours and accelerates recovery.
Step-by-Step Instructions
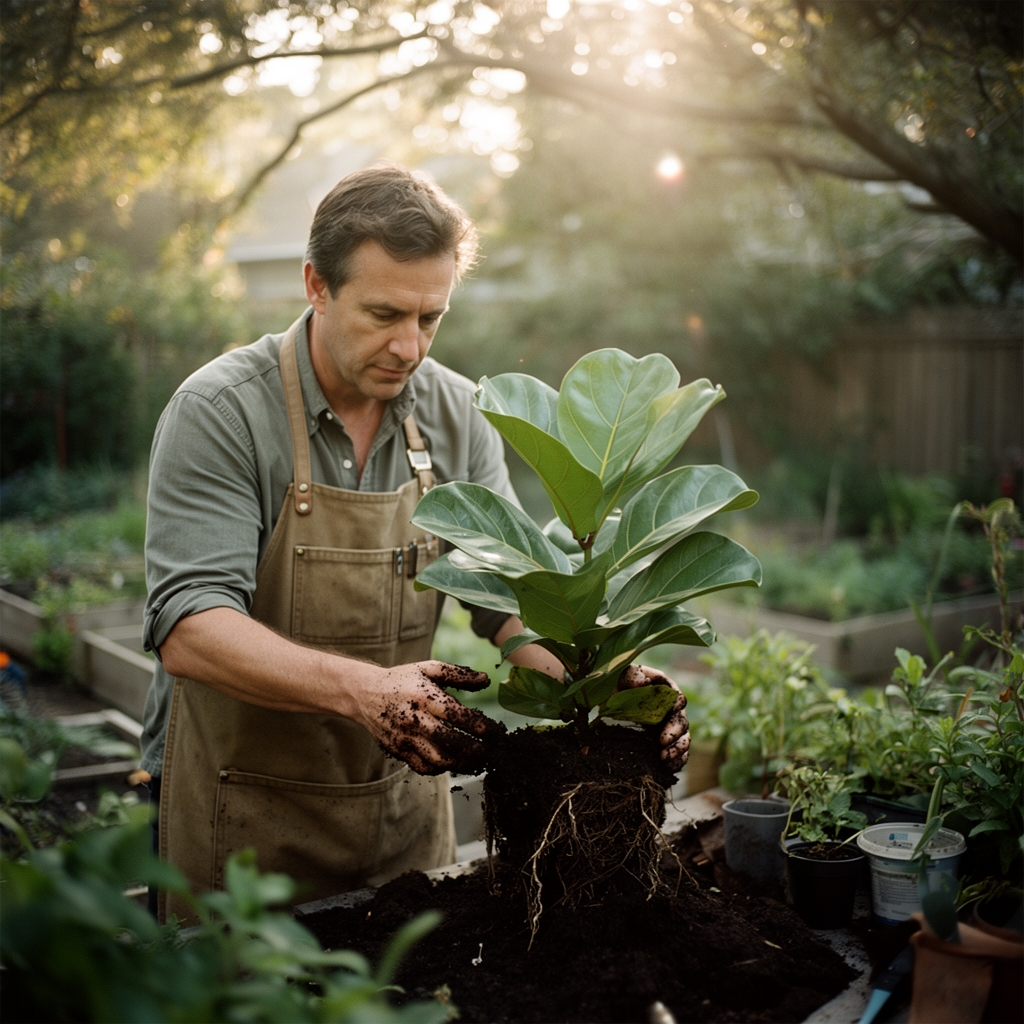
Step 1: Assess Root Density
Water the plant 24 hours before repotting to reduce transplant stress. Tip the container on its side and slide the root ball out. Examine the exterior. If roots form a dense mat with minimal visible soil, the plant is severely rootbound.
Pro-Tip: If roots have grown through drainage holes, use sterilized shears to cut them flush with the pot bottom before attempting removal. Pulling risks tearing the entire root structure.
Step 2: Prune Circling Roots
Use shears to cut away the outer 1/2 inch of circling roots on all sides and the bottom. This technique, called "root pruning," prevents girdling and stimulates lateral root branching. Remove any brown, mushy, or foul-smelling roots, which indicate rot.
Pro-Tip: Score vertical cuts (1 inch deep) along four sides of the root ball with a clean knife. This encourages roots to grow outward rather than continuing their circular pattern.
Step 3: Prepare the New Container
Add 2 inches of fresh potting mix to the bottom of the new pot. Ensure the mix is slightly moist, not saturated. Dry soil repels water initially; pre-moistened media integrates better with existing root systems.
Pro-Tip: Sprinkle 1 tablespoon of mycorrhizal fungi powder directly onto the root ball before placing it in the new container. Physical contact between roots and spores is essential for colonization.
Step 4: Position and Backfill
Center the root ball so the trunk base sits 1 inch below the pot rim. Fill gaps with potting mix, pressing gently to eliminate air pockets. Avoid burying the trunk deeper than its original soil line; this invites stem rot.
Pro-Tip: Water in stages as you backfill. Add 2 inches of soil, water lightly, then add more soil. This technique settles the mix and prevents large voids around roots.
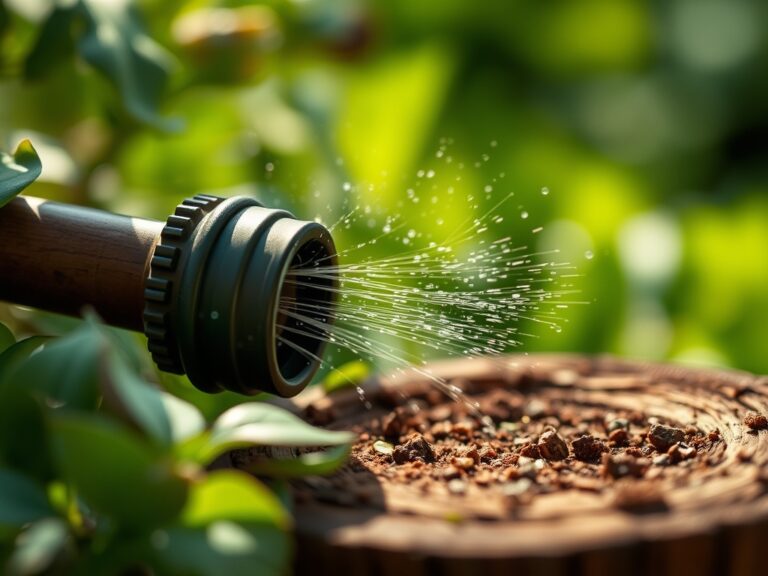
Step 5: Initial Watering
Water thoroughly until liquid drains from the bottom. This saturates the new soil and helps roots make contact with the substrate. Discard any water that collects in saucers after 15 minutes.
Pro-Tip: Add 1/4 teaspoon of liquid kelp extract to the first watering. Kelp contains cytokinins and auxins that reduce transplant shock and promote root hair development.
Step 6: Post-Repotting Care
Place the plant in bright, indirect light (200 to 400 foot-candles). Avoid direct sun for 2 weeks while roots establish. Monitor soil moisture daily by inserting a finger 2 inches deep. Water when the top 2 inches feel dry.
Pro-Tip: Withhold fertilizer for 3 to 4 weeks. Fresh potting mix contains residual nutrients, and damaged roots cannot process additional fertilizer without risk of salt burn.
Nutritional & Environmental Benefits
Fiddle leaf figs improve indoor air quality by absorbing volatile organic compounds (VOCs) such as formaldehyde and benzene through stomatal uptake. A single 3-foot specimen can process pollutants in a 100-square-foot room.
The plant's large leaves release moisture through transpiration, raising relative humidity by 5% to 10% in enclosed spaces. This benefits human respiratory health and prevents dry skin during winter heating seasons.
Healthy root systems develop symbiotic relationships with mycorrhizal fungi, which extend nutrient reach by 10 to 100 times beyond root hairs. These fungi access phosphorus and micronutrients (iron, zinc, copper) that roots alone cannot absorb efficiently.
Advanced Methods
Small Space Adaptations:
Train fiddle leaf figs into single-stem standards by removing lower branches. This vertical growth habit maximizes foliage in tight quarters. Use a 10-inch diameter pot for specimens up to 5 feet tall.
Organic & Permaculture Approaches:
Top-dress with 1 inch of worm castings every 3 months instead of synthetic fertilizer. Castings release nutrients slowly and introduce beneficial bacteria that suppress root pathogens. Brew compost tea (1:4 compost-to-water ratio, aerated for 24 hours) and apply as a root drench monthly.
Season Extension:
Supplement natural light with full-spectrum LED grow lights (6500K color temperature) during winter. Position lights 12 to 18 inches above foliage for 12 to 14 hours daily. This prevents leaf drop caused by insufficient photosynthesis.
Troubleshooting
Symptom: Leaves turn yellow and drop within 2 weeks of repotting.
Solution: Overwatering in poorly draining soil causes root suffocation. Allow the top 3 inches to dry completely before watering again. Check that drainage holes are unobstructed.
Symptom: Brown, crispy leaf edges appear post-repotting.
Solution: Low humidity or fertilizer burn. Mist foliage daily or use a humidifier to maintain 40% to 60% relative humidity. Flush soil with plain water if you applied fertilizer prematurely.
Symptom: New growth is pale green and stunted.
Solution: Insufficient light or nitrogen deficiency. Move the plant closer to a south or west-facing window. Apply diluted 3-1-2 fertilizer at half strength once roots establish (after 4 weeks).
Symptom: Plant wilts despite moist soil.
Solution: Root rot from soil compaction or overpotting. Repot into a container only 2 inches larger with improved drainage. Remove all blackened roots.
Symptom: No new growth after 8 weeks.
Solution: Transplant shock or cold stress. Ensure temperatures stay above 60°F. Apply diluted liquid kelp (1 tablespoon per gallon) as a foliar spray to stimulate growth hormones.
Storage & Maintenance
Water when the top 2 to 3 inches of soil dry out, typically every 7 to 10 days. Fiddle leaf figs require 1 to 1.5 inches of water weekly during active growth. Reduce frequency to every 14 days in winter.
Feed monthly from March through September with a 3-1-2 NPK fertilizer diluted to half the label rate. Cease feeding during dormancy to prevent salt accumulation.
Wipe leaves monthly with a damp cloth to remove dust, which blocks stomata and reduces photosynthesis. Inspect undersides for spider mites or scale insects.
Rotate the pot 90 degrees every 2 weeks to ensure even light distribution. This prevents one-sided growth and maintains symmetry.
Repot every 2 to 3 years or when roots circle the container perimeter twice. Mature plants in 14-inch pots can remain in place with annual top-dressing (remove top 2 inches of soil, replace with fresh mix).
Conclusion
Executing the steps to repot a rootbound fiddle leaf fig correctly transforms a struggling plant into a long-lived focal point. The process combines horticultural precision (proper root pruning, soil pH, mycorrhizal inoculation) with patient aftercare that respects the plant's recovery timeline. Mastering these techniques builds confidence for tackling more complex indoor specimens. Share your repotting results with your local plant swap group or horticultural society to help others learn from your hands-on experience.
Expert FAQs
How do I know if my fiddle leaf fig is truly rootbound?
Lift the pot and inspect drainage holes. If thick roots protrude and circle the exterior, the plant is rootbound. Additionally, water may run straight through without absorbing, indicating root density has displaced most soil.
Can I divide a rootbound fiddle leaf fig during repotting?
Fiddle leaf figs grow from a single trunk and cannot be divided like clumping perennials. Attempting to split the root ball will kill the plant. Propagate through stem cuttings instead.
What NPK ratio is best for fiddle leaf figs after repotting?
Use a 3-1-2 ratio (such as 6-2-4 or 9-3-6) starting 4 weeks post-repotting. Higher nitrogen supports leaf production while moderate phosphorus aids root recovery without promoting excessive foliage at the expense of root development.
Is it safe to repot a fiddle leaf fig with new growth?
Yes, but avoid disturbing emerging leaves. Actively growing plants recover faster than dormant ones. The key is gentle handling and maintaining consistent moisture during the first 6 weeks.
How much should I water immediately after repotting?
Water until liquid drains freely from the bottom, ensuring complete saturation of the new potting mix. For a 12-inch pot, this typically requires 1 to 1.5 quarts. Then allow the top 2 inches to dry before the next watering.