6 Steps to Sharpen a Lawn Mower Blade at Home
The dull thud of grass tearing rather than slicing announces a blade that has lost its edge. Each ragged cut creates entry points for fungal pathogens and stresses the turf canopy. Learning the steps to sharpen a lawn mower blade at home transforms maintenance from guesswork into precision, reducing plant stress while improving photosynthetic efficiency across your lawn's surface. A sharp blade severs cleanly at the cell wall, minimizing moisture loss and browning.
Materials
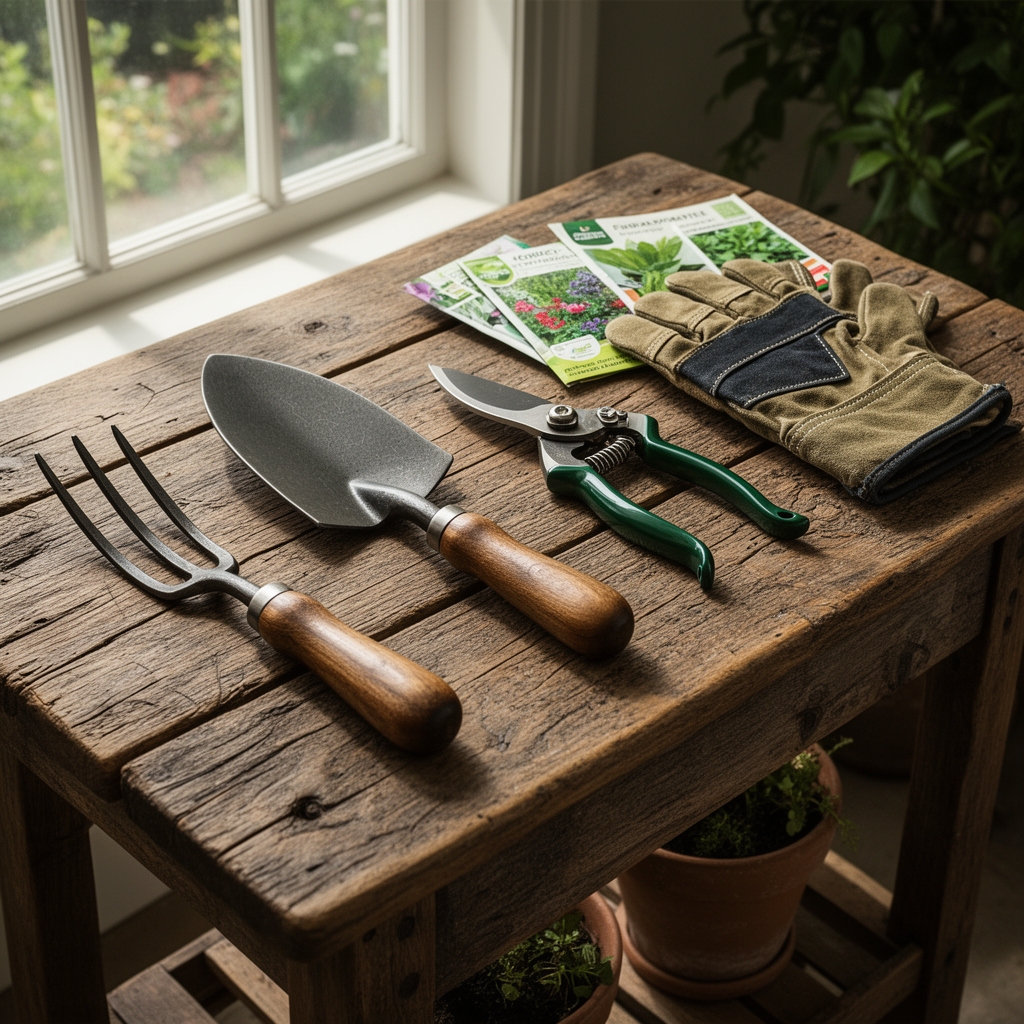
Gather a socket wrench or adjustable wrench sized to your blade bolt, typically 5/8 inch or 15/16 inch. A bench vise provides the clamping force required for stable work. A 10-inch mill bastard file, positioned at a 45-degree angle, removes metal uniformly. Alternatively, an angle grinder with 4.5-inch diameter wheel accelerates the process but demands controlled passes to prevent heat buildup that compromises blade temper.
Safety equipment includes leather work gloves rated for cut resistance and safety glasses meeting ANSI Z87.1 standards. A blade balancer, either the cone or bubble type, verifies equal weight distribution after sharpening. This tool prevents harmonic vibration that damages spindle bearings and creates uneven auxin distribution in turf as the deck oscillates.
For rust removal, a wire brush or 80-grit sandpaper restores surface integrity. Mark the blade's orientation with a paint pen before removal. This reference ensures correct reinstallation, as reversing the blade eliminates cutting efficiency entirely. Keep penetrating oil on hand for seized fasteners common in machines exposed to soil pH extremes and moisture.
Timing
Schedule blade sharpening every 20 to 25 operating hours during active growth periods. In Zones 7 through 9, this translates to monthly intervals from March through October. Cooler Zone 4 through 6 regions require sharpening every six weeks from May through September, when grasses allocate energy to vertical growth and root cation exchange capacity peaks.
Sharpen before spring green-up, when overwintered blades carry the most nicks from debris encounters. Mid-summer sharpening precedes the stress period when clean cuts reduce water loss through torn mesophyll tissue. A final autumn sharpening before dormancy ensures the last cuts heal before frost, minimizing winter desiccation along leaf margins.
Align sharpening with fertilizer applications using balanced 4-4-4 organic formulations. The nitrogen fraction supports rapid wound closure, while phosphorus enhances root energy storage that buffers cutting stress. This synchronization between mechanical maintenance and nutrient availability optimizes turf recovery.
Phases

Removal: Disconnect the spark plug wire to eliminate accidental starts. Tilt the mower so the carburetor faces upward, preventing oil migration into the air filter. Block the blade with a wood scrap and turn the retaining bolt counterclockwise. Note the washer sequence and any spacers; these maintain correct blade height above the soil plane.
Pro-Tip: Photograph the blade mounting assembly with your phone before disassembly. This visual reference prevents reassembly errors that alter deck pitch and cutting geometry.
Cleaning: Clamp the blade in the vise with the cutting edge accessible. Scrape caked grass residue using a putty knife, exposing the full edge profile. Wire-brush the blade surface to reveal existing damage patterns. Deep gouges beyond 1/4 inch compromise structural integrity and warrant replacement rather than sharpening.
Pro-Tip: Inspect for stress cracks radiating from the center hole. These indicate metal fatigue from impact loading and predict catastrophic failure. Replace any blade showing crack initiation regardless of edge condition.
Sharpening: File or grind along the existing bevel angle, typically 30 to 40 degrees from horizontal. Make consistent strokes covering the entire edge length. Remove equal amounts from both ends to preserve balance. The sharp edge should feel keen but retain a slight radius, not razor-thin. Excessive thinning reduces edge durability and promotes micro-chipping during operation.
Pro-Tip: Count your file strokes or grinder passes per side. This quantitative approach ensures symmetry better than visual estimation alone.
Balancing: Mount the blade on a cone balancer or suspend it on a nail through the center hole. A balanced blade remains horizontal. If one end dips, remove metal from the heavy side's back edge, never the cutting edge. Recheck until both wings hold level. Unbalanced blades create vibration that damages spindle bearings and reduces cut quality through inconsistent blade tip speed.
Reinstallation: Thread the blade onto the spindle with the cutting edges rotating toward the mower's front. Torque the retaining bolt to manufacturer specifications, typically 35 to 50 foot-pounds. This tension prevents loosening under operational stress while avoiding thread damage.
Testing: Reconnect the spark plug and mow a small test section. Observe the cut ends under magnification if possible. Clean cuts appear uniform and sealed. Torn cuts show whitish, frayed tissue indicating insufficient sharpness or improper installation.
Troubleshooting
Symptom: Blade dulls within hours of sharpening.
Solution: Adjust deck height to prevent soil contact. Raise cutting height 0.5 inch above current setting. Soil particles, especially in high-clay conditions, abrade the edge rapidly. Maintain minimum 2.5-inch cut height for most turf species.
Symptom: Blade vibrates excessively after sharpening.
Solution: Rebalance by removing metal from the heavy wing's trailing edge. Check for bent blade by rolling it on a flat surface. Any wobble exceeding 1/8 inch requires replacement, as straightening compromises temper.
Symptom: Grass tips brown within 24 hours of mowing.
Solution: Resharpen to remove micro-serrations. These microscopic tears create large wound surfaces. Consider reducing engine speed 200 RPM to decrease blade tip velocity and heat generation at the cut interface.
Symptom: Uneven cut pattern across deck width.
Solution: Verify blade installation orientation. Check deck level by measuring from hard surface to blade tips at multiple positions. Adjust deck hangers to achieve 1/8-inch side-to-side tolerance.
Maintenance
Sharpen proactively rather than reactively. Maintain a rotation of two blades, swapping every 20 hours. This system ensures a sharp blade is always ready while extending each blade's service life. Store spare blades coated in light machine oil to prevent rust in humid conditions.
Clean the deck underside after every third use, removing organic matter that retains moisture and accelerates corrosion. Apply a silicone-based deck coating to reduce grass adhesion and simplify cleaning. This maintenance reduces friction that heats the blade and softens the cutting edge.
Inspect blade mounting bolts for thread wear annually. Replace any fastener showing galling or deformation. Damaged threads reduce clamping force and allow blade migration during operation. Torque fasteners to specification each installation using a calibrated wrench.
FAQ
How often should I sharpen my mower blade?
Every 20 to 25 operating hours maintains optimal edge geometry. Heavy use or sandy soils may require intervals as short as 15 hours.
Can I sharpen with a file instead of a grinder?
Yes. A 10-inch mill bastard file removes metal controllably and avoids heat damage. Expect 50 to 75 strokes per side for a full sharpening.
What angle should I sharpen to?
Maintain the factory bevel, typically 30 to 40 degrees. Match the existing angle rather than creating a new one.
How sharp is too sharp?
Avoid razor edges thinner than 0.020 inch. A slight radius maintains durability while providing clean cuts through cellulose fibers.
Why does my blade lose balance after sharpening?
Unequal metal removal between wings creates weight differential. Remove material from the heavy side's back edge until balance is restored.