6 Steps to Prepare an Artistic Garden Deck Site
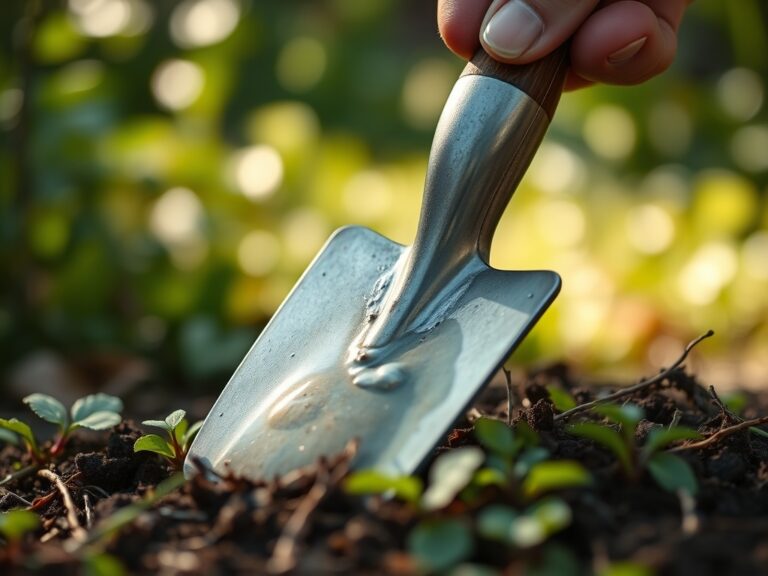
The smell of damp, anaerobic mud transitioning into the earthy scent of geosmin signals a site ready for transformation. When you press a thumb into the soil, the turgor of the surrounding root systems resists; this is the structural foundation of your workspace. Learning how to prepare a site for a garden deck requires more than carpentry. It demands an understanding of soil compaction, drainage kinetics, and the biological integrity of the rhizosphere. You are not just laying wood; you are managing a living subterranean ecosystem that will dictate the longevity of your structure. Failure to stabilize the substrate results in frost heaves that can shear structural bolts. Success begins with a rigorous assessment of the earth beneath your feet.
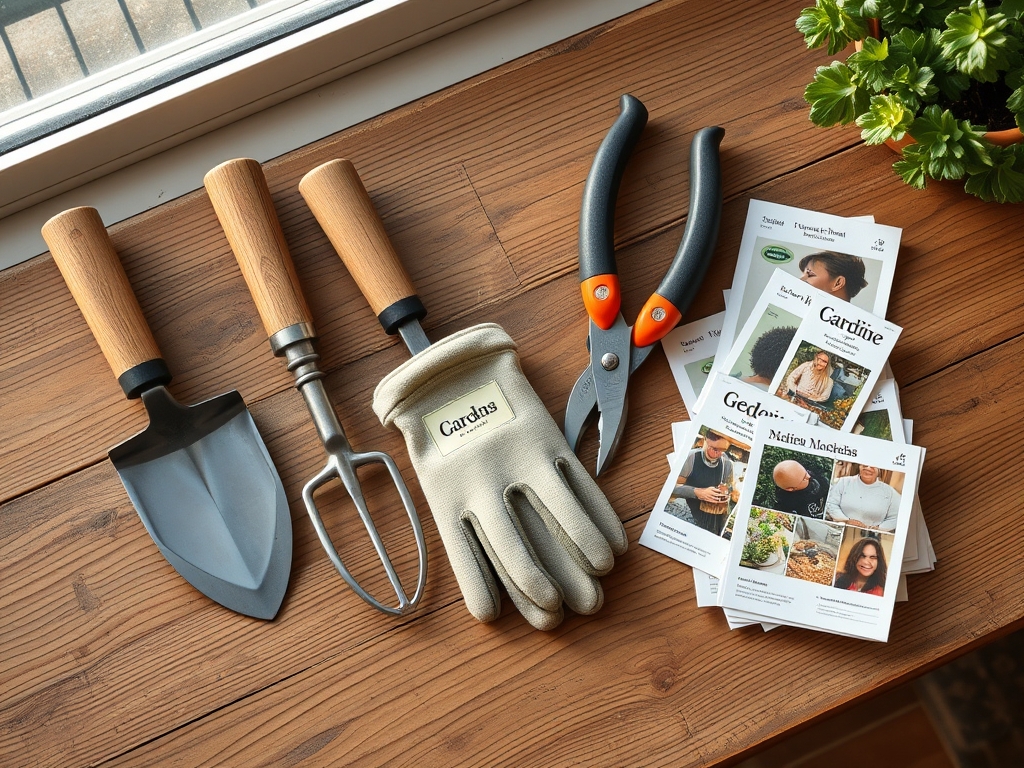
Materials:
The ideal substrate for a deck perimeter is a **friable loam** with a high sand content to facilitate rapid drainage. If you intend to plant around the deck, the soil must maintain a **pH between 6.2 and 6.8** to ensure maximum nutrient bioavailability. For establishing foundational greenery, utilize a starter fertilizer with an **NPK ratio of 5-10-5**. This high phosphorus content encourages rapid root elongation rather than excessive foliar growth.
A high Cation Exchange Capacity (CEC) of 15 to 25 meq/100g is preferred for the surrounding beds. This ensures the soil can hold onto essential cations like calcium and magnesium. You will also need non-woven geotextile fabric with a minimum weight of 4 ounces per square yard to suppress weed growth while allowing gas exchange. Use ASTM D448 No. 57 crushed stone for the base layer to provide a stable, non-capillary break between the soil and the deck framing.
Timing:
Site preparation should occur when the soil is at field capacity, meaning it is moist but not saturated. In Hardiness Zones 5 through 7, the ideal window is late autumn after the first "killing frost" has induced senescence in deciduous plants. This timing prevents the compaction of active root systems. In Zones 8 through 10, work during the dormant winter period to avoid heat stress on the surrounding flora.
Observe the "Biological Clock" of your landscape. You must complete heavy excavation before the photoperiod increases in early spring. Once the day length exceeds 12 hours, plants transition from dormancy to the vegetative stage. Excavating during this transition can cause severe transplant shock or root desiccation. Aim for a soil temperature of 45 to 50 degrees Fahrenheit for optimal stability during grading.
Phases:

Sowing the Perimeter
Before the deck is built, establish a low-growth cover crop or foundational grasses in the surrounding area. Broadcast seeds at a rate of 5 pounds per 1,000 square feet. Ensure seed-to-soil contact by tamping the area to a depth of 0.25 inches.
Pro-Tip: Proper seed-to-soil contact facilitates imbibition, the process where the seed coat absorbs water to activate metabolic enzymes. Without this, the embryo remains dormant or desiccates.
Transplanting Specimen Plants
Move existing plants at least 4 feet from the deck footprint. Dig a root ball 2 times wider than the current spread to preserve the lateral fine-root hairs. Use a hori-hori knife to clean-cut any roots that are circling the pot or hole to prevent future girdling.
Pro-Tip: Clean cuts on roots stimulate the production of auxins, plant hormones that signal the root apical meristem to initiate new lateral growth. Ragged tears lead to rot.
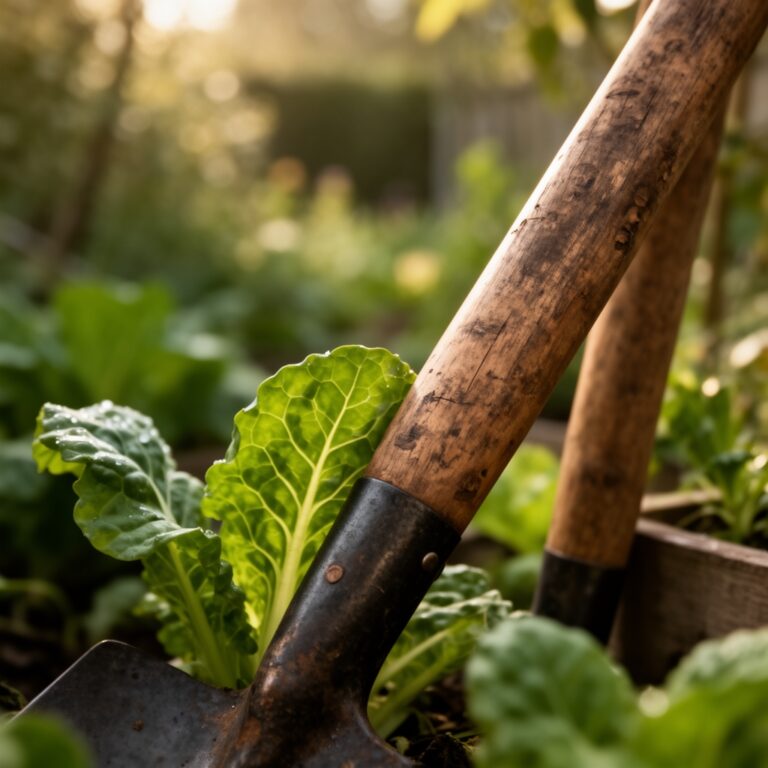
Establishing the Sub-Base
Excavate the site to a depth of 6 inches. Remove all organic matter, as decomposing carbon will cause the deck to settle unevenly. Lay the geotextile fabric and cover with 4 inches of crushed stone. Level the stone to a slope of 1/8 inch per foot away from any existing structures to manage hydrostatic pressure.
Pro-Tip: Using geotextile fabric maintains soil porosity. It prevents fine soil particles from migrating into the gravel layer, which would otherwise clog the drainage gaps and cause water to pool against the deck footings.
The Clinic:
Physiological disorders in the garden deck site often stem from poor drainage or mechanical damage during construction.
- Symptom: Interveinal chlorosis (yellowing leaves with green veins) on nearby shrubs.
- Solution: Check soil pH. High alkalinity near concrete footings often locks out iron. Apply chelated iron to the soil.
- Symptom: Marginal leaf burn or "scorch."
- Solution: This indicates high salts or drought stress. Flush the area with 2 inches of water to leach excess salts from construction debris.
- Symptom: Stunted growth and blue-gray leaf tint.
- Solution: This is a sign of hypoxia (root suffocation) due to soil compaction. Use a broadfork to aerate the soil at the drip line.
Fix-It Section:
If you observe Nitrogen chlorosis (entire leaf turning pale yellow), apply a liquid fertilizer with an NPK of 10-0-0 at a rate of 1 pound of actual nitrogen per 1,000 square feet. If stems are brittle and purple, the soil likely lacks phosphorus; supplement with bone meal or triple superphosphate.
Maintenance:
Post-construction maintenance is vital to ensure the deck and the garden coexist. Provide 1.5 inches of water per week at the drip line of all surrounding plants. Use a soil moisture meter to verify that moisture has penetrated to a depth of 8 inches.
Prune any overhanging branches using bypass pruners to maintain a 2-foot clearance between foliage and the deck surface. This prevents the buildup of moisture and fungal spores on the wood. Every spring, use a hori-hori knife to edge the beds around the deck, preventing turf grass from creeping under the structure where it can trap moisture and promote rot.
The Yield:
If your garden deck site includes edible perennials like rosemary or lavender, harvest during the "morning swell" when turgor pressure is at its peak. This usually occurs before 10:00 AM. Use sharp snips to take no more than one-third of the plant's total biomass.
To maintain "day-one" freshness, immediately plunge the stems into 40-degree Fahrenheit water. This rapid cooling slows down cellular respiration and preserves the essential oils. For flowers, a clean 45-degree angle cut maximizes the surface area of the xylem, ensuring the plant continues to hydrate effectively after being severed from the root system.
FAQ:
How deep should I dig for a deck site?
Excavate at least 6 inches of topsoil. This removes the "O" and "A" horizons containing organic matter that decomposes and shifts. Replace this with compacted inorganic aggregate like crushed stone to ensure a stable, non-shifting foundation for the deck.
What is the best soil for deck-side plants?
Use a friable loam with a pH of 6.5. Ensure it has a high sand content for drainage. This prevents water from backing up under the deck joists, which causes fungal decay and structural compromise over time.
Can I use mulch under my deck?
Avoid organic mulch directly under the deck. It retains moisture and promotes fungal colonization. Instead, use geotextile fabric topped with 3 inches of gravel. This suppresses weeds while allowing the soil to breathe and drain efficiently.
How do I prevent weeds from growing through the deck?
Install a heavy-duty non-woven geotextile fabric over the bare soil. Secure it with 6-inch landscape staples. Cover the fabric with crushed stone. This creates a physical barrier that prevents sunlight from reaching weed seeds while allowing water infiltration.