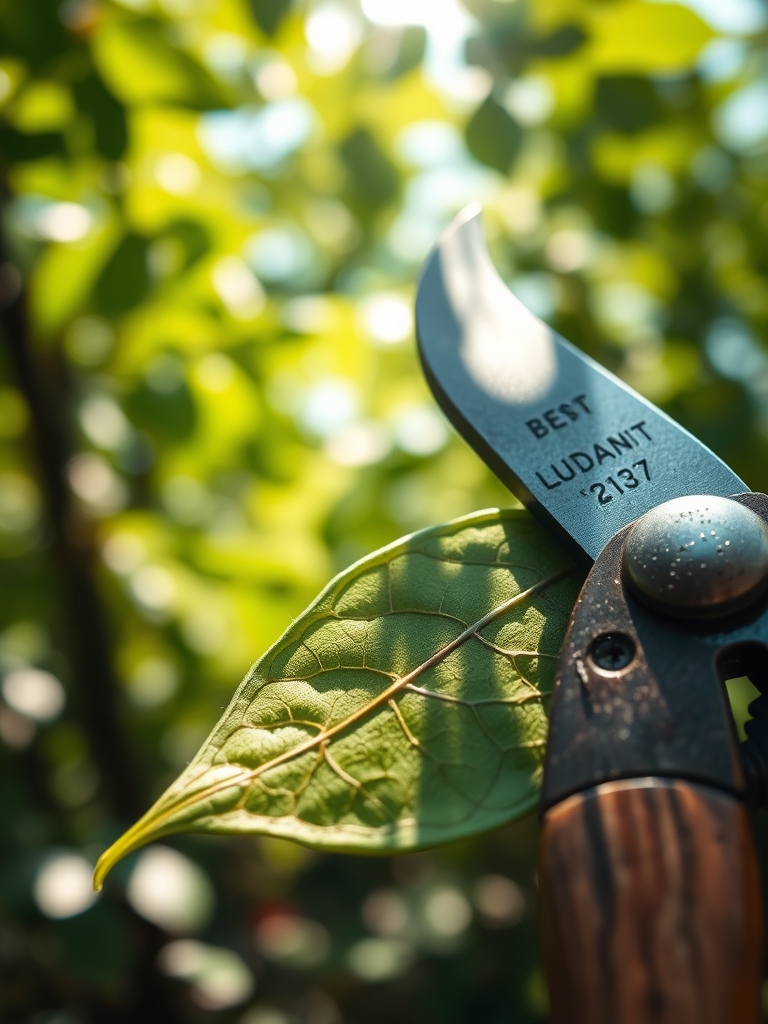
8 Steps to Clean a Steel Spade After Heavy Use
Damp earth clings to high-carbon steel with a tenacity that initiates oxidation within hours of contact. When you finish a day of trenching in heavy clay, the moisture trapped against the metal surface begins to break down the protective mill scale; this leads to pitting and structural degradation. Mastering the steps for cleaning a garden spade after use is the primary method for preventing the spread of soil-borne pathogens like Fusarium or Phytophthora across your landscape. A clean blade reduces friction by up to 30 percent; this allows for cleaner cuts through the rhizosphere and preserves the turgor pressure of root systems by minimizing jagged tissue damage during transplanting.
Materials:
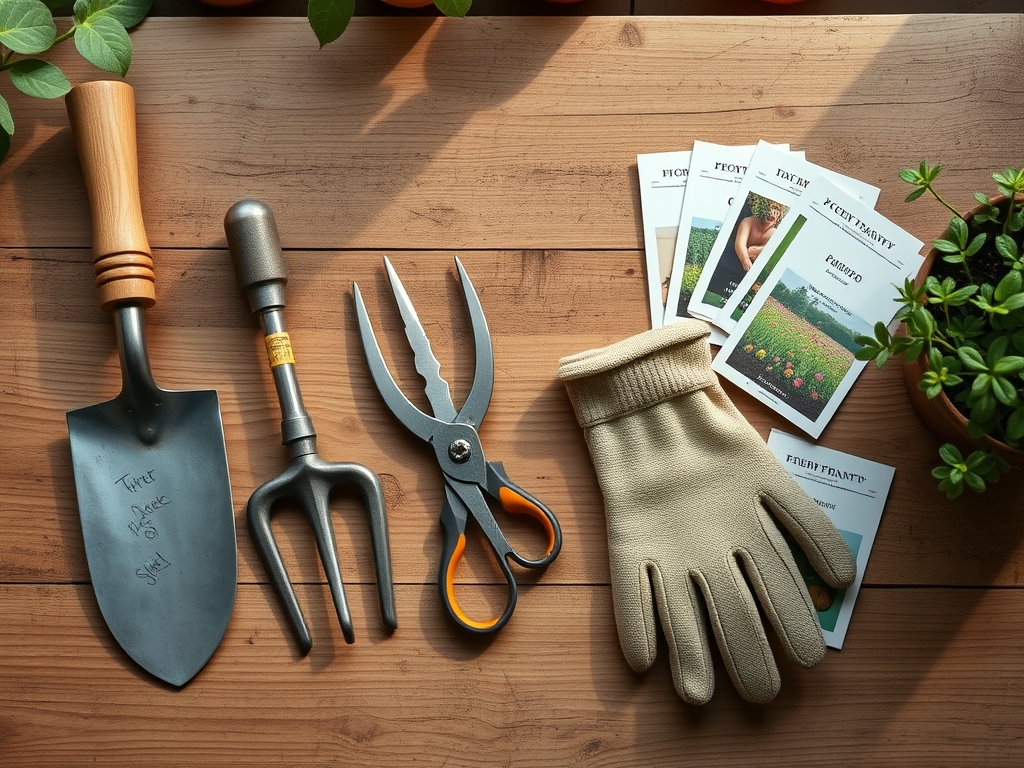
Effective maintenance requires an understanding of the substrate being removed. Friable loam with a **pH of 6.5** is less corrosive than acidic peat-based mixes or heavy clays high in iron oxides. To neutralize the corrosive potential of various soil types, assemble a cleaning kit containing a stiff-bristled wire brush, **70 percent isopropyl alcohol**, and a bucket of coarse silica sand mixed with **SAE 30 motor oil** or a plant-based linseed oil. For tools used in high-fertility zones, ensure you remove all traces of synthetic fertilizers with an **NPK ratio of 10-10-10**, as the salts in these compounds accelerate metal fatigue and rust.
Timing:
Maintenance must occur before the "biological clock" of the tool's surface allows for the colonization of anaerobic bacteria. In Hardiness Zones 5 through 8, the window between the first frost and the ground freezing is the most critical period for tool hygiene. During the transition from vegetative growth to plant senescence in late autumn, sap becomes more viscous and acidic. Cleaning must happen within 60 minutes of the final task of the day to prevent the hardening of organic resins on the steel. Failure to act within this window allows moisture to seep into the microscopic pores of the metal, leading to winter-long corrosion.
Phases:
Sowing and Preparation
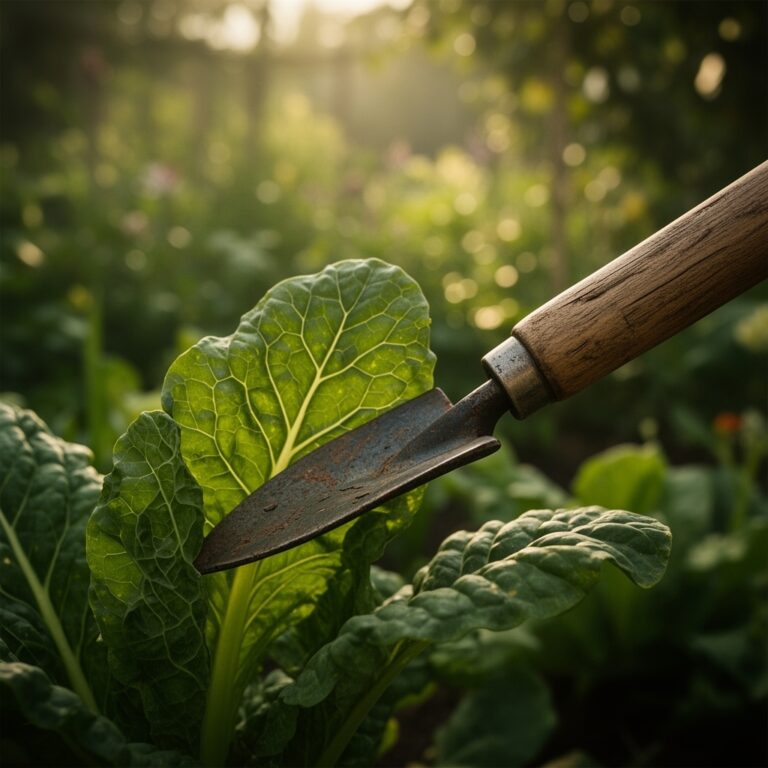
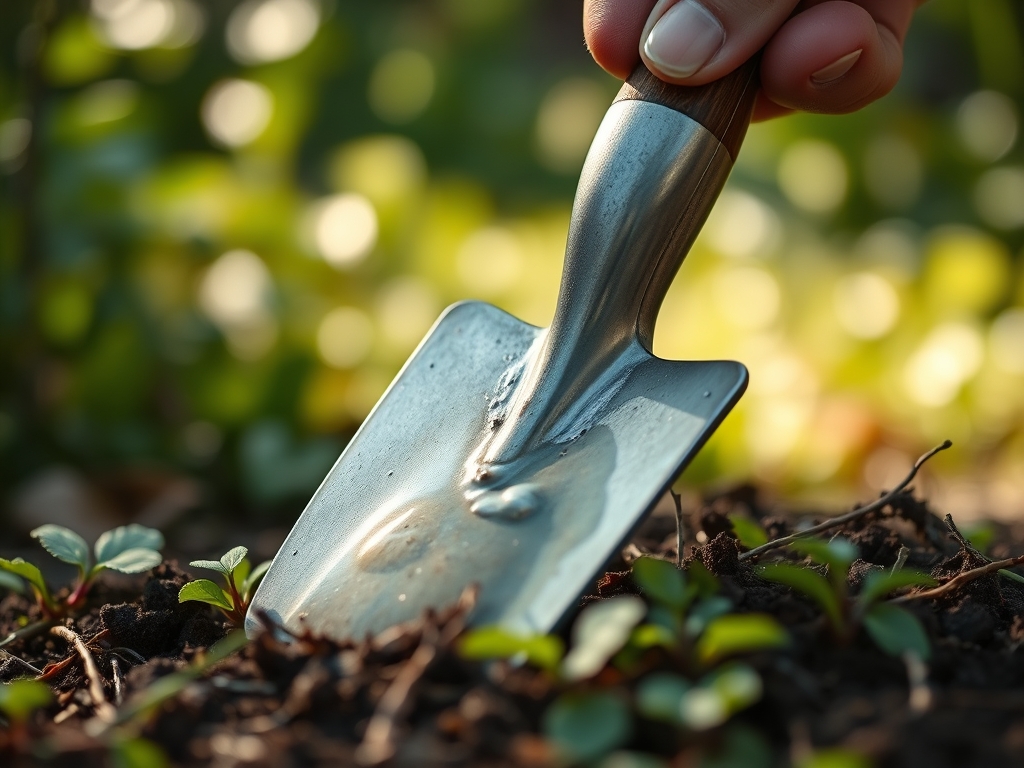
The first phase involves mechanical removal of bulk debris. Use a wooden scraper or a putty knife to strip away clumps of earth. This prevents the abrasive particles from scratching the steel during the fine cleaning phase. Focus on the "step" of the spade where soil accumulates and holds moisture against the handle socket.
Pro-Tip: Removing soil immediately prevents the transfer of weed seeds and dormant fungal spores. This is a form of biological security; it ensures that the mycorrhizal symbiosis established in one garden bed is not disrupted by pathogens imported from another.
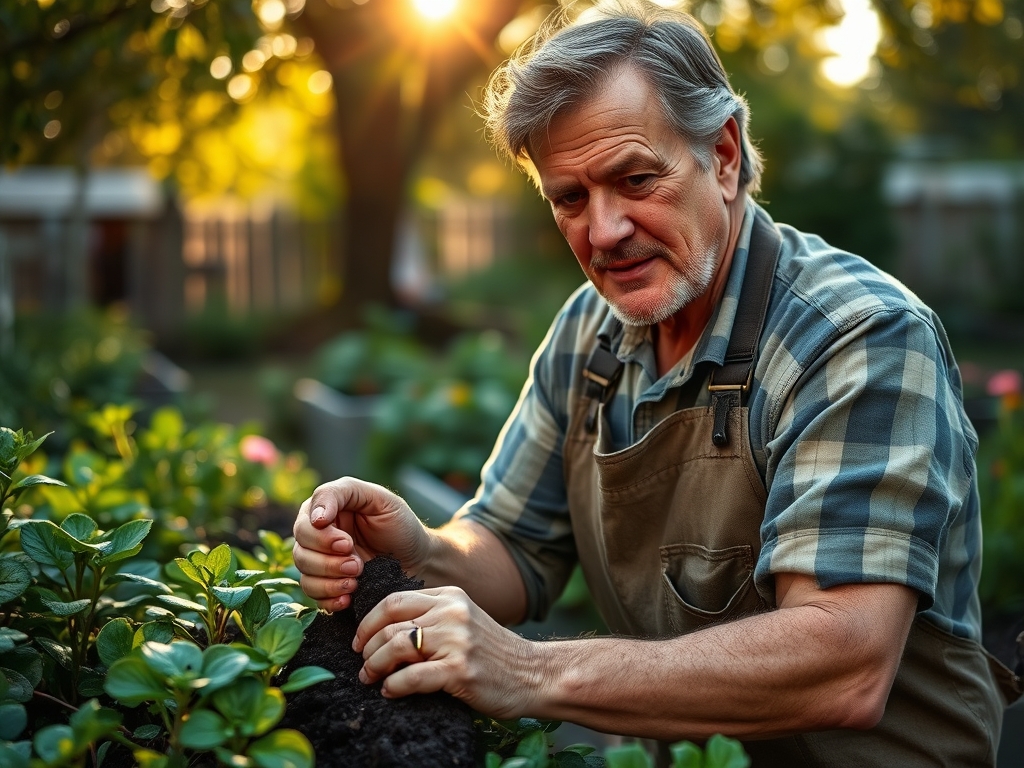
Transplanting Hygiene
Once the bulk soil is gone, use the wire brush to scrub the blade until the silver of the steel is visible. If the spade was used to move diseased perennials, you must use a disinfectant. Wipe the entire surface with a cloth soaked in alcohol. This kills viruses that can survive on metal surfaces for weeks.
Pro-Tip: Disinfecting tools prevents the interruption of auxin suppression. When a clean spade makes a surgical cut through a lateral root, the plant can redirect growth hormones more efficiently to seal the wound than it can when faced with a jagged, infected tear.
Establishing the Protective Layer
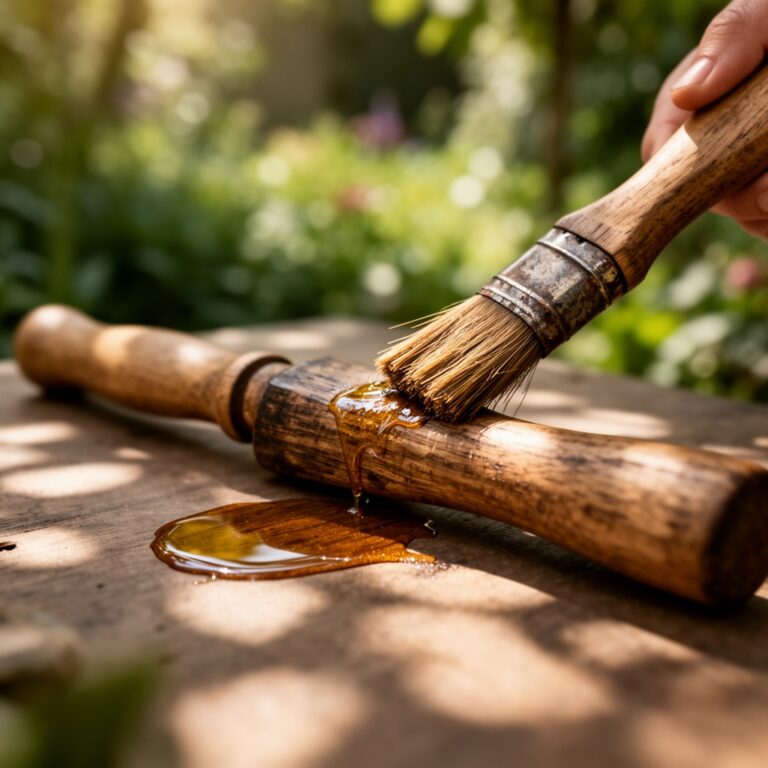
The final phase is the oil plunge. Submerge the blade into the oiled sand bucket three to five times. The sand acts as a fine abrasive to polish the edge, while the oil creates a hydrophobic barrier that prevents oxygen from reaching the metal surface.
Pro-Tip: Maintaining a sharp, oiled edge reduces the force required for soil penetration. This minimizes soil compaction around the rhizosphere, allowing for better oxygen diffusion and higher cation exchange capacity in the immediate root zone of newly established plants.
The Clinic:
Physiological disorders in tools often mirror those in plants. Use these diagnostic steps to identify and fix spade degradation.
-
Symptom: Orange or reddish flaking on the blade surface.
-
Solution: This is iron oxide (rust). Use a 100-grit sandpaper to sand the metal back to a bright finish.
-
Fix-It: Apply a thin coat of paste wax or boiled linseed oil to the steel.
-
Symptom: Pitting or small craters in the metal.
-
Solution: This indicates prolonged exposure to acidic soils or fertilizers.
-
Fix-It: Neutralize the blade with a baking soda and water solution (pH 8.0) before drying and oiling.
-
Symptom: Rough, splintered wooden handle.
-
Solution: Desiccation of the wood fibers due to UV exposure and moisture cycles.
-
Fix-It: Sand with 150-grit paper and rub with linseed oil until the wood no longer absorbs liquid.
Maintenance:
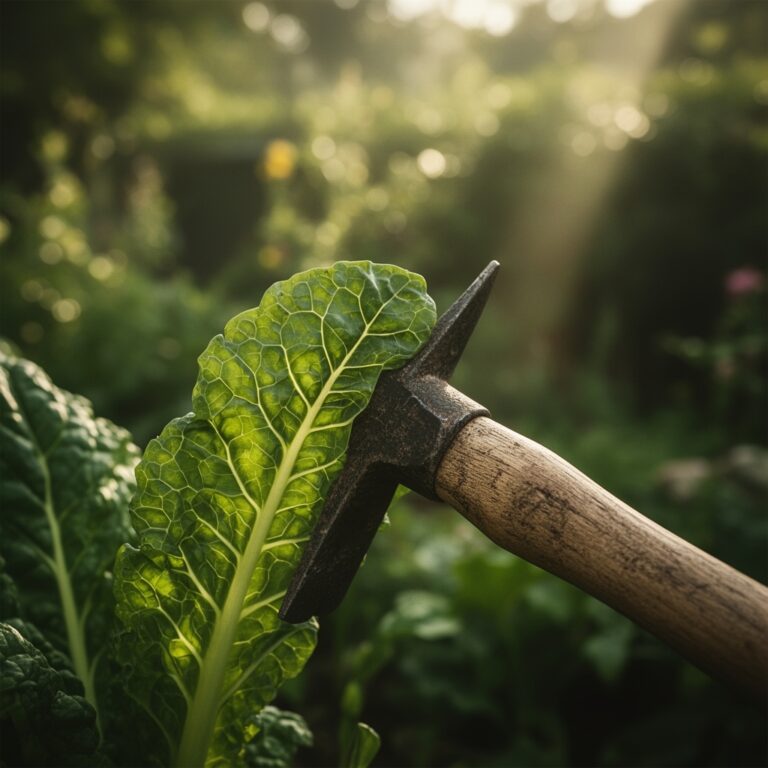
A professional spade requires more than just a rinse. Use a soil moisture meter to ensure your storage area remains below 50 percent humidity to prevent flash rusting. Every 50 hours of use, the spade edge should be honed using a 10-inch mill bastard file. Maintain a 45-degree bevel on the front side of the blade only; a knife-edge is too fragile for soil work and will roll. When working in heavy soils, keep a hori-hori knife nearby to scrape the spade every ten minutes. For wooden handles, ensure the grain is oriented correctly to handle the leverage; apply oil monthly to maintain the structural integrity of the lignin.
The Yield:
While a spade does not produce a crop, the "yield" of a well-maintained tool is measured in the precision of the harvest. When lifting root crops like carrots or parsnips, a sharp, clean spade allows you to undercut the taproot at exactly 12 inches deep without bruising the exterior tissue. This preserves the "day-one" freshness by keeping the protective epidermal layer of the vegetable intact. For ornamental bulbs, a clean spade ensures that the basal plate is not crushed during lifting; this maintains the plant's ability to enter dormancy without succumbing to soft rot.
FAQ:
How often should I oil my spade?
Oil the blade after every heavy use or at least once a week during the active growing season. A thin film of SAE 30 oil or linseed oil prevents oxygen from reacting with the steel to form rust.
Can I use water to clean my garden tools?
Yes, but you must dry the tool completely. Use a high-pressure hose to remove clay, then immediately wipe the metal with a dry microfiber cloth. Never store a tool while the metal or wooden handle is damp.
What is the best way to remove rust?
Use a wire brush or steel wool for light surface rust. For deep corrosion, soak the blade in white vinegar for 12 hours, scrub with an abrasive pad, and neutralize the acid with a baking soda solution.
Why is a sharp spade better for plants?
Sharp tools create clean wounds that the plant can compartmentalize quickly. Jagged tears from dull blades increase the surface area for infection and cause significant stress by disrupting the flow of water through the xylem.